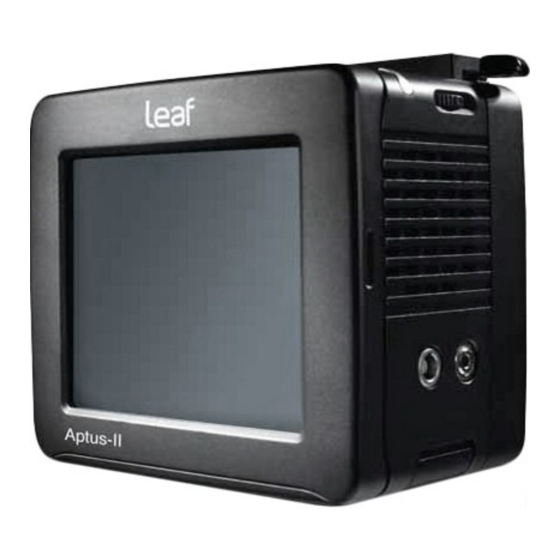
Leaf Aptus-II Calibration Manual
Digital backs
Hide thumbs
Also See for Aptus-II:
- Installation manual (160 pages) ,
- User manual (80 pages) ,
- Release note (6 pages)
Table of Contents
Advertisement
Advertisement
Table of Contents

Summary of Contents for Leaf Aptus-II
- Page 1 Lens Calibration Guide for Leaf Aptus-II Digital Backs...
-
Page 2: Table Of Contents
Creating and Loading the Lens Calibration File ................ 4 While shooting to CF card ........................8 Applying a Lens Calibration ..................... 9 After shoot – Leaf Capture ........................9 Creating a Lens Calibration in the field ................10 After shoot - Capture One .......................11 Brightness compensation .......................12... -
Page 3: Lens Calibration Guide
This occurs mainly with non-retrofocus wide-angle lenses. Most non-retrofocus wide-angle lenses do not have sufficient lens coverage for wide image sensors. Shifting and tilting such a lens adds to the lens falloff. Cast Effects in Wide Angle Photography (PDF) See: Leaf Technical Notes/... -
Page 4: Creating A Lens Calibration In The Studio
Creating a Lens Calibration in the studio. Setting up to take the Calibration Shot What you will need: a Leaf diffuser or any white diffusing sheet that will fully cover the lenses to be used. 1. Connect the camera back to the Leaf Capture software. - Page 5 4. Click OK. 5. A small icon appears in the bottom left corner of the Leaf Capture window to remind you that a Lens Calibration is loaded. The name of the Lens Calibration is displayed next to the icon.
- Page 6 Lens Calibration Guide Notes: In the example above Leaf Capture has limited the lens falloff correction to 60%. You can reduce this number as desired. The falloff correction is applied for this load only. The name and path of the Lens Calibration and the % Falloff correction used, will...
- Page 7 When shooting tethered, previously created Lens Calibrations can be loaded to the back to be used for shooting. 1. Start the Leaf Capture software. 2. Connect the back to the computer. 3. Click Camera/Lens Calibration File/Load File to open the Load Lens Calibration dialog box.
-
Page 8: While Shooting To Cf Card
Lens Calibration Guide While shooting to CF card A lens calibration can be loaded to the back for using when shooting to CF card. Preparing a Lens Calibration file for CF card 1. Quick format a CF card in the Aptus II back. 2. -
Page 9: Applying A Lens Calibration
Applying a Lens Calibration After shooting youcan applya Lens Calibration to images that were shot without one. You can do this in both Leaf Capture and in Capture One. After shoot – Leaf Capture 1. In Leaf Capture, select the images you would like to process. -
Page 10: Creating A Lens Calibration In The Field
Lens Calibration Guide Creating a Lens Calibration in the field 1. Before a shoot, prepare the Leaf diffuser or any white diffusing sheet that will fully cover the lenses to be used. 2. Set up and shoot your image(s). 3. Place the white diffuser in front of the lens so that it covers the entire surface, and take a shot. -
Page 11: After Shoot - Capture One
To create and apply a Lens Cast Correction (LCC) the images must meet the following condition: The image must have been shot portably and not saved in Leaf Capture. 1. In Capture One, select the reference imagethat you shot through the diffuser. -
Page 12: Brightness Compensation
Lens Calibration Guide Brightness compensation Using Lens Falloff correction tends to create images that seem brighter. You can adjust brightness or the develop curve to compensate for this or shoot the images at a lower exposure level. Creating the calibration shot in low light In some conditions, you may not be able to create an optimally exposed calibration file as described above because the required exposure time is greater than the maximum.


Need help?
Do you have a question about the Aptus-II and is the answer not in the manual?
Questions and answers