Table of Contents
Advertisement
Quick Links
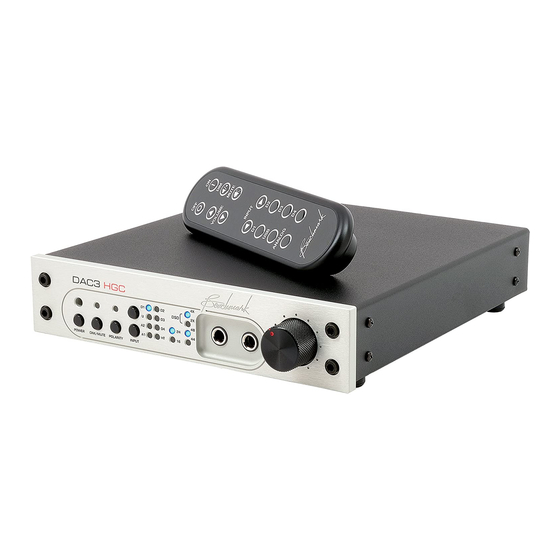
DAC3 HGC and DAC3 L
Firmware Version 2.0 Upgrade Instructions
New Version 2.0 Feature:
Preamp COMPATIBILITY mode
Version 2.0 adds a preamplifier COMPATIBILITY mode. This mode disables the MUTE and DIM functions and places
the volume control in the unity-gain HT position. Use this mode when the volume is being controlled by a
downstream line amplifier such as the Benchmark HPA4.
When paired with an HPA4, the DAC3 and HPA4 can be controlled by a single Benchmark IR remote control. The
HPA4 provides volume control, DIM and MUTE functions. Both units switch inputs in a coordinated fashion so that
all digital and analog inputs are available. Place the DAC3 in compatibility mode and connect it to XLR input 1 on
the HPA4. Select "Benchmark DAC on XLR1" in the HPA4 REMOTE menu.
Enabling and disabling the COMPATIBILITY mode:
•
Simultaneously hold the DIM/MUTE and INPUT-UP keys for 3 seconds to activate or deactivate this
feature.
•
The HT light will be illuminated on all inputs when COMPATIBILITY mode is enabled.
•
The DIM/MUTE key will be disabled when COMPATIBILITY mode is enabled.
•
The DAC3 will not respond to the DIM, MUTE, VOLUME-UP and VOLUME-DOWN keys on the IR remote
when COMPATIBILITY mode is enabled.
Cautions:
The DAC3 circuit boards and the software chip can be damaged by static electricity. Use of an ESD wrist strap is
recommended. If a wrist strap is not available, hold chassis with one hand while inserting chip and moving
jumpers. Do not touch the circuit board until your other hand is making contact with the chassis.
The software chip will be damaged if it is inserted backwards. The white line must face the rear panel of the DAC3!
Kit Contents:
•
These instructions
•
Software Chip
•
8 spare screws for the top cover
Advertisement
Table of Contents

Related Manuals for Benchmark DAC3 HGC


Summary of Contents for Benchmark DAC3 HGC
- Page 1 Benchmark HPA4. When paired with an HPA4, the DAC3 and HPA4 can be controlled by a single Benchmark IR remote control. The HPA4 provides volume control, DIM and MUTE functions. Both units switch inputs in a coordinated fashion so that all digital and analog inputs are available.
- Page 2 Instructions: 1. Unplug the power cord and all audio cables. 2. Remove the 8 screws on the sides of the top cover. 3. Remove the top cover. 4. On the main board, move the jumper at P1 so that it is on the two pins closest to C12 (see Figure 2). 5.
- Page 3 Figure 1- Top view before installing software kit (note the position of jumper on header P1).
- Page 4 Figure 2 - On the main board, move jumper on P1 to this position. Figure 3 - Finished installation. White line on software chip must face the rear of the unit!
Need help?
Do you have a question about the DAC3 HGC and is the answer not in the manual?
Questions and answers