Advertisement
Quick Links
USER GUIDELINE
Thank you for choosing MOON headlight!
*For using this product safely and conveniently and keeping it
well-preserved, please read this manual carefully before using.
Please save this manual for future reference.
*Due to the improvement of the product, the product you bought may
not be exactly in accordance with the introduction of this manual. We
apologize for that.
SPECIFICATION
*1 pc CREE XP-G2 (R4) high brightness LED
*Rechargeable lithium polymer battery ( 3.7V 700mAh)
*USB rechargeable
*Headlight with durable aluminum alloy light cap
*4 modes: Over drive / High / Standard / Flashing
*Quick release rubber strap mount (fits 22-31.8 mm)
*Low battery, charging and fully charged indicator
*Automatic fully charged cut-off system
*High precision optical lens
*Water resistant (IPX 4)
CONTENTS INCLUDED
Contents:
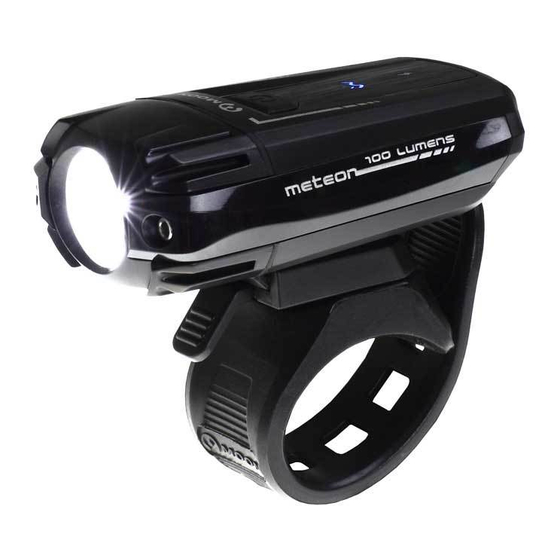
Meteor 100
*USB-01 (USB cable)
*RB-07 (Handlebar bracket)
Optional accessories:
*XP-USC (Wall charger)
*RB-06 (Helmet mount bracket)
HOW TO MOUNT THE HEADLIGHT
1.Install the bracket onto handlebar by wrapping rubber strap around
post/bar and stretching strap around hook to secure.
2.Slide headlight forward onto bracket until it clicks into place.
3.Press down release lever to remove.
INSTALL
click
RELEASE
PRESS
RELEASE
LEVER
RUBBER
STRAP
HOW TO MOUNT THE HEADLIGHT TO HELMET
®
1.Wrap belt around helmet and return the belt onto slotted space.
2.Twist screw knob clockwise until tight.
3.Slide headlight forward onto bracket until it clicks into place.
4.Press down release lever to remove.
INSTALL
PRESS
RELEASE
SCREW
KNOB
RELEASE
LEVER
BELT
To adjust the vertical beam angle when mounted on the helmet,
loosen the screw knob and rotate the light up or down to your
preferred angle, then tighten the screw knob to secure the light in
place.
BEAM ADJUSTMENT
To adjust the horizontal beam, spin the headlight left to right for your
best side to side beam angle. To adjust the vertical beam angle,
loosen the mounting and rotate the light up and down to your best
vertical beam angle, then tighten the mounting.
!
The beam is widely dispersed, besides its high brightness. To prevent
from blinding the oncoming vehicles on the public roads, you'd better
adjust the angle downward.
HEADLIGHT OPERATION
1. Please make sure that there are no obstacles around the headlight
to keep the air flow smoothly, as the light will get hot during use.
Please don't touch the light immediately after a long time use.
2. Press the power button to choose the modes:
In this method three modes are cycled.
click
3. Fast press two times the power button to change into the strobe
and flashing modes. Fast press two times back to the first cycle.
4. Press and hold the on / off button around 0.5 seconds to turn off.
Battery indicator
5. When the battery indicator turns flashing red, it means the battery is
low. You'd better charge the light right now.
Charging indicator
Power button
Over drive
High beam
Standard
PRESS
Power button
PRESS
Fast press
2 times
Power button
PRESS
Hold 0.5 sec
* Flashing red -low battery
charging indicator
* Flashing blue - charging
* Soild blue - charged
Low battery
Power button
Advertisement

Subscribe to Our Youtube Channel
Related Manuals for moon Meteor 100


Summary of Contents for moon Meteor 100
- Page 1 3.Slide headlight forward onto bracket until it clicks into place. 4.Press down release lever to remove. Thank you for choosing MOON headlight! 2. Press the power button to choose the modes: *For using this product safely and conveniently and keeping it well-preserved, please read this manual carefully before using.
- Page 2 *Do not dismantle the headlight and battery case. Normally speaking, the higher the battery capacity, the longer the MOON reserves the right to request the return of any product submitted *Provide sufficient airflow to the headlight for cooling during use.
Need help?
Do you have a question about the Meteor 100 and is the answer not in the manual?
Questions and answers