Table of Contents
Advertisement
Quick Links
The weatronic "setup wizard" - a quick guide how to add a new model /
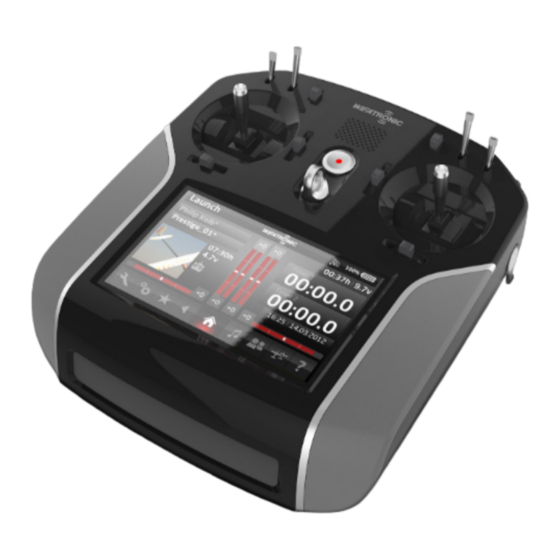
After Linux boot you will see the home screen
Der "homescreen" wird nach dem Hochfahren des
Linux angezeigt.
1.
Configurate your receiver,
especially the battery warning
threshold
Passen Sie die Einstellungen des Empfängers
an - beachten Sie bitte besonders die Warn-
schwelle der Empfängerstromversorgung
2.
Bind receiver and transmitter
Führen Sie das "Binding" durch
3.
Continue with the next step
Weiter zum nächsten Schritt
Select your stick mode
Wählen Sie Ihren "Mode"
Binding:
- Select the right receiver type
Wählen Sie den richtigen Empfängertypen.
- Set the receiver to "Binding Mode" (see receiver manual)
Bringen Sie den Empfänger in den "Binding Modus" (siehe Empfängeranleitung).
- Press "Binding" button
Berühren Sie den "Binding" Button.
ZOOM in and out
Tab on the "empty" surface and
assign the right servo plug -
repeat this for all surfaces
Drücken Sie auf die leeren "Steuerflächen" und
weisen Sie die richtigen Servosteckplätze zu.
Wiederholen Sie das für alle Steuerflächen.
Subject to change - No liability for errors and printing errors / Änderungen vorbehalten - keine Haftung für Irrtümer und Druckfehler - September 2014
weatronic ® GmbH - Schmiedestraße 2A - 15745 Wildau
Kurzanleitung um ein neues Modell hinzuzufügen
Choose a category
Wählen Sie eine Kategorie
Let`s go!
Los gehts!
For gliders with engines choose glider as well
Motorsegler auch im Reiter "Glider" anlegen
Edit the Servo name and center - adjust the limits
with the Test button on the pop-up menu
Konfigurieren Sie den Namen und die Mittelstellung des Servos. Die Limits
können mit dem Testbutton im Pop-Up Fenster kontrolliert werden.
Name your model
Vergeben Sie einen Namen
Adjust parameters to match
your model, then use arrow to
proceed
Füllen Sie zuerst die Felder entsprechend
Ihrem Modell, erst danach gehen Sie mit dem
Pfeil zum nächsten Schritt.
Tail Type = "Form des Leitwerks"
Wing = Anzahl der Steuerklappen auf den Tragflächen
Elevator = Anzahl der Steuerklappen des Höhenruders
Rudder = Anzahl der Steuerklappen des Seitenruders
- Bind complete when green LED on the receiver is solid.
Binding erfolgreich, wenn grüne LED am Empfänger dauerhaft leuchtet.
- Remove the "Binding" jumper
Entfernen Sie den "Binding" jumper!
- No red LED and no "beep" anymore on the BAT60.
Rote Status LED am BAT 60 erlischt und Warnton verstummt.
Check that every surface is linked to a servo plug!
Kontrollieren Sie, ob Sie alle Steuerflächen mit Servos verknüpft haben.
BAT 60
Structure, functions and mixers are
pre-configurated in the background.
Die Struktur, Funktionen und Mixer
werden vorkonfiguriert
Advertisement
Table of Contents

Related Manuals for Weatronic BAT 60

Summary of Contents for Weatronic BAT 60
- Page 1 The weatronic “setup wizard” - a quick guide how to add a new model / Kurzanleitung um ein neues Modell hinzuzufügen BAT 60 Name your model After Linux boot you will see the home screen Choose a category Vergeben Sie einen Namen Der "homescreen"...
- Page 2 The weatronic “setup wizard” - a quick guide how to add a new model / Kurzanleitung um ein neues Modell hinzuzufügen BAT 60 Name and configurate the Press the “+” button to add a remaining servos Configurate each function new function at the end of...
Need help?
Do you have a question about the BAT 60 and is the answer not in the manual?
Questions and answers