Advertisement
Quick Links
For safety and ease of mounting, two people working together are recommended.
Handle carefully to avoiding scratches to both the item & the wall during the mounting.
HARDWARE ENCLOSED:
(A) Drywall Anchor
x2
(B) Screw
x2
TOOLS REQUIRED:
Phillips Screwdriver / Pencil / Tape Measure / Level / Stud-finder
CAUTION: DO NOT USE A CABLE TO HANG
THIS MIRROR. THE D-RINGS MUST HANG
DIRECTLY FROM THE INSTALLED SCREWS!
Mounting Steps:
Before you get started, please determine your favorite orientation of the product and
then use the appropriate two D-rings for hanging.
1.
First, use a tape measure to measure the exact distance between the two D-
rings (measure from center to center of each D-ring, as shown).
Record this measurement as "Distance A".
2.
With the back of the item facing away from the wall, hold the item straightly at a
desired mounting location.
Use a pencil to mark the wall on each side of the item and in alignment with the
two D-rings. Then set the item aside.
3.
Connect the two marks of Step (2) with a light pencil line and use a level to
ensure the line is level.
Make two "insertion marks" centered along this line with a measurement equal to
"Distance A".
A
B
A
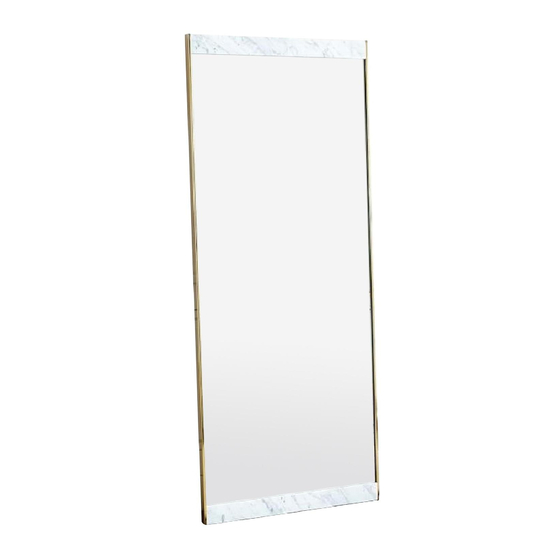
Marble + Brass Wall Mirror
MOUNTING INSTRUCTIONS
Note: The hardware included with this
item is meant for drywall or stud mounting
only. For other wall types, please consult
your local hardware store for assistance in
selecting the appropriate hardware.
B
1
1
2
2
P: 1 / 2
Advertisement

Related Manuals for West Elm Marble + Brass Wall Mirror


Summary of Contents for West Elm Marble + Brass Wall Mirror
- Page 1 Marble + Brass Wall Mirror MOUNTING INSTRUCTIONS For safety and ease of mounting, two people working together are recommended. Handle carefully to avoiding scratches to both the item & the wall during the mounting. HARDWARE ENCLOSED: Note: The hardware included with this...
- Page 2 Use a stud-finder to determine wall studs and install the proper hardware at each mark. For stud marks: Use a screwdriver to secure a screw directly into the wall remaining the screw head about 3/8 inch from the wall. For non stud marks: First install an anchor into the wall and then secure a screw into the anchor. Also, remain the screw head 3/8 inch protruded from the wall.
Need help?
Do you have a question about the Marble + Brass Wall Mirror and is the answer not in the manual?
Questions and answers