Advertisement
Quick Links
Advertisement

Related Manuals for Netatmo PRESENCE


Summary of Contents for Netatmo PRESENCE
- Page 1 MARQUE: NETATMO REFERENCE: PRESENCE CODIC: 4260708 NOTICE...
- Page 2 Découvrez Presence Prêt à enregistrer vos premières vidéos ? Téléchargez l'application sur votre smartphone ou tablette. Votre caméra sera opérationnelle dans un instant !
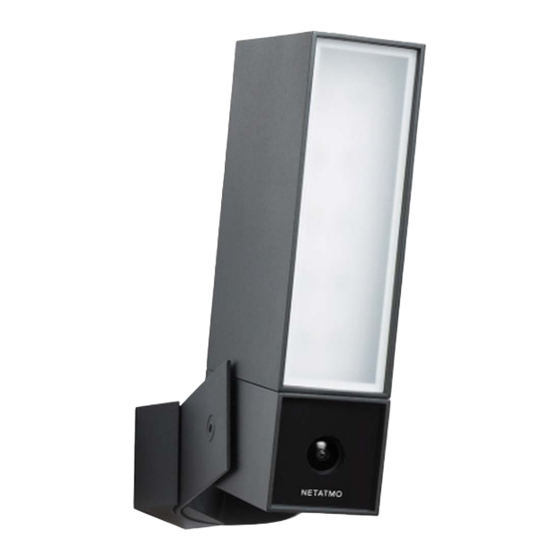
- Page 4 Pack content: (A) 1 Presence camera. (F) 2 wall screws (B) 1 mounting strap and 2 anchors. and green screws. (G) 1 protective (C) 1 mounting holder envelope. and its black screw. (H) 1 User Guide. (D) 1 Allen key.
- Page 5 Required Tools (not included): - Phillips and slotted - Caulking gun and Silicone screwdrivers. sealant (recommended tool). - Step ladder. - Level (recommended tool). - Drill - Ø6mm (only required if there is no junction box where the product is installed). Outils requis (non inclus) - Tournevis cruciforme et plat.
- Page 6 Read carefully the safety information on page 40 before proceeding to the installation. Pour un fonctionnement optimal, installez Presence à une hauteur comprise entre 2,5 mètres et 4 mètres selon une inclinaison d'environ 30º. Lisez attentivement les informations de sécurité de la page 40 avant de procéder à l'installation.
- Page 7 Wi-Fi reception at the spot you chose. If you do not, try to move your Wi-Fi router closer. Choisissez un endroit sur le mur pour installer Presence. Vérifiez avec votre smartphone que vous recevez une connexion Wi-Fi à l'endroit choisi. Dans le cas contraire, essayez...
- Page 8 Caution: electrical danger. Disconnect power at fuse or circuit breaker before proceeding to the installation. Avertissement : danger électrique. Coupez le courant au disjoncteur général avant de procéder à l'installation.
-
Page 9: Prepare The Installation
If there is a junction box behind it, go to step (3A). If there is no junction box behind it or if you ran a new wire to power Presence, go to step (3B). Préparez l'emplacement Si vous remplacez un ancien appareil d'éclairage, retirez-le. - Page 10 Secure the mounting strap to the junction box. Fasten the mounting strap (B) to your junc- tion box. Make sure that the UP sign is at the top. You can use the screws provided (E). Skip (3B) and go directly to step (4). Sécurisez la plaque de fixation à...
- Page 11 Secure the mounting strap to the wall. 45˚ Drill two holes above and to the left of the power cable and secure the mounting strap as shown in the picture. You can use the screws and anchors provided (F) or others that are better suited for your wall. Make sure that the UP sign is at the top.
- Page 12 Hang the camera with the wire tie. Carefully hang the camera with the wire tie from the green screw. Put the camera in the protective envelope (G) to avoid any damage. Suspendez la caméra à l'aide de la sangle. Suspendez avec précaution la caméra à l'aide de la sangle sur la vis verte.
-
Page 13: Connect The Wires
Connect the wires. Use the wire terminal behind the plate. Blue/White (NEUTRAL) supply wire to Blue wire Brown/Black (HOT) supply wire to Brown wire Yellow and Green (GROUND) supply wire to Yellow and Green wire Make sure the ground (GND) wire from the wire terminal is also screwed to the mounting strap (B) with the second green screw Connectez les fils. - Page 14 Secure the plate on the mounting strap. Align the central holes of the wall plate with those of the mounting strap and pass the green screw through one of the holes of the “U” shaped guide. Then turn the plate horizontal (use a level if needed) and fasten the green screw tight.
- Page 15 Secure the camera to the plate. Use the provided mounting holder and black screw (C) to secure the camera to the mounting strap and plate. You can now cut and remove the wire tie and the protective envelope. Fixez la caméra au boîtier mural. Utilisez le support de montage fourni et la vis noire (C) pour sécuriser la caméra au boîtier mural.
- Page 16 Tilt the camera to record video from the correct angle. Use the Allen key (D) to untighten the screws on the side or the back to tilt the camera. Make sure to secure them properly afterwards. Inclinez correctement la caméra pour filmer la zone à surveiller Utilisez la clé...
- Page 17 Reconnect the power. Presence will start for the first time and the light will turn on. This can take up to a minute. If the light does not turn on, go to page 34 for troubleshooting advice. Rétablissez le courant.
- Page 18 Protect the wiring. We recommend that you caulk the mounting surface on the top and sides of the plate with silicone weather sealant. Leave bottom unsealed so moisture can drain out. Protégez le câblage. Nous vous recommandons de calfeutrer l'espace entre le mur et le dessus et les côtés du boîtier mural avec le mastic silicone d'étanchéité.
-
Page 19: Download The App
To set up Presence from your smartphone or tablet, go to: https://presence.netatmo.com Presence cannot be setup from a computer. Téléchargez l'application. Pour configurer Presence de votre smartphone ou tablette, rendez-vous sur presence.netatmo.com. Presence ne peut pas être configurée depuis un ordinateur. - Page 20 Fils croisés ou fil Vérifiez les ou le disjoncteur d'alimentation en branchements. est coupé. contact avec la terre. Coupez d'abord le courant. (Retournez à l'étape 5). Pour plus de conseils d'aide, consultez la section FAQ sur l'application ou rendez-vous sur http://support.netatmo.com.
- Page 21 IMPORTANT: Safety information Class I electrical appliance: use only on 100-240 V AC 50-60Hz. Risk of electric shock or fire. A good knowledge of electrical systems is required. If not qualified, do not attempt to install. Contact a qualified electrician. Disconnect power at fuse or circuit breaker before installing or servicing.
- Page 22 FCC Statement This equipment has been tested and found to comply with the limits for a Class B digital device, pursuant to part 15 of the FCC rules. These limits are designed to provide reasonable protection against harmful interference in a residential installation. This equipment generates, uses and can radiate radio frequency energy and, if not installed and used in accordance with the instructions, may cause harmful interference to radio...
- Page 23 EU Declaration of Conformity We, Netatmo, declare that this device is in compliance with the essential requirements and other relevant provisions of Directive 1999/5/EC. Česky [Czech] - Netatmo tímto prohlašuje, že tento NOC01 je ve shodě se základními požadavky a dalšími příslušnými ustanoveními směrnice 1999/5/ES a ROHS 2011/65/ES.
- Page 24 FCC ID: N3A-NOC01 IC : 10860A-NOC01 Copyright Netatmo © 2016 All rights reserved. Reproduction and distribution prohibited without written authorization from Netatmo QSG-PR-V5...
Need help?
Do you have a question about the PRESENCE and is the answer not in the manual?
Questions and answers