Advertisement
Quick Links
Advertisement

Summary of Contents for NVU Detroit
- Page 1 PROGRAMMABLE DIESEL TACHOMETER INSTRUCTION BOOKLET REV 032120...
- Page 2 This page left blank...
- Page 3 LED dimmer if required DRIVER SOCKETS: This applies to 5 and 6 gauge kits with NVU PNP technology. 2, 3 and 4 gauge kits will not use the driver features. Refer to each wiring diagram. Plug the appropriate gauge into the socket and it will function through the master driver unit.
- Page 4 6 GAUGE KIT PROGRAMMABLE SPEEDO AND TACHOMETER WITH OLED SCREENS MASTER GAUGE WIRING All programmable speedometers and tachometers with an OLED screen of any size are master gauges that can drive minor functions. The minor gauges are driven directly by the master and no additional connections are required.
- Page 5 DIP switch settings later on page 34 C: WATER TEMPERATURE (YELLOW/GREEN WIRE) Connects to the NVU temperature sender. TACHOMETER: B: VOLTS No input wire required, internal to gauge D: OIL PRESSURE (YELLOW WIRE) Connects to NVU pressure sender .
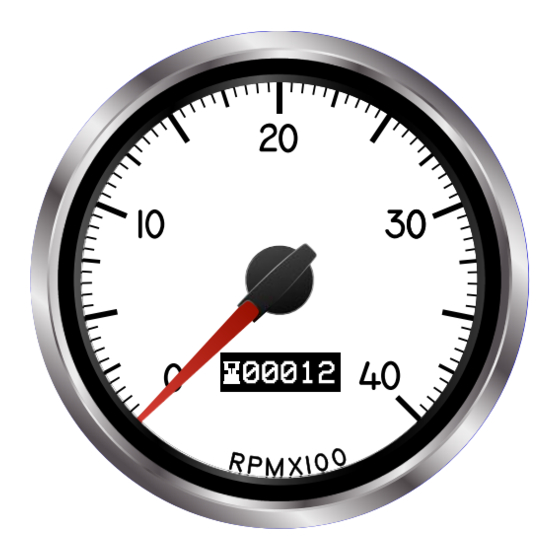
- Page 6 PROGRAMMABLE TACHOMETER WIRING Standalone tachometers with AMP plugs are incandescent perimeter, backlit or LED backlit. Incandescent bulbs will be in the access holes installed into the circuit board. DIP-switch settings are not required on tachometers . 3-3/8” and 4-3/8” are the same configuration.
-
Page 7: Installation Basics
“daisy chained” OLED DISPLAY TACHOMETERS WITH ANALOG POINTERS With all of the features packed into NVU Phoenix platform tachometers, we have divided them into different menus. Your tach has a main “RUN” Menu, and a “SETUP” menu. The RUN menu utilizes the features used during normal operation. - Page 8 RUN MENU-CONTINUED SERVICE HOURS: User resettable hourmeter to track engine use similar to a trip odometer. It is identified by the SH on the left side of the screen This can be reset just like a trip odometer, while in this screen hold down the set button until zero is displayed.
- Page 9 BOOT MENU, CONTINUED MANUAL CALIBRATE: Allows the user to set the tachometer to accommodate different number Pulses received from the input source. It is selectable from 2- 180 PPR (pulses Per revolution). To enter manual calibration mode, enter the setup menu and scroll to MANUAL CALIBRATE To set the number of PPR, Tap the button to advance the digit.
- Page 10 BOOT MENU, CONTINUED SHIFT ALERT, CONTINUED. To enter the shift alert menu, hold in the button while at the screen. The current shift point will be displayed (0000 for no shift alert). Tap the button to change the first digit which will be highlighted. Each tap will advance the digit by one number.
- Page 11 This page left blank...
-
Page 12: Tech Support
THANK YOU Thank you for choosing NVU products. We strive to provide the finest quality and designed products available on the market. TECH SUPPORT DO NOT contact the retailer for tech/installation assistance. The retailer will not have the technical expertise to know the contents of the kit or the nuances of installing in your specific vehicle.


Need help?
Do you have a question about the Detroit and is the answer not in the manual?
Questions and answers