
Related Manuals for EXPO Quadro Vino


Summary of Contents for EXPO Quadro Vino
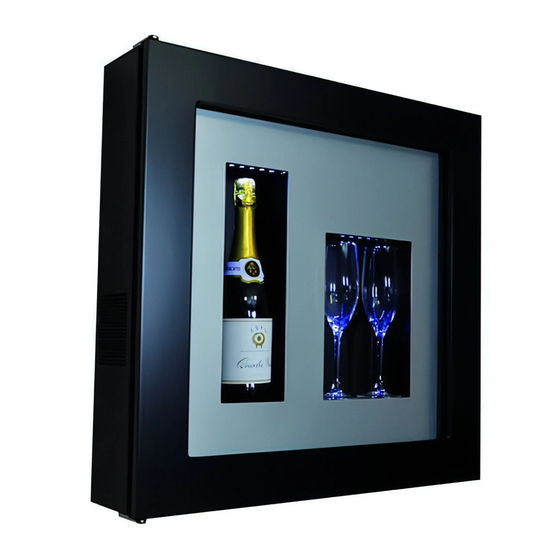
- Page 1 Quadro Vino MANUALE DI MANUTENZIONE SERVICE MANUAL • MANUEL D’ENTRETIEN WARTUNGSHANDBUCH • MANUAL DE MANTENIMIENTO QV12 E X P O’ S R L • To r i n o • I TA LY...
-
Page 2: Sostituzione Dell'alimentatore
ITALIANO GUIDA ALLA RISOLUZIONE DEI PROBLEMI Problema Possibile causa Risoluzione Apparecchio non collegato Controllare il collegamento alla presa elettrica L’apparecchio non si accende Alimentatore guasto Sostituire alimentatore ( D ) La ventola interna è ferma Non vi è alcun raffreddamento La ventola esterna è... - Page 3 ITALIANO E. SOSTITUZIONE DEI LED (durata operazione circa 10 minuti) E1 . Scollegare i cavi dei led E2 . Allentare le viti che fissano le E3 . Estrarre le barre led difettose E4 . Inserire le nuove barrette led svitando i morsetti barre led ai carter metallici facendo coincidere i led con i fori del carter, riavvitare e ricollegare.
-
Page 4: Remove The Door
ENGLISH GUIDE TO TECHNICAL TROUBLESHOOTING Problem Potential cause Resolution Device disconnected Check the connection to the electrical socket The device doesn’t turn on Faulty power supply Replace the power supply device ( D ) The inside fan is not operating Cooling is not working at all The outside fan is not operating Replace the thermoelectric system ( F ) -
Page 5: Led Replacement
ENGLISH E. LED REPLACEMENT (operation time 10 min) E1 . Disconnect the LED cables E2 . Loosen the screws that fix the E3 . Remove the defective LED bar E4 . Insert the new LED bar unscrewing the terminals LED bar to the metal casing repositioning each bulb in its hole in the casing, screw back and reconnect. - Page 6 FRANÇAIS GUIDE DE DEPANNAGE TECHNIQUE Problème Cause potentielle Resolution Le dispositif est déconnecté Verifier la connextion à la prise de courant L’appareil ne s’allume pas Alimentateur défecteux Remplacer le dispositive d’alimentation ( D ) Le ventilateur intérieur ne fonctionne pas Le refroidissement ne fonctionne pas du tout Le ventilateur extérieur ne fonctionne pas Remplacer le système thermoélectrique ( F )
- Page 7 FRANÇAIS E. REMPLACEMENT BANDE LED (temps d’operation environ 10 min) E1 . Débranchez les câbles LED en E2 . Desserer les vis qui fixent la E3 . Retirer les barres LED défecteuses E4 . Insérer les nouvelles barres dévissant les bornes barre des LED aux carters LED en repositionnant chaque metalliques...
- Page 8 DEUTSCH ANLEITUNG ZUR FEHLERBESEITIGUNG Fehler Mögliche Ursache Lösung Das Gerät ist nicht angeschlossen Überprüfen Sie den Anschluss an das Stromnetz Das Gerät lässt sich nicht einschalten Zuführer funktioniert nicht Zuführer ersetzen ( D ) Der interne Lüfter dreht nicht Das Gerät kühlt nicht Der Aussenlüfter dreht nicht Thermoelektrische System ersetzen ( F ) Ausfall des Thermoelektrischen Systems...
- Page 9 DEUTSCH E. AUSTAUSCH LED LICHTER (Vorgangsdauer ca. 10 Minuten) E1 . Lösen Sie die Led Kabel durch E2 . Lockern Sie die Schrauben E3 . Die defekten Ledstreifen E4 . Fügen Sie die neuen Ledstreifen Lösen der Klammern. die die Ledstreifen an den herausziehen.
-
Page 10: Desconectar El Aparato
ESPAÑOL GUÍA A LA SOLUCIÓN DE PROBLEMAS Problema Posible Causa Resolución Aparato no está contectado Comprobar la conexión a la toma eléctrica La unidad no ce enciende Fuente de alimentación no funciona Reemplazar la fuente de alimentación ( D ) El ventilador interior no funciona No hay refrigeración El ventilador exterior no funciona... - Page 11 ESPAÑOL E. SUSTITUCIÓN DE LED (dure de la operación aproximadamente 10 minutos) E1 . Desconectar los cables E2 . Aflojar los tornillos que fijan E3 . Tirar las barras de led defectuosas. E4 . Insertar las nuevas barras de led, aflojando las pinzas.
Need help?
Do you have a question about the Quadro Vino and is the answer not in the manual?
Questions and answers