Advertisement
Quick Links
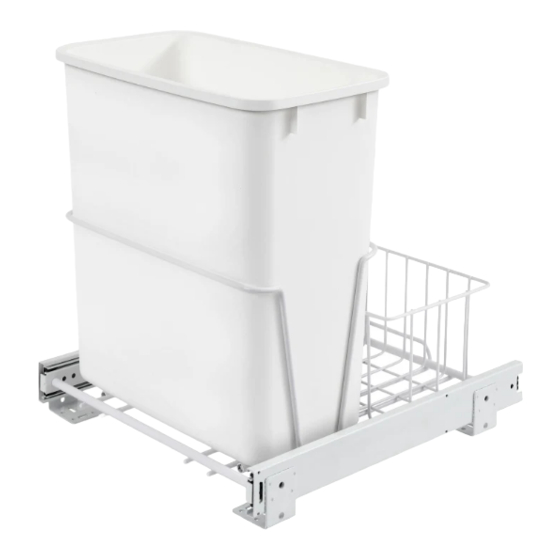
DOOR MOUNT KIT
TOOLS REQUIRED:
#2
#2
ESTIMATED ASSEMBLY TIME:
20 MIN
CARE AND MAINTENANCE:
Clean with a damp cloth and
wipe parts dry.
NOTE:
The door mount kit is de-
signed to work with almost
any RV series waste con-
tainer, Single and Two-Tier
pull-out baskets, Two-Tier
Cookware Organizers and
certain Hampers. This kit has
a patented design to work
with virtually all cabinet door
designs.
(US Patent No. 6,390,576)
WATCH TUTORIALS OF OUR
PRODUCTS BEING INSTALLED
WWW.REV-A-SHELF.COM/VIDEOS
#2
#2
1
3
16
8
#2
#1
1
3
2
8
PARTS LIST:
No.
Description
A
Door Brackets
B
L Brackets
2"
C
Screws and Nuts
Wood Screws
D
E
Machine Screws
F
Door Extenders
G
Double Stick Tape
C)
INSTALLATION INSTRUCTIONS: DOOR MOUNT KIT
1
4
3
7
32
64
5
5
16
8
1"
D)
E)
12400 Earl Jones Way
Louisville, KY 40299
rev-a-shelf.com
800-626-1126
1
8
QTY.
A)
2
2
4
90˚
B)
6
4
4
4
F)
G)
I-RV-DMKIT-0620
Advertisement

Related Manuals for Rev-A-Shelf RV-14PB S

Summary of Contents for Rev-A-Shelf RV-14PB S
- Page 1 12400 Earl Jones Way Louisville, KY 40299 rev-a-shelf.com 800-626-1126 DOOR MOUNT KIT TOOLS REQUIRED: ESTIMATED ASSEMBLY TIME: 20 MIN CARE AND MAINTENANCE: Clean with a damp cloth and wipe parts dry. NOTE: The door mount kit is de- PARTS LIST:...
- Page 2 L-Brackets will mount on either the inside or outside of wire. (See Figure B). Inside wire shown STEP 3A FIG. C Attach the door brackets to the outside of the L-brackets using the (4) provided screws. (See Figure C) 800-626-1126 | rev-a-shelf.com...
- Page 3 STEP 3B FIG. D Since each cabinet door is different make sure the door brackets line up with the thick portion of the cabinet door. This will ensure that the screws will not run thru and damage your door. (See Figure D) STEP 3C FIG.
- Page 4 Now that cabinet door is FIG. H attached you will be able to fully adjust the door by loosening and positioning the bolts. Once the door is in the correct alignment, you can retighten all (4) bolts. (See Figure H) 800-626-1126 | rev-a-shelf.com...
- Page 5 12400 Earl Jones Way Louisville, KY 40299 rev-a-shelf.com 800-626-1126 INSTRUCCIONES DE INSTALACIÓN / LES INSTRUCTIONS D’INSTALLATION KIT DE MONTAJE DE PUERTA / KIT DE MONTAGE POUR PORTE Herramientas requeridas: Outils Requis: Tiempo estimado de ensamblado Durée de l’installation: 20 MIN Cuidado/ Entretien: Limpie con un paño húmedo y...
- Page 6 L, utilizando los cuatro tornillos que se proveen. (Vea la Figura C) Attachez les supports de porte à l’extérieur des équerres de support avec les 4 vis fournies. (Voir Figure C) 800-626-1126 | rev-a-shelf.com...
- Page 7 PASO 3B / ÉTAPE 3B FIG. D Cada puerta de gabinete es diferente, pero asegúrese de que el soporte de la puerta se alinea con la porción gruesa de la puerta del gabinete. Esto asegurará que los tornillos no se atraviesen ni dañen su puerta.
- Page 8 Maintenant que la porte de l’armoire est attachée, vous pouvez ajuster la porte complètement en desserrant et en positionnant les boulons. Une fois que la porte est bien alignée, vous pouvez resserrer tous les 4 boulons. (Voir Figure H) 800-626-1126 | rev-a-shelf.com...
Need help?
Do you have a question about the RV-14PB S and is the answer not in the manual?
Questions and answers