Table of Contents

Related Manuals for Hanwha Wisenet LPR

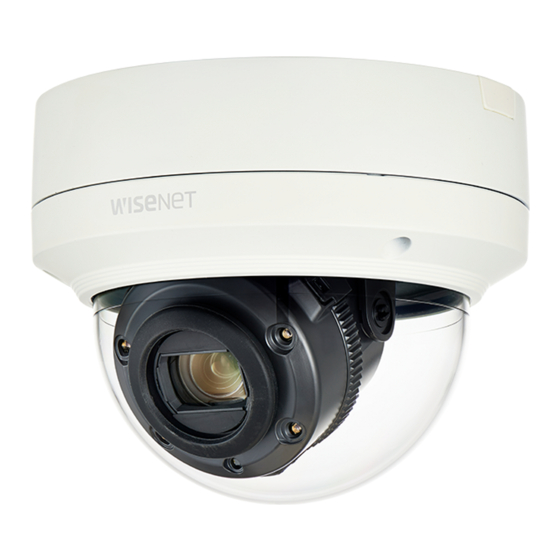
Summary of Contents for Hanwha Wisenet LPR
- Page 1 License Plate Recognition (LPR) QUICK REFERENCE GUIDE This product MUST be installed by a certified Hanwha STEP Partner! PRE-INSTALLATION INSTALLING AND POSITIONING CAMERA CONFIGURING YOUR CAMERA CONFIGURE LPR APPLICATION...
-
Page 2: Table Of Contents
CONTENTS PRE-INSTALLATION CONFIGURING YOUR CAMERA 1.1 Choosing a Location 3.1 Field of View 1.2 Measure 3.2 Simple Focus on Plate Read Area 1.3 Checking Camera Position 3.3 Confi gure Initial Camera Settings 3.4 Observing Proper Installation INSTALLING AND 3.5 Examples of Improper Install POSITIONING CAMERA 3.6 Verify Plate Rotation is Correct 2.1 Camera Installation... -
Page 3: Pre-Installation
PRE-INSTALLATION 1.1 Choosing a Location The license plate recognition (LPR) technology running on this camera will provide you with the best results when following the recommended installation constraints below. Fig. 1 Recommended Camera shown from side 20 degrees Maximum Vertical Angle 40 feet Maximum Forward Distance 20 º... -
Page 4: Measure
1.2 Measure For this step you will need three measurements in feet. Lane Offset (from center of plate to the line parallel to the curb intersecting the bottom of the camera) Forward Distance (min and max expected) Camera Height (min and max expected) Forward Distance Lane Offset Your... - Page 5 - such as for installations that fall somewhere between the offset, forward distance, or height shown, please consult Detailed LPR Install Tables article in the Hanwha Knowledge Base. 10 ’ 5 ’...
-
Page 6: Installing And Positioning Camera
INSTALLING AND POSITIONING CAMERA 2.1 Camera Installation NOTE: Refer to XNO-6120R or XNV-6120R installation guide and follow the installation instructions. 2.2 Adjust for Plate “Rotation” Angle For best results, check the angle of your plate compared to the horizontal angle and rotate the camera to less than 3°... -
Page 7: Configuring Your Camera
CONFIGURING YOUR CAMERA NOTE: The default username and password to access the camera settings are: 1) User Name: admin 2) Password: Same as the MAC Address of the unit (numbers and uppercase letters only) 3) Please change the default password at the first instance when you access the camera settings. -
Page 8: Configure Initial Camera Settings
3. 3 Configure Initial Camera Settings Choose the location below that best describes your LPR needs. FREE FLOW (Plate read while moving up to 35MPH) STOP N' GO (Plate read while stopped) SSDR : Levels can increase the brightness SSDR Enables * - Tune this setting in step 4 Enable Level... -
Page 9: Observing Proper Installation
3. 3 (Continued) FREE FLOW (Plate read while moving up to 35MPH) STOP N' GO (Plate read while stopped) FOCUS Mode Manual Manual Digital Zoom Zoom Mode Manual Manual Zoom Speed Fast Fast Lens Reset Manual Manual IR : Built in ir light helps to illuminate reflective plates specially when the environment has low light condition Mode Manual Manual... -
Page 10: Examples Of Improper Install
3.5 Examples of IMPROPER Installation Too Far Too Dark Not Focused Washed Out and Over Exposed Car Too Fast, Not Zoomed in, Cut off Not Zoomed In... -
Page 11: Verify Plate Rotation Is Correct
3.6 Verify Plate Rotation is Correct After plate area focus is complete, verify that you successfully rotated the camera less than 3° angle as shown below. Recommended Angle(s) >3° 3° CONFIGURE LPR APPLICATION 4.1 Optimizing the LPR Application Settings LPR application is an open platform application pre-installed and licensed along with the camera. Connect to camera browser Open Platform through the... - Page 12 Once you are in the app, another browser tab will open up. Navigate to the Setup tab as shown. OCR Settings Confi gure as follows and observe the read accuracy as the cars pass through. Character height Min. Character height Max. Threshold Plate color Dark Text on light background...
-
Page 13: Adjusting The Zoom Level
NOTE: Observe the dial position as the pointer moves through the dial. Ideally you should target the vehicle to be at the center of the image, well zoomed in as in the above picture. Notice the Threshold on the image is 100%, Dial pointer is at the center of the Plate Height gauge and... -
Page 14: Fine Tuning Settings
4.3 Fine Tuning Settings Try changing the following settings for a clear picture. Check for Character Height & Threshold • Check the “Char height Min” (Minimum Character Height) to the number of pixels [pixels] expected by software, while “Char height Max”... -
Page 15: Adjust For Plate Text Contrast & Plate
Adjust for Plate Text Contrast & Plate Correction Settings Plate Color: Here you will be allowed to set the plate color and background with the options above. • Our recommendation is to set it as “Dark text on white background” to easily identify the number plates. Correction: Opening the “Correction”... - Page 16 DESIGN AND SPECIFICATIONS ARE SUBJECT TO CHANGE WITHOUT NOTICE Under no circumstances, this document shall be reproduced, distributed or changed, partially or wholly, without formal authorization of Hanwha Techwin Co.,Ltd. * Wisenet is the proprietary brand of Hanwha Techwin, formerly known as Samsung Techwin.
Need help?
Do you have a question about the Wisenet LPR and is the answer not in the manual?
Questions and answers