Table of Contents
Advertisement
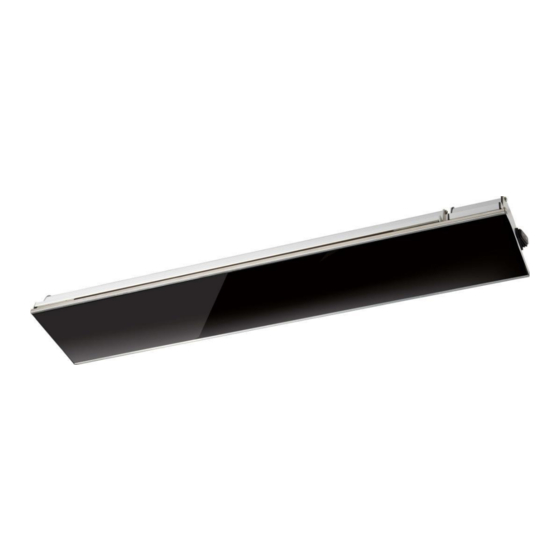
Ceramic Infrared Outdoor Heater
Instruction Manual
Model: EOHA22GR
IMPORTANT:
Please carefully read the Operation Manual before using the infrared
heater.
This Operation Manual contains the important information on your
safety, as well as some recommendations on proper use
of the appliance and its maintenance.
Advertisement
Table of Contents

Subscribe to Our Youtube Channel
Related Manuals for Excelair EOHA22GR

Summary of Contents for Excelair EOHA22GR
- Page 1 Ceramic Infrared Outdoor Heater Instruction Manual Model: EOHA22GR IMPORTANT: Please carefully read the Operation Manual before using the infrared heater. This Operation Manual contains the important information on your safety, as well as some recommendations on proper use of the appliance and its maintenance.
-
Page 2: Table Of Contents
TABLE OF CONTENTS CONTENTS PAGE 3 SAFETY INSTRUCTIONS PAGE 3-5 HEATER COMPONENTS PAGE 6 TECHNICAL SPECIFICATIONS PAGE 6 OPERATING THE HEATER PAGE 7-9 BEFORE INSTALLATION PAGE 10 INSTALLATION WALL MOUNT PAGE 11-13 TROUBLESHOOTING PAGE 14 WIRING DIAGRAM PAGE 15 MAINTENANCE PAGE 15 WARRANTY INFORMATION PAGE 15... -
Page 3: Contents
CONTENTS INCLUDED Heater fitted with flexible cord and plug. Operating and Installation Instructions. One small box contains 2 sets of Brackets. One remote controller SAFETY INSTRUCTIONS During use of the infrared heater, it is necessary to observe some precautions. - Page 4 To avoid burns, do not touch the appliance surface by hand and other body parts. It is also necessary to avoid touching the heater whilst the appliance is switched on, as severe burns may result. The appliance can take up to 1 hour to cool down after switching it off.
- Page 5 This appliance is not intended for use by persons (including children) with reduced physical, sensory or mental capabilities, or lack of experience and knowledge, unless they have been given supervision or instruction concerning use of the appliance by a person responsible for their safety. ...
-
Page 6: Heater Components
1. Ceramic Glass Panel 2. ON/OFF main power switch 3. Power cord and plug 4. Bracket for wall mounting 5. Remote control TECHNICAL SPECIFICATIONS MODEL EOHA22GR VOLTAGE 230-240V RATED POWER (W) 2200 INSTALLATION Wall mount 2.2 – 2.5 mtr MOUNTING HEIGHT... -
Page 7: Operating The Heater
OPERATING THE HEATER WARNING! Slight crackles may be heard during the heating or cooling period. This is normal operational noise. NOTE: After switching on the appliance for the first time and following extended periods on non-use, the appliance may expel a slight odour for a short time. It will not affect the use of the heater. - Page 8 2. Point the remote control directly to the receiver, press the “ON” button on remote, the device will sound 1 beep and the unit will start to heat in high power mode (100% of the rated power) and all three heat lamp indicators will turn red. Refer to the (picture 2) PICTURE 2.
- Page 9 TIMER FUNCTION: 1. To activate the AUTOMATIC SHUT OFF TIMER for 1 HOUR, point the remote control directly to the receiver and press the“1hr” button, the 1st of the timer lamp indicators will turn green in color. The device will be powered off after 1 hour, returning to standby mode and the heat lamp indicator light will turn red and flash.
-
Page 10: Before Installation
BEFORE INSTALLATION Before installation, read the manual carefully. The heater must be installed in accordance with the manufacturer’s installation instructions. This heater comes with a pair of stainless steel adjustable angle mounting brackets. The adjustable angle enables the heater to be installed on vertical, horizontal and inclined surfaces. -
Page 11: Installation Wall Mount
INSTALLATION 1. Open the box and carefully take the heater out. 2. Take out the packing paper sheet from the end of heater 3. Take out one pair of mounting Brackets. These adjustable brackets allow the product to be mounted to a wall and come with preset angle options of parallel, 15°, 30°, 45°... - Page 12 5. Install two brackets on the wall with the following minimum recommended bracket distance “B” 500±50 mm. 6. Set the adjustable angle mounting brackets to desired angle and fasten brackets by spanner .For wall mounted installation, the available mount angles are restricted to 15°, 30°...
- Page 13 CONNECTION TO ELECTRIC MAINS • The heater is designed for connection to the single-phase 230-240V~ 50HZ electric mains equipped with a earth. • Before connection, make sure that specifications of the electric mains at the connection point meet the single-phase 230-240V~ 50Hz voltage. •...
-
Page 14: Troubleshooting
TROUBLESHOOTING SYMPTOM CAUSE No Heat / No operation Check that power is connected and switched on indicator This is caused by oil or dust left over from the Heater smells when first used. manufacturing process and will stop after a short time Faint smell for short periods This is normal and should stop after a short time... -
Page 15: Wiring Diagram
MAINTENANCE • Any maintenance should only be carried out by a qualified electrician. • During operation, it is necessary to periodically (once a year) check the electric cable contacts and terminal connectors for good tightening. • If the body becomes dirty, wipe off dust with a towel, and the radiating boards should be wiped in cold condition with a damp soft rag.
Need help?
Do you have a question about the EOHA22GR and is the answer not in the manual?
Questions and answers