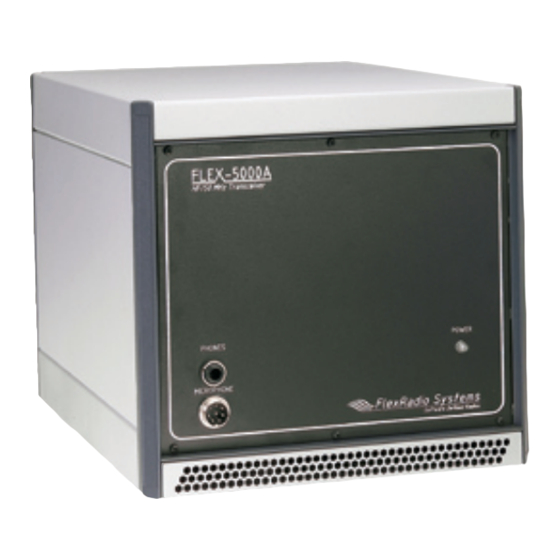
FlexRadio Systems FLEX-5000A Installation Instructions Manual
Antenna tuning unit
Hide thumbs
Also See for FLEX-5000A:
- Specification (7 pages) ,
- Quick start manual (8 pages) ,
- Owner's manual (222 pages)

Related Manuals for FlexRadio Systems FLEX-5000A


Summary of Contents for FlexRadio Systems FLEX-5000A
- Page 1 FLEX-5000A ANTENNA TUNING UNIT (ATU) INSTALLATION INSTRUCTIONS ATU Board Revision 52B and above Revided: March 14, 2013 © 2013 Flex Radio Systems. All rights reserved.
-
Page 2: Required Software
The ATU is designated as a user or field installable upgrade only if the FLEX-VU5K (V/U module) is NOT previously installed. If a FLEX-VU5K is installed in your FLEX-5000, then you must return it to an authorized FlexRadio Systems Service Center for installation. Installation charges are applicable. -
Page 3: Remove The Side Panels
Remove the Side Panels. In addition to the instructions below, you may refer to the KB article, How to Remove and Install the FLEX-5000A Top and Side Panels as a supplementary resource for removing the covers of the FLEX-5000A. http://kc.flex-radio.com/KnowledgebaseArticle50382.aspx) a. - Page 4 Remove the Top Panel a. Using the T-20 Torx driver, remove the four (4) screws fastening the top cover to the chassis. Figure 3 b. Using your hands, place your thumbs on the dark grey side support pieces and using your fingers grip the lip of the panel and flex it out slightly, while lifting up.
- Page 5 Installing the ATU inside the FLEX -5000 a. [Step only needed for older FLEX-5000s that do not have the threaded posts already installed] Remove the four (4) nuts that are holding down the PA board, but leave the flat washers in place. Do not discard the hex nuts.
- Page 6 d. Locate the metal RF shield, and observing the orientation of the mounting holes, place the shield on top of the 3/4” (1.9 cm) spacers with the spacer threads protruding from the tops of the metal RF shield. (See Figure 6) Figure 6 - Placement of RF shield on top of 3/4"...
- Page 7 e. Install one (1) flat washer and one (1) internal tooth lock washer over each of the four (4) screws protruding through the metal RF shield as shown in Figure 7. Figure 7 - Flat washer and internal tooth lock washers on top of RF shield f.
- Page 8 g. Carefully position the ATU over the 1/4” (6.35 mm) spacers with the BNC connectors facing the rear of the FLEX- 5000. (See Figure 9) Figure 9 - Placement of ATU onto spacers above shield h. Install one (1) flat washer, one (1) internal tooth lock washer, and one (1) hex nut over each of the four (4) screws upon which the ATU is mounted.
- Page 9 i. Connect the other end of the ATU control ribbon cable to connector labeled “P1” on the side of the ATU board located towards the front of the FLEX-5000. The red strip (pin 1) on the cable is oriented towards the front of the FLEX-5000.
- Page 10 Install the power connector and all other connecting cables. Install the latest version of PowerSDR a. Download PowerSDR (v2.0.22 minimum) from the FlexRadio Systems web site (www.flexradio.com) b. Run the PowerSDR Integrated Installer to ensure that the latest Firewire drivers and firmware are installed to...
- Page 11 Verify that PowerSDR Recognizes the N ewly Installed ATU a. Start PowerSDR. b. Select the “Setup” tab in the upper left of the PowerSDR screen. c. Select the “General” tab. d. In the “Config” section, make sure ‘ATU’ is present and shows the proper serial number and revision 52B (or higher) in parentheses.
Need help?
Do you have a question about the FLEX-5000A and is the answer not in the manual?
Questions and answers