
Subscribe to Our Youtube Channel
Related Manuals for U-Line H-1119

Summary of Contents for U-Line H-1119
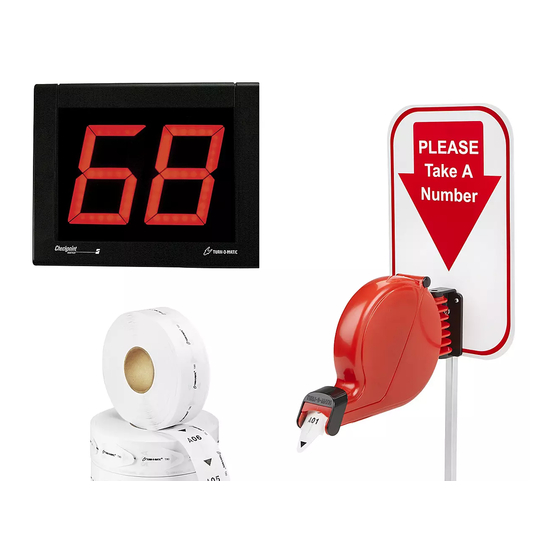
- Page 1 H-1119 1-800-295-5510 uline.com TAKE-A-NUMBER SYSTEM Tools needed Large Flat Head Screwdriver Mini Flat Head Screwdriver Phillips Screwdriver Wire Cutter PAGE 1 OF 6 0614 IH-1119...
-
Page 2: Parts List
ParTs lIsT COUNT PIECES BEFORE ASSEMBLING CONTENTS OF SMALL BOX INSIDE THE DISPENSER (The Dispenser) Large Slotted Screws x 3 Large Slotted Bolts x 2 Mounting Bracket (Dispenser) x 1 Nuts x 2 Dispenser x 1 AC Power Supply x 1 Allen Wrench x 1 (used to disconnect bottom base from... -
Page 3: Operation
oPeraTIon and Use oF dIsPenser oPeraTIon noTe: For permanent mounting using the base of stand as a template, mark and drill 4 holes 1. Customer takes a number from the Dispenser and and secure base of stand to surface with 4 waits until the number appears on the Indicator. - Page 4 IndICaTor - MoUnTInG and InsTallaTIon eleCTronIC IndICaTor 3. On the underside of one push button: Loosen screws. Wrap one wire end around one screw post MOUNTING BRACKET TO WALL and wrap the other wire end around the other screw post. Retighten the screws. (See Figure 9) 1.
- Page 5 IndICaTor - MoUnTInG and InsTallaTIon ConTInUed CONNECTING AC POWER SUPPLY seT-UP WarnInG! do not connect Indicator to power SETTING SOUND TONE AND VOLUME until all push button and power cord wiring Use a mini screwdriver to change the tone and volume connections are complete.
-
Page 6: Indicator Set-Up
IndICaTor - MoUnTInG and InsTallaTIon ConTInUed INDICATOR SET-UP Delay Time (seconds) Restart the Indicator by unplugging it and plugging it back in. Hold down one of the (+) push buttons while the Indicator Start-up displays “RUN” to enter the set-up options.
Need help?
Do you have a question about the H-1119 and is the answer not in the manual?
Questions and answers