Advertisement
Quick Links
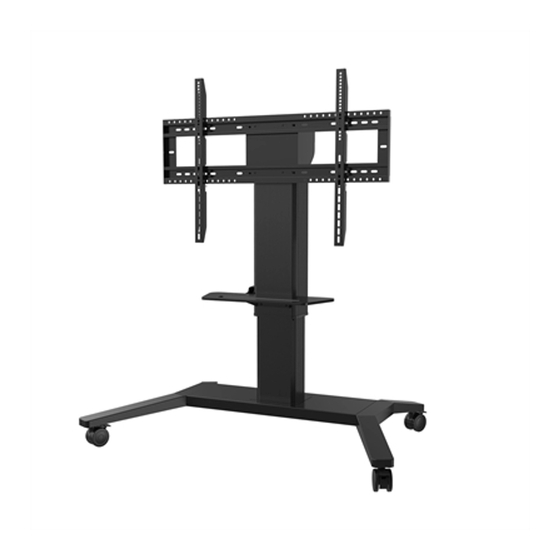
For using this product properly and safely, please follow the
contents of the Installation and Operation Manual to install.
It is suggested that this Electric Stand applies to the 55-75
inch intelligent panel.
This stand can carry a maximum weight of 100KG.
Advertisement

Summary of Contents for BOXLIGHT ProColor IFPD
- Page 1 For using this product properly and safely, please follow the contents of the Installation and Operation Manual to install. It is suggested that this Electric Stand applies to the 55-75 inch intelligent panel. This stand can carry a maximum weight of 100KG. ...
- Page 2 Accessories Base (1pcs) Lifting column (1pcs) Wall Mount (1pcs) shelf(1pcs) Control pad box Hanging bar (2pcs) Control pad (1pcs) AC Power Cable (1pcs) A -Base(1pcs) B-Lifting column -(1pcs) USB transferable Cable(1pcs) AC Power transferable Cable (1pcs) ...
- Page 3 Step1: Install the Wall Mount C on the lifting column B (figure 1). figure 1...
- Page 4 Step2: Install the shelf D on the lifting column B(figure 2). figure 2...
- Page 5 Step3: Connect the power cable between the lifting column B and the base A, install the lifting column and tighten the screws (figure 3). figure 3...
- Page 6 Step4: Install the Control pad box E on the lifting column B (figure 4). figure 4 Step5: When using the Electric Stand, the control pad and the AC power cable should be connected to the Electric Stand, and connected to the power supply (figure 5).
- Page 7 Step6: Turn the Wall Mount C from horizontal to vertical. For details, refer to the Quick Start Guide.(figure 6). figure 6 Step7: Assemble the Interactive Flat Panel and hanging bar F with right screw(②or⑦)based on actual use demand. (figure 7). Munting hole K ②or⑦...
- Page 8 Step8: Hang the Interactive Flat Panel to the Electric Stand by Wall Mount, and tighten the screws (figure 8). figure 8 Step9: Plugging the AC Power transferable Cable and the USB transferable Cable in, user can interact with the Interactive Flat Panel (figure 9).
- Page 9 Step10: Done, as shown in figure 10. figure 10...

Need help?
Do you have a question about the ProColor IFPD and is the answer not in the manual?
Questions and answers