Advertisement
Quick Links
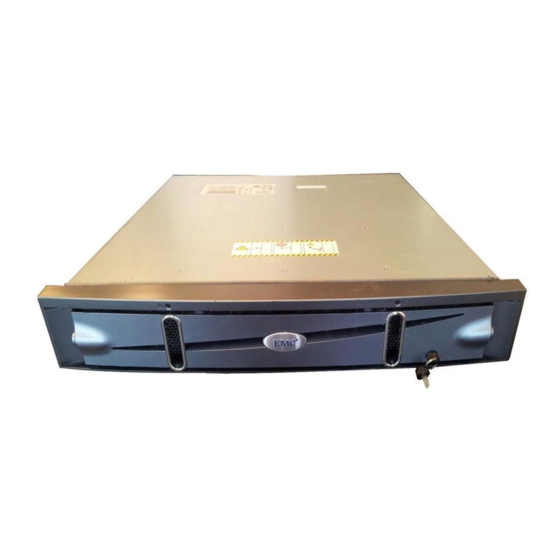
This document describes how to replace the dual in-line memory
modules (DIMMs, or memory cards) on an AX100-Series motherboard.
Topics include
Handling FRUs ......................................................................................2
Removing the Storage Processor Assembly ......................................4
Replacing the Memory Card................................................................9
Replacing the Storage Processor Assembly ..................................... 11
For greater clarity, the illustrations in this note show the storage-system chassis
independent of a cabinet or deskside mounting hardware.
Replacing a Memory Card
AX100-Series
Revision A03
June 6, 2005
1
Advertisement

Related Manuals for EMC AX100 Series


Summary of Contents for EMC AX100 Series
- Page 1 AX100-Series Replacing a Memory Card Revision A03 June 6, 2005 This document describes how to replace the dual in-line memory modules (DIMMs, or memory cards) on an AX100-Series motherboard. Topics include Handling FRUs ..................2 Removing the Storage Processor Assembly ........4 Replacing the Memory Card..............9 Replacing the Storage Processor Assembly ........
-
Page 2: Handling Frus
Handling FRUs Handling FRUs This section describes the precautions that you must take and the general procedures you must follow when removing, installing, and storing memory cards, the storage processor assembly, or any other field replaceable unit (FRU). Power Issues and AX100-Series storage systems are designed to be powered up FRUs continually. - Page 3 Handling FRUs Use the ESD kit when handling any FRU. If an emergency arises and the ESD kit is not available, follow the procedures in the Emergency Procedures (Without an ESD Kit) section. Emergency In an emergency when an ESD kit is not available, use the following Procedures (Without procedures to reduce the possibility of an electrostatic discharge by an ESD Kit)
-
Page 4: Removing The Storage Processor Assembly
Removing the Storage Processor Assembly Removing the Storage Processor Assembly Removing the storage processor assembly from the AX100-Series chassis provides access to internal parts that you can replace, including memory cards, system and CPU fans, and, on AX100SC/AX100SCi models, a battery-backed cache card. 1. - Page 5 Removing the Storage Processor Assembly CAUTION The SP assembly weighs approximately 20 pounds (9 kg) and comes completely out of the storage-system chassis; be prepared to support the assembly without dropping it. a. For systems with knob-style securing latches at either side of the storage processor assembly, turn the latches 1/4 turn —...
- Page 6 Removing the Storage Processor Assembly Spring Release EMC3119 Removing the SP Assembly (Hoop Latches) Figure 3 5. Place the assembly on a clean, anti-static surface. AX100-Series Replacing a Memory Card...
- Page 7 Removing the Storage Processor Assembly Removing the SP Assembly Cover 1. Facing the assembly from the rear, press the cover release buttons on each side of the SP assembly as you pull the cover back with your thumbs. This action, shown in Figure 4, releases the cover from the SP assembly chassis.
- Page 8 Removing the Storage Processor Assembly Tabs Tab Slots EMC2816 Figure 5 Lifting the Cover from the SP Assembly Chassis 3. Without straining the power cord cluster(s), turn the cover over and rest it against the side and the system fans, as shown in Figure 6. EMC2817 Resting the Cover Against the SP Assembly Chassis Figure 6...
-
Page 9: Replacing The Memory Card
Replacing the Memory Card Replacing the Memory Card Make sure you have an ESD wriststrap attached to your wrist as you perform the following steps. The illustrations in this section show the replacement of the SP A memory card, in an AX100SC/AX100SCi. The memory card for SP B and the procedure to remove it are identical, except that the second memory card resides to the left (from the system rear) of SP A. - Page 10 Replacing the Memory Card Replacing the Memory Card 1. Remove the replacement card from its antistatic bag. 2. Handling only the outside edges, align the new memory card with the motherboard connector. Note that the connector and card are keyed to prevent incorrect alignment. 3.
-
Page 11: Replacing The Storage Processor Assembly
Replacing the Storage Processor Assembly Replacing the Storage Processor Assembly Follow these steps to replace the storage processor assembly in the AX100-Series chassis. Replacing the SP Assembly Cover 1. Without straining the power cord cluster(s), turn the cover over and into position on the SP assembly chassis. - Page 12 Replacing the Storage Processor Assembly Released Position Finger Hold EMC2825 Installing the SP Assembly in the Chassis (Knob Latches) Figure 10 b. For systems with hoop-style securing latches at either side of the storage processor assembly, simply push the storage processor assembly directly into the chassis, as shown in Figure 11.
- Page 13 Replacing the Storage Processor Assembly 4. Power up the storage system. AX100-Series Replacing a Memory Card...
- Page 14 Replacing the Storage Processor Assembly Copyright © 2004, 2005 EMC Corporation. All Rights Reserved. EMC believes the information in this publication is accurate as of its publication date. The information is subject to change without notice. THE INFORMATION IN THIS PUBLICATION IS PROVIDED "AS IS." EMC CORPORATION MAKES NO...
Need help?
Do you have a question about the AX100 Series and is the answer not in the manual?
Questions and answers