Advertisement
Quick Links
Advertisement

Subscribe to Our Youtube Channel
Related Manuals for Runfine DESA 8 Drawer Dresser


Summary of Contents for Runfine DESA 8 Drawer Dresser
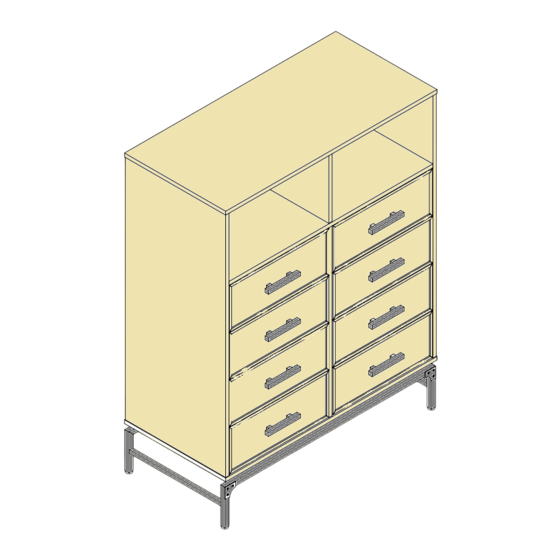
- Page 1 DESA COLLECTION 8 Drawer Dresser Item # RFIB0003 >> assembly instructions...
-
Page 2: Before You Begin
Thank you for purchase RUNFINE product : before you begin Check for damaged or missing parts. Contact info@runfinegroups.com to order missing supplies. Desa collection 8 Drawer Dresser RFIB0003 2. Use the carton as a working surface to prevent product damage during assembly. - Page 3 table of contents introduction table of contents hardware parts list how to use the cam lock system assembly 7-18 QUESTIONS? Just contact info@runfinegroups.com for part and service. For later service have the item number ready when calling...
- Page 4 hardware (H1) x 24 (H2) x 30 (H3) x 30 (H4) x6 Cam Lock Bolt " Barrel nut Dowel (H5) x 6 (H6) x 18 (H7) x 18 (H8) x 1 Allen Wrench " *3" Machine Screw " Lock Washer "...
-
Page 5: Item Description
ITEM DESCRIPTION QUANTITY ITEM DESCRIPTION QUANTITY top panel lower back panel left panel front metal frame right panel back metal frame upper middle fixed divider side metal rail middle fixed shelf upper metal rail front rail drawer bottom panel drawer left side panel middle fixed divider rear stretcher drawer right side panel... - Page 6 how to use cam lock system...
- Page 7 Step 1. (H15) x 2 (H2) x 2 Cam Lock Bolt Dowel (H3) x 2 1. Carefully tap wood dowels into place. 2. Screw-in cam lock bolts must be screwed down flush. 3. Refer to page 6 for introductions on how to use the cam lock system.
- Page 8 Step 2. (H2) x 2 (H3) x 2 Cam Lock Bolt 1. Carefully tap wood dowels into place. 2. Screw-in cam lock bolts must be screwed down flush. 3. Refer to page 6 for introductions on how to use the cam lock system.
- Page 9 Step 3. (H2) x 8 (H3) x 8 Cam Lock Bolt 1. Carefully tap wood dowels into place. 2. Screw-in cam lock bolts must be screwed down flush. 3. Refer to page 6 for introductions on how to use the cam lock system.
- Page 10 Step 4. (H1) x 12 (H2) x 12 Cam Lock Bolt Dowel (H3) x 12 1. Carefully tap wood dowels into place. 2. Screw-in cam lock bolts must be screwed down flush. 3. Refer to page 6 for introductions on how to use the cam lock system.
- Page 11 Step 6. (H 9) x 60 1/2" Screw for back panel...
- Page 12 Step 5. (H1) x 12 (H2) x 6 (H3) x 6 (H4) x 6 Cam Lock Bolt " Barrel nut Dowel (H7) x 6 (H5) x 6 (H6) x 6 (H8) x 1 Allen Wrench " Flat Washer " *3" Machine Screw "...
- Page 13 Step 7. (H10) x 20 (H8) x 1 Allen Wrench "*L1/2" Bevel head screw...
- Page 14 Step 8. (H11) x 12 (H6) x 12 "*L3/4" Flat head screw " Lock Washer (H7) x 12 (H8) x 1 Allen Wrench " Flat Washer...
- Page 15 Step 9. (H12) x 8 (H13) x 2 1" Screw for drawer 3/4" Screw for handle (H14) x 1 handle...
- Page 16 Step 10.
- Page 17 Step 11. Wall (H16) x 1 (H17) x 1 Plastic Anchor Longer Screw (H18) x 2 (H19) x 1 Bracket Shorter Screw...
- Page 18 Step 12. (H20) x 1 Cable...
Need help?
Do you have a question about the DESA 8 Drawer Dresser and is the answer not in the manual?
Questions and answers