Panasonic AG-AC160a Step-By-Step Manual
Hide thumbs
Also See for AG-AC160a:
- Operating instructions manual (110 pages) ,
- Quick manual (1 page) ,
- Brochure (12 pages)
Advertisement
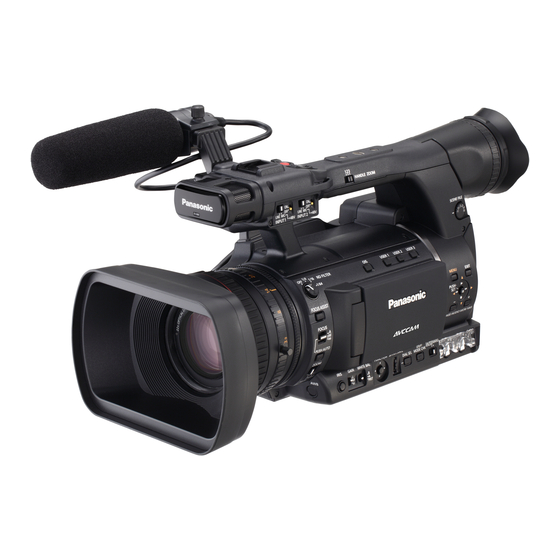
Step-by-Step Guide to:
The Panasonic AG-AC160a
HD Camcorder
ON
ON
OFF
OFF
LINE MIC
LINE MIC
+48V
+48V
INPUT1
INPUT2
OFF 1/4 1/16
ND FILTER
1/64
FOCUS ASSIST
FOCUS
A
M
PUSH AUTO
ZOOM
SERVO
MANU
123
HANDLE ZOOM
OIS
USER 1
USER 2
BARS
CH1 SELECT CH2 SELECT
EVF DTL
ZEBRA
LCD
WFM
CH 1
COUNTER-RESET/TC SET
FUNCTION SHTR/F.RATE
IRIS
GAIN
WHITE BAL
DIAL SEL
L
B
A
M
PRST
H
829 NE Eighth Street
Gresham, OR 97030
503-667-8848
www.metroeast.org
SCENE FILE
USER 3
AUDIO
MENU
EXEC
INT(L)
INT(R)
INPUT1
INPUT2
INPUT2
PUSH-
ENTER
CH 2
-
+
AUTO
AUTO
MANU
MANU
AUDIO MON/ADV
DISP/
AUTO MANU
MODE CHK
CH 1
AUDIO LEVEL
Pg. 1
CH 2
Advertisement
Table of Contents

Related Manuals for Panasonic AG-AC160a


Summary of Contents for Panasonic AG-AC160a
- Page 1 Step-by-Step Guide to: Pg. 1 The Panasonic AG-AC160a HD Camcorder HANDLE ZOOM LINE MIC LINE MIC +48V +48V INPUT1 INPUT2 SCENE FILE OFF 1/4 1/16 USER 1 USER 2 USER 3 ND FILTER 1/64 BARS AUDIO FOCUS ASSIST MENU EXEC...
- Page 2 Step-by-Step Shooting Guide Pg. 2 Set-up the Tripod: 1) Start with the legs together. Lift the leg extension levers, and extend one or both leg sections so that the top of the tripod is at about eye-level with your subject. Make sure the locks are securely fastened.
- Page 3 Step-by-Step Shooting Guide Pg. 3 Power Up, Set to P2 Camera Mode: 1) Make sure the Power Switch is OFF If it was left on, push in the little white button and rotate it to OFF 2) Slide a battery into the slot on the rear surface of the camera.
- Page 4 Step-by-Step Shooting Guide Pg. 4 1/4 1/16 USER 1 USER 2 USER 3 ND FILTER 1/64 Choose Viewfinder, Set Auto/Manual, White Balance: BARS AUDIO HANDLE ZOOM CUS ASSIST 1) Fold out the LCD monitor from the side of LINE MIC LINE MIC INPUT1 +48V...
- Page 5 Step-by-Step Shooting Guide Pg. 5 Adjust Focus and Exposure: 1) ZOOM in as close as possible to the subject, by pushing the “T” side of the main zoom control, or the handle zoom control. Handle Zoom 2) Set the FOCUS switch to “A” (Auto). Handle Zoom Speed Switch The camera will adjust focus without any adjustments required.
- Page 6 Step-by-Step Shooting Guide Pg. 6 PUSH PUSH INPUT 2 - AUDIO - INPUT 1 Record and Monitor Audio: AUDIO OUT 1) Plug-in a Microphone or two. Remember, the camera can record 2 IRIS GAIN WHITE BAL FUNCTION SHTR/F.RATE DISP/ DIAL SEL MODE CHK CH 1 CH 2...
- Page 7 Step-by-Step Shooting Guide Pg. 7 Adjust Audio Recording Levels: 2h58m TC 02:25:00:06 HANDLE ZOOM 1) Locate the V.U. (Volume Units) Meter in the 1080 lower left corner of the viewfinder display (LCD or Eyepiece) 2) Before you begin recording, ask your ND OFF SCENE FILE subject to speak so that you can set a volume level. Identify which channel his mic is plugged in to.
- Page 8 Step-by-Step Shooting Guide Pg. 8 Troubleshooting - When most people have trouble with equipment, they assume that the problem must be an electronic or mechnical failure. In fact, most of the time, the problem is simply a switch in the wrong setting, or a procedure done incorrectly.
Need help?
Do you have a question about the AG-AC160a and is the answer not in the manual?
Questions and answers