Advertisement
Quick Links
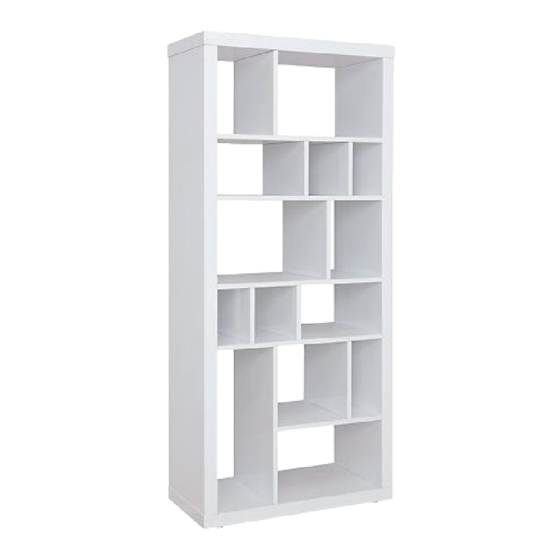
John Lewis
Stan bookcase tall
Stock number: 816/84102
Thank you for purchasing this bookcase. Please read the instructions carefully before use to
ensure safe and satisfactory operation of this product.
Pre-assembly preparation
Please ensure instructions are read in full before attempting to assemble this product
Necessary Tools
Please check the pack contents before attempting to assemble this product. A full checklist of
components is given in this leaflet. If any components are missing, please contact the retailer
from whom you bought this product..
This product is HEAVY, it should be assembled as near as possible to the point of use. TAKE
CARE WHEN LIFTING to avoid personal injury and (or) damage to the product.
This product takes approximately 30 MINUTES to assemble with 1 PERSON.
The fittings pack contains SMALL ITEMS which should be KEPT AWAY FROM YOUNG
CHILDREN.
Read this leaflet in full before commencing assembly.
1
Advertisement

Related Manuals for John Lewis 816/84102


Summary of Contents for John Lewis 816/84102
- Page 1 John Lewis Stan bookcase tall Stock number: 816/84102 Thank you for purchasing this bookcase. Please read the instructions carefully before use to ensure safe and satisfactory operation of this product. Pre-assembly preparation Please ensure instructions are read in full before attempting to assemble this product Necessary Tools Please check the pack contents before attempting to assemble this product.
- Page 2 Fittings and parts checklist Wall fixing - if in doubt seek professional advice Wood Brick or Masonry Cavity wall If fixing to wood Use an appropriate Special toggle make sure that it wall plug provided you wall plugs are isn’t chipboard as are sure your wall is needed.
- Page 3 Step by step assembly instructions WARNING: Once bookcase is constructed ensure all screws and nuts are fully tightened before use...
- Page 4 Step One 1. Attach dowel part E and screw part B to panel 13 2. Attach panel 8 to panel 13 and secure with cam lock part A 3. Add cover, part C Step Two 1. Attach dowel part E and screw part B to panel 8 2.
- Page 5 Step Three 1. Attach dowel part E and screw part B to panel 7 2. Attach panel 7 to panel 12 and 13 and secure with cam lock part A 3. Add cover, part C Step Four 1. Attach dowel part E and screw part B to panel 7 2.
- Page 6 Step Five 1. Attach dowel part E and screw part B to panel 5 2. Attach panel 5 to panel 10 and 10 and secure with cam lock part A 3. Add cover, part C Step Six 1. Attach dowel part E and screw part B to panel 5 2.
- Page 7 Step Seven 1. Attach dowel part E and screw part B to panel 6 2. Attach panel 6 to panel 11 and secure with cam lock part A 3. Add cover, part C Step Eight 1. Attach dowel part E and screw part B to panel 6 2.
- Page 8 Step Nine 1. Attach dowel part E and screw part B to panel 5 2. Attach panel 5 to panel 10 and 10 and secure with cam lock part A 3. Add cover, part C Step Ten 1. Attach dowel part E and screw part B to panel 5 2.
- Page 9 Step Eleven 1. Attach dowel part E and screw part B to side 3 and 4 2. Attach side 3 to other panels 13 and secure with cam lock part A. 3. Do the same with side 4 4. Add cover, part C Step Twelve 1.
-
Page 10: Care And Maintenance
Step Thirteen Attach strap part I with screw K and washer J Screw into top of bookcase Step fourteen Attach strap to wall. Use wall plug/screw (not included) which is recommended for your kind of wall. Put bookcase against the wall. -
Page 11: Safety Instructions
This bookcase should be cleaned with a dry or damp soft cloth. Do not use abrasive cleaners, which may damage the surface of the product Safety Instructions Never tilt the bookcase. Ensure the bookcase is always placed firmly on the ground. Never drag furniture when moving it, always lift it.
Need help?
Do you have a question about the 816/84102 and is the answer not in the manual?
Questions and answers