
Related Manuals for lifeSMART SCS-P1100


Summary of Contents for lifeSMART SCS-P1100
- Page 1 LIFESMART PELLET GRILL Models: SCS-P1100 SCS-P1160 SCS-P1160WM SCS-P580 Questions? Contact technical support at: 657-341-0362, 9:00 a.m. - 5 p.m., PST, Mon - Fri www.lifesmartcomfort.com cs@scsources.com...
-
Page 2: Table Of Contents
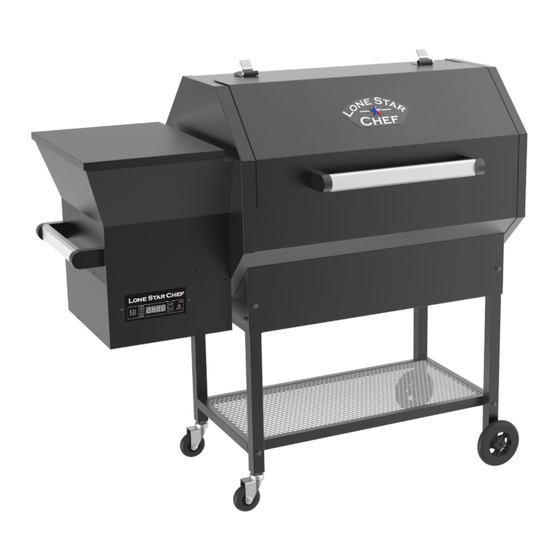
Assembling Your LONE STAR CHEF GRILL ……………………………………..6 & 7 Specifications………………………………………………………………….8 Initial Setup Procedure..............9 TemperatureProbe……..……………………………………………………9 LIFESMART PELLET GRILL Operating your …..………………10 & 11 Performance Tips…………………………………………………….12 &13 Maintenance and Cleaning ..............1 4 Folding for Transport & Storage ............1 4 Troubleshooting ………………………………………………………….15 to 17 Manual Start Up .................. - Page 3 WARNING FOR OUTDOOR USE ONLY DO NOT SDTORE OR USE COMBUSTIABLE MATERIALS IN OR NEAR THIS APPLIANCE TO PREVENT INJURY NEVER MOVE THE GRILL WHILE HO, UPRIGHT OR WITHOUT ASSITANCE NEVER STORE ANY GRILL IN A SMALL SPACE OR TRANSPORT IN A VEHICLE UNLESS COMPLETELY COOL AND VERIFIED THAT THE FLAME IS EXTINGUISHED...
-
Page 4: Important Safety Information
IMPORTANT SAFETY INFORMATION For outdoor use only. Do not use in any enclosed area. Use on Level Surface, away from overhanging eaves. Keep grill 60”or more from any combustible surfaces. To prevent grease fires, clean your grill on a regular basis (especially after cooking greasy foods at lower temperatures). -
Page 5: Carton Contents
Carton Contents P l e ase note that during shipping some movement may have taken place. A complete visual i n spection is required. Be sure to inspect entire grill after removing the protective shipping carton. Some surfaces may be sharp, so wear gloves when assembling. - Page 6 Lifesmart Grill Assembly Instructions STEP 1 – Unpack and Prepare for Assembly Remove all items from inside grill body and lay grill body on its back. For ease of assembly, complete steps 1-5 below before standing grill upright. Tip: Flatten the cardboard box out and lay everything on it. This serves as a good working area and it helps prevent the grill from getting scratched or damaged during installation.
- Page 7 STEP 7 - Flame Deflector (#7), Drip Pan (#8) Cooking Grates (#9), and Drip Bucket (#10) Installation grill and Open the lid of the Install the Flame Deflector (#7) over the Burn Pot with the small notches in the flame deflector over the small tabs located at the inside front and rear of the grill body.
-
Page 8: Specifications
SPECIFICATIONS Below is a list of features and specifications for the Lifesmart Pellet Grill Smart Grill Technology™ controller Wi-Pellet Wifi Technology Automatic lighting feature Automatic shutdown feature 200ºF to 500ºF in 5º increments Proprietary PID algorithm maintains temperature precisely Single meat probe... -
Page 9: Initial Setup Procedure
When lining drip pan, keep foil inside drip pan edges and do not wrap around as this can restrict airflow. 8 . Turn on your Lifesmart Pellet Grill by pressing the power button at the left of the panel Set temperature to 400°F by setting the digital control. -
Page 10: Operating Your Lifesmart Pellet Grill
OPERATING YOUR LIFESMART PELLET GRILL Press Power button I/O to turn grill on and press temp up and down buttons to desired temperature. • Turning the grill ON activates the automatic startup mode and illuminates the digital readout. • If your grill fails to light itself within 30 minutes of startup, the Smart Grill Technology™ processor will turn the grill off and display Er 3 on the screen. - Page 11 TEST MODES AND ADJUSTMENTS Your Lifesmart Pellet Grill is already set up from the factory and ready to grill below are the test modes available and adjustments Test Mode - With grill OFF, press and hold the Temp Display and Temp Down buttons to enter the button test Mode until all digital display and LEDs turn on.
-
Page 12: Performance Tips
Performance Tips Preheating It is important to allow your grill to preheat and achieve your desired cooking temperature before cooking. This allows the entire grill to heat up and quickly return to your desired temperature once your food is introduced. If you do not allow the grill to preheat, you will find that it takes a longer period of time to bring both the grill and the food to your desired cooking temperature. - Page 13 • Always keep your cooking area clean. Avoid lifting the grill lid • Wind can cool your grill temperature. • Always preheat grill to desired temperature before use. • Wipe off steel surfaces before preheating; dirt and food stains can cook into surface. •...
-
Page 14: Maintenance And Cleaning
Maintenance & Cleaning Follow these simple steps to maintain your Lifesmart Pellet Grill • Clean your fire pot every 3-5 cooks to ensure proper airflow. • Use a grill brush to clean your cooking grate after every cook to provide years of trouble free use from them. -
Page 15: Troubleshooting
TROUBLESHOOTING We pride ourselves on our grills, grilling accessories, and on our commitment to serve you. Please consult the chart below to help resolve issues you may encounter. Also, please don’t hesitate to contact us with any issues. Issue Potential Cause Solution(s) Make sure power is plugged into working GFCI outlet, and... - Page 16 Issue Potential Cause Solution(s) Inspect pellets; ensure that pellets are dry and have not broken down into sawdust. Pellet quality / age If problem persists, remove pellets from the hopper and clean ash from your firepot, replace with fresh dry pellets. Check the burn pot for ash Excess ash in fire pot and clean as necessary (Its...
- Page 17 Issue Potential Cause Solution(s) Unplug grill. Remove pellets from hopper. Clean hopper of Hopper obstruction any obstructions or build up. Remove cooking grate and flame deflector plate; visually inspect auger turning in the fire pot. (Note: the auger turns Pellets are not being very slowly) If auger is not Auger failure delivered to fire...
-
Page 18: Manual Start Up
Manual Start Up In case of igniter failure you can start your LIfesmart Pellet Grill manually 1. Remove the grate, drip pan and flame deflector. 2. Clean out fire pot and place no more than 1/2 cup of pellets in the bottom. Add a small amount of solid fuel fire starter, such as those made from sawdust and wax or use wood shavings. -
Page 19: Controller Schematic
Controller Schematic !"#$""! !"#$""! TEMP PROBE IGNITER AUGER Questions? Call our customer service at 1-706-922-0890 10am-8pm EST. Mon-Thurs; 10am-7pm EST Fri; 9am-3pm EST Sat. -
Page 20: Cooking Notes / Usda Temperature Chart
Cooking Notes It is a great idea to keep notes on your cooking experiences for future reference Operating Temperatures “SMOKING” 180ºF to 275ºF “ROASTING / BRAISING” 275ºF to 325ºF “BAKING” 325ºF to 375ºF “GRILLING” 375ºF to 450ºF “BROILING / SEARING” 450ºF + PQGRSD /$T 7$T 1#O+'K%U$'D ;;=... - Page 21 Use this chart* and a food thermometer to ensure that meat, poultry, seafood, and other cooked foods reach a safe minimum internal temperature. Category Food Temperature (ºF) Rest Time Beef, Pork, Veal, Lamb None Ground Meat & Meat Mixtures Turkey, Chicken None Fresh Beef, Veal, Lamb Steaks, Roasts, Chops...
- Page 22 Exceptions to the Limited Warranty There is no written or implied performance warranty on LIFESMART as the manufacturer has no control over the installation, operations, cleaning, maintenance or the type of fuel burned. This limited warranty will not apply nor will...
Need help?
Do you have a question about the SCS-P1100 and is the answer not in the manual?
Questions and answers