Table of Contents
Advertisement
Quick Links
Advertisement
Table of Contents

Related Manuals for SHOWTEC SM-16/2


Summary of Contents for SHOWTEC SM-16/2
- Page 1 SM-16/2 ORDERCODE 50701...
- Page 2 For more information: iwant@showtec.info You can get some of the best quality, best priced products on the market from Showtec. So next time, turn to Showtec for more great lighting equipment. Always get the best -- with Showtec ! Thank you!
-
Page 3: Table Of Contents
Showtec Showtec SM-16/2 Product Guide ™ Warning..…...................…………………………………………....Safety-instructions…………………………………………………………………………………….…...... Operating Determinations……………………………………………………………………………....... Return Procedure……………………………………………………………………………........Claims……………………………………………………………………………............Description..…................……….……………………………….…....Features…….……………………………………………………………………………………….……..…....Overview………………………………………………………………………………………………………....Controller front..............................Controller backside............................Installation................…...……………………………………..…....Installation............………………………………………..………........Common Terms...........………………………………………..………........Set Up and Operation..............……..…………………………….…....- RESETTING THE SYSTEM……………………….............………......- Fixture Addressing…………………….............………........- Physical fader Assignment (OPTIONAL SETUP) ............………....... -
Page 4: Warning
If your Showtec device fails to work properly, discontinue use immediately. Pack the unit securely (preferably in the original packing material), and return it to your Showtec dealer for service. -
Page 5: Operating Determinations
Repairs, servicing and electric connection must be carried out only by Showtec. For replacement use fuses of same type and rating only. This device falls under protection class I. Therefore it is essential to connect the yellow/green conductor to earth. -
Page 6: Return Procedure
Return Procedure Returned merchandise must be sent prepaid and in the original packing, call tags will not be issued. Package must be clearly labeled with a Return Authorization Number (RMA number). Products returned without an RMA number will be refused. Highlite will not accept the returned goods or any responsibility. Call Highlite 0031-455667723 or mail aftersales@highlite.nl and request an RMA prior to shipping the fixture. -
Page 7: Description
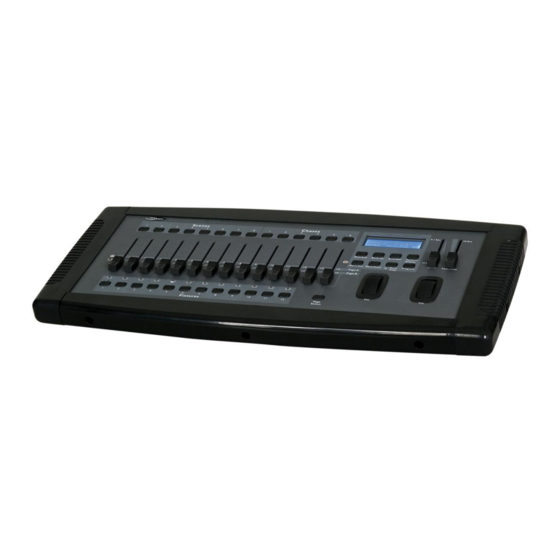
Description of the device Features SM-16/2 is a light controller from Showtec and features: • Universal DMX-512 controller • Controls up to 384 DMX channels; up to 12 intelligent lights with 32 channels each • 30 banks of 8 scenes, 240 scenes max •... -
Page 8: Controller Backside
5) LCD display window Status window displays pertinent operational data 6) Midi/Add button Activates MIDI external control and also used to confirm the record/save process 7) Bank Up button Press the Up button to select from 30 banks. 8) Auto/Del button Activates Music mode or to delete scenes or chases during programming 9) Tapsync/Display button Used to create a standard beat or to change the value mode between % and 0-255. -
Page 9: Installation
Installation Remove all packing materials from the SM-16/2. Check that all foam and plastic padding is removed. Screw the equipment into a 19" rack. Connect all cables. Always disconnect from electric mains power supply before cleaning or servicing. Damages caused by non-observance are not subject to warranty. -
Page 10: Set Up And Operation
FIXTURE ADDRESSING The SM-16/2 is programmed to control 32 channels of DMX per fixture. Therefore, the fixtures you wish to control with the corresponding “FIXTURE” buttons on the unit must be spaced 32 channels apart (check the respective fixture’s manual for how to enter the information into the fixture). -
Page 11: Physical Fader Assignment (Optional Setup)
PHYSICAL FADER ASSIGNMENT (OPTIONAL SETUP) Use this feature to combine or unify fixture control attributes for different fixtures. For example; if you were controlling 4 moving mirrors and 4 moving yokes, the color, gobo and dimmer channels may not line up ideally on the physical faders. Use this function to re-assign the dimmer, color and gobo channels to faders 1, 2 and 3. -
Page 12: Reverse Channel Output (Optional Setup)
REVERSE CHANNEL OUTPUT (OPTIONAL SETUP) 1) Press and hold PROGRAM & TAPSYNC buttons together (2) times to access the channel assignment mode then press the FIXTURE button. 2) Move the SPEED fader until you arrive at the controller channel you wish to alter. 3) Move the FADE TIME fader all the way up until N changes to Y. -
Page 13: Programming
A scene is a static lighting state. Scenes are stored in banks. There are 30 bank memories on the controller and each bank can hold 8 scene memories. The SM-16/2 can save a total of 240 scenes. 1) Press and hold the PROGRAM button for 3 seconds. -
Page 14: Delete Scene
DELETE SCENE 1) Press the PROGRAM button for 3 seconds. 2) Locate the scene in the program BANK. Use BANK UP/DOWN to navigate program banks. 3) Press and hold the AUTO/DEL button while pressing the SCENE you want to delete. 6) To exit program mode, hold the PROGRAM button for 3 seconds. -
Page 15: Chase Programming
Chase Programming A chase is created by using previously created scenes. Scenes become steps in a chase and can be arranged in any order you choose. It is highly recommended that prior to programming chases for the first time; you delete all chases from memory. See “Delete All Chases” for instructions. CREATE A CHASE A Chase can contain 240 scenes as steps. -
Page 16: Playback (Scenes)
Playback (Scenes) RUNNING IN MANUAL MODE When power is first turned ON, the controller will be in manual scene mode. 1) Make sure the display reads “MANUAL”. 2) Select the program BANK that stores the scene you want to run manually by using the BANK UP/DOWN. 3) Press the SCENE button to run. -
Page 17: Playback (Chases)
Playback (Chases) MANUAL RUN CHASES This function allows the user to manually step through each individual step in a chase. 1) Press and hold PROGRAM button for 3 seconds to enter programming mode. 2) Start a chase by pressing any one of the CHASE buttons. 3) Press the TAPSYNC/DISPLAY button to manually step through the chase. -
Page 18: Midi Operation
Midi Operation The controller will only respond to MIDI commands on the MIDI channel when it is set to full stop. All MIDI control is performed using Note on commands. All other MIDI instructions are ignored. To stop a chase, send the blackout on note. 1) Press and hold the MIDI/ADD button until the third and fourth digits on the LED display blink. -
Page 19: Maintenance
7. Check power from the wall, all cables, the fuse, the settings (return to default), etc. 8. If all of the above appears to be O.K., plug the unit in again. 9. If nothing happens after 30 seconds, unplug the device. 10. Return the device to your Showtec dealer. -
Page 20: Product Specifications
Product Specification Model: Showtec SM-16/2 Power Supply: DC 9Volt - 300mA Power connector: Adapter included Fixtures: 12 (32 channels each) Scenes: 240 (30 banks) Chases: 180 (30 banks) Run mode: Auto, Music Patch mode: Each fixture free assignable channels Output: DMX-512 standard Output connector: 3 and 5 pole XLR female Dimesions (without frame): 19”...
Need help?
Do you have a question about the SM-16/2 and is the answer not in the manual?
Questions and answers