Advertisement
1. Make sure you are assembling your fountain on a level surface capable of holding a minimum of
150 pounds with approximately a 3.5 square foot footprint.
2. Position the basin (FT-291B) where the fountain is to be installed, ensuring that it is level.
3. Feed the pump cord all the way through the hole in the basin and run the cord through the
channel in the bottom.
4. Leave enough cord that you can work with the pump.
5. To ensure a level installation, bring the pump cord out through the channel in the bottom of the
basin.
6. See enclosed stopper assembly instructions and complete before continuing.
7. Place a hose clamp over one end of the 1/2" non kink tubing
8. Insert that end of the 1/2" non kink tubing onto the pump water outlet and tighten the clamp.
a. Note – one of the hose clamps may be placed on the tubing prior to installation as a flow
restrictor if necessary
9. Place the other end of the 5/8" non kink tubing onto the copper pipe protruding from the bottom of
the water feature (FT-291A).
10. Place water feature into basin.
11. Fill basin with approximately 10 gallons of water.
Note – do not allow pump to run dry as it will cause damage to the pump.
a.
WINTER CARE AND GENERAL FOUNTAIN INSTRUCTIONS
Fountain bowls/tops and other fountain components, which collect water, should not be left outside in the
winter since any component, which fills with water and freezes may crack. Likewise components such as
pedestals, which remain in a basin, filled with water, which then freezes, may also crack or crumble.
Ideally, therefore, a fountain should always be stored indoors or in a dry protected place such as a
covered porch away from the elements. However, if a fountain must be left outside:
(1) Remove pump, rubber stoppers, drainpipes, finials, and other small components for storage
indoors. Note that stoppers or drainpipes are removed to allow drainage in the event water accumulates
in any basin. Compression stoppers may be left on the pump cord for easier assembly next season.
(2) Raise fountain base from ground with wood strips so that base will not freeze to the ground
(3) Cover or wrap the fountain with burlap or other absorbent material (old blanket or towel) and
then cover securely with plastic, making sure that water will not accumulate in the basin or other fountain
(4) Check fountain periodically to insure that plastic is secure and water is not accumulating in any
- G E N E R A L F O U N T A I N T I P S -
Install fountains on a level surface. You will need a properly grounded 110-volt (AC only) GFCI protected
receptacle near the fountain for your pump. All pumps are submersible and must be completely
underwater to function properly. Test all pumps and adjust to full output prior to assembly. It is not
recommended that fountains be placed directly on grass or dirt. Position the channel opening at the base
of each fountain toward the electrical outlet to be used since the pump cord will be threaded through this
For more Campania product information visit
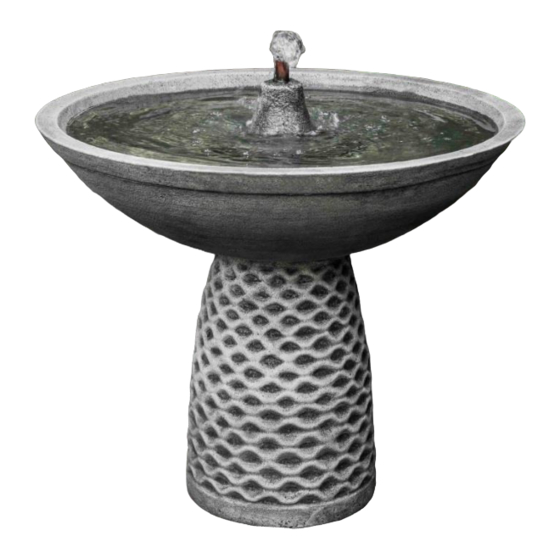
FT-291 Pina Fountain
(2 Pieces)
Assembly Instructions
- W I N T E R C A R E -
surface.
component and freeze;
fountain component.
opening.
www.campaniainternational.com
Revised July 13, 2016
All of our cast stone is proudly
Advertisement
Table of Contents

Related Manuals for Campania International Pina


Summary of Contents for Campania International Pina
- Page 1 FT-291 Pina Fountain (2 Pieces) Revised July 13, 2016 Assembly Instructions 1. Make sure you are assembling your fountain on a level surface capable of holding a minimum of 150 pounds with approximately a 3.5 square foot footprint. 2. Position the basin (FT-291B) where the fountain is to be installed, ensuring that it is level.
- Page 2 FT-291 Pina Fountain (2 Pieces) Revised July 13, 2016 Components and Parts List Ft-291B 25”x25”x21” 120 lb FT-291A 7”x7”x8.25” 8 lb Pump Kit and Parts List Tools Needed #7 Compression stopper Level 4mm Allen Wrench 4mm Allen Wrench Wedges (3) Hose Clamps (3) 12”...
Need help?
Do you have a question about the Pina and is the answer not in the manual?
Questions and answers