
Related Manuals for anko T382D


Summary of Contents for anko T382D
- Page 1 Instruction Manual for Toaster T382D 220-240V 50/60Hz 1720-2100W INSTRUCTION FOR USE PLEASE RETAIN THESE INSTRUCTIONS FOR FUTURE REFERENCE.
-
Page 3: Important Instructions
IMPORTANT INSTRUCTIONS 1. Please read these instructions before operating and retain for future reference. 2. This appliance is not intended for use by persons (including children) with reduced physical, sensory or mental capabilities, or lack of experience and knowledge, unless they have been given supervision or instruction concerning use of the appliance by a person responsible for their safety. - Page 4 4. If the supply cord is damaged, it must be replaced by the manufacturer, its service agent or similarly qualified persons in order to avoid a hazard. CAUTION: The bread may burn, therefore do not use the toaster near or below combustible material, such as curtains.
- Page 5 – bed and breakfast type environments. 7. To protect against electrical hazard do not immerse any part of the appliance or cord in water or any other liquid. 8. Close supervision is necessary when the appliance is used near children. 9.
- Page 6 electrical person only or the product must be disposed. 14. In the interest of safety, regular periodic close checks should be carried out on the supply cord to ensure no damage is evident. Should there be any signs that the cord is damaged, DO NOT use.
- Page 7 18. Do not use harsh abrasives, caustic cleaners or oven cleaners when cleaning this appliance. 19. When using this appliance, allow adequate air space above and on all sides for air circulation. Do not allow this appliance to touch curtains, wall coverings, clothing, dishtowels...
- Page 8 containing jam or preserves. 22. The temperature of accessible surfaces may be high when the appliance is operating. WARNING!! Never attempt to extract jammed toast, muffins, bagels or any other item with a knife or any other object, as contact with live elements may cause electrocution.
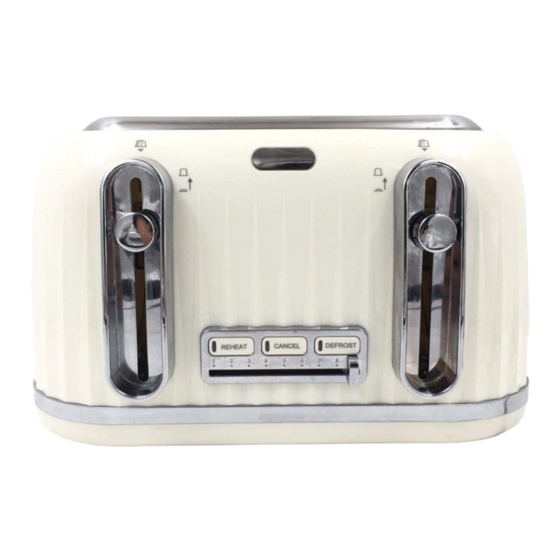
- Page 9 1. Toasting slots 2. Control lever (left & right) 3. Reheat button 4. Cancel button 5. Toasting Level selector Knob. 6. Frozen button 7. Crumb tray.
- Page 10 OPERATING TOASTER 1. Insert the plug into mains power socket outlet with 220-240V~, 50/60Hz. 2. Put the bread into the toasting slot 3. Select the desired browning setting, from No.1 to No.9 by sliding the toaster level selector (No.1-lightest, No. 9-darkest). NOTE: When using the toaster for the first time, we suggest you toast on number 5.
- Page 11 5. The toaster turns OFF when the desired toast colour is achieved and automatically raises the toast. The toasting process can be stopped at any time by pressing the cancel button. IMPORTANT!: For 1 or 2 slice toasting, please use the right side toasting slot only.
- Page 12 REHEATING TOAST: The toaster allows you to reheat toast without additional toasting. To reheat, place toast into bread slots, lower the control lever until it clicks into place and press the reheat button. In the unlikely event that the bread or crumpet becomes jammed, switch the toaster OFF from mains power outlet, remove the plug from the supply socket and carefully ease the bread out of...
-
Page 13: Care And Cleaning
CARE AND CLEANING 1. Always disconnect the toaster from the mains power outlet socket, and allow the toaster to cool down before cleaning. 2. To remove any bread crumbs from the toaster, pull out the crumb tray the toaster, clean the crumb tray and put it back on the toaster before using it again. - Page 14 12 Month Warranty Thank you for your purchase from Kmart. Kmart Australia Ltd warrants your new product to be free from defects in materials and workmanship for the period stated above, from the date of purchase, provided that the product is used in accordance with accompanying recommendations or instructions where provided.
Need help?
Do you have a question about the T382D and is the answer not in the manual?
Questions and answers