Advertisement
Advertisement
Table of Contents

Related Manuals for Ryobi OFG1800


Summary of Contents for Ryobi OFG1800
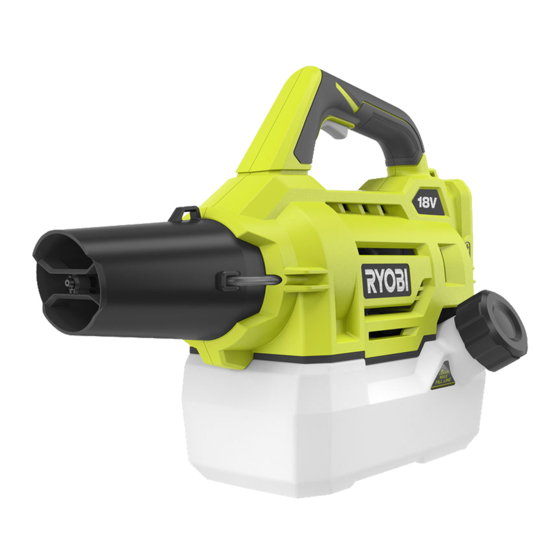
- Page 1 ORIGINAL INSTRUCTIONS Multi-Purpose Mister/Fogger OFG1800 RFG18X20...
- Page 2 Important! It is essential that you read the instructions in this manual before assembling, operating, and maintaining the product. Subject to technical modification.
-
Page 3: Intended Use
Safety, performance, and dependability have been given ■ If operating a power tool in a damp location is top priority in the design of your fogger. unavoidable, use a residual current device (RCD) protected supply. Use of an RCD reduces the risk of electric shock. - Page 4 ■ Maintain power tools and accessories. Check for FOGGER SAFETY WARNINGS misalignment or binding of moving parts, breakage WARNING! Do not use this product with any flammable of parts and any other condition that may affect the chemicals or any chemical containing alcohol, sodium power tool’s operation.
-
Page 5: Maintenance
immediately with soap and plenty of water. If chemicals ● flammable liquids come in contact with the eyes, wash immediately with ● viscous or sticky liquids clean water. If irritation persists, immediately seek ● caustic or corrosive chemicals medical help. ●... - Page 6 Note See pages 5-6. ■ Fogger x 1 ■ Harness x 1 Warning ■ Spare rubber seal x 1 ■ Charger x 1 (sold separately for OFG1800) ■ Battery x 1 (sold separately for OFG1800) ■ Operator's manual x 1...
- Page 7 WHAT’S IN THE BOX RFG18X20...
- Page 8 WHAT’S IN THE BOX OFG1800...
-
Page 9: Know Your Product
Know your product KNOW YOUR PRODUCT 1. Trigger 5. Harness 9. Hang tag 2. Battery port 6. Spare rubber seal 10. Nozzle 3. Filler cap with rubber seal 7. Charger 4. Tank 8. Battery... -
Page 10: Getting Started
GETTING STARTED Always wear safety goggles or safety glasses with side Read and follow the instructions provided by the chemical shields, a respiratory mask, non-slip, heavy-duty protective manufacturer for preparing the chemical solution. gloves, protective clothing, and non-slip safety footwear. Install the battery pack. - Page 11 GETTING STARTED Hang a tag on the product to note the chemical that is being Turn the filler cap to open the refillable container. Fill up the used. refillable container with the chemical, and then with water to ensure an even mixture. Replace the filler cap. Press the trigger to build up pressure in the tank and release mist.
- Page 12 OVERVIEW Operating the product Cleaning the product p.11 p.12 Storing the product p.15...
-
Page 13: Operation
OPERATION OPERATING THE PRODUCT 1. Turn the filler cap to open the refillable container. Fill up the refillable container with chemical solution. Replace the filler cap. Make sure that the seal in the filler cap is in place. 2. Install the battery pack into the battery port. - Page 14 MAINTENANCE CLEANING THE PRODUCT 1. Press the latches on the battery pack to remove it from the product. 2. Remove the filler cap. Make sure that the seal inside the filler cap is not dislodged. 3. Drain the chemical solution into a suitable container.
- Page 15 MAINTENANCE 5. Reinstall the battery pack. 6. Press the trigger to release the mist into a suitable container. NOTE: Release the mist until the product is empty. 7. Refill the product with clean water.
- Page 16 MAINTENANCE NOTE: Release the mist until the product is empty. 8. Allow all the parts to dry, then replace the filler cap. Wipe the outside of the product with a clean, dry cloth. NOTE: Replace worn out filler caps and rubber seals.
- Page 17 STORAGE STORING THE PRODUCT 1. Remove the battery pack. Press the latches to release the battery pack and remove it from the product. NOTE: Make sure that all parts are clean and dry before storing the product. WARNING: Make sure that the refillable tank is empty and clean.
-
Page 18: Product Specifications
RB18L50, RB18L50A, RB18L60, RB18L60A, RB18L90, RB18L90A Compatible BCS618, RC18627U, RC18150, RC18150U, chargers RC18120, RC18115, RC18118C, BCL14181V REPLACEMENT PARTS Filler cap with rubber seal 316674001 Rubber seal 564852001 NOTE: Visit your local special orders desk or contact RYOBI Customer Service for replacement parts... - Page 20 Imported by: Techtronic Industries Australia Pty Ltd 31 Gilby Road, Mount Waverley, VIC 3149 Melbourne, Australia RYOBI is a trade mark of Ryobi Limited, Techtronic Industries N.Z. Limited and is used under license. Unit C, 70 Business Parade South, Highbrook, Auckland 2013, New Zealand ©...
Need help?
Do you have a question about the OFG1800 and is the answer not in the manual?
Questions and answers