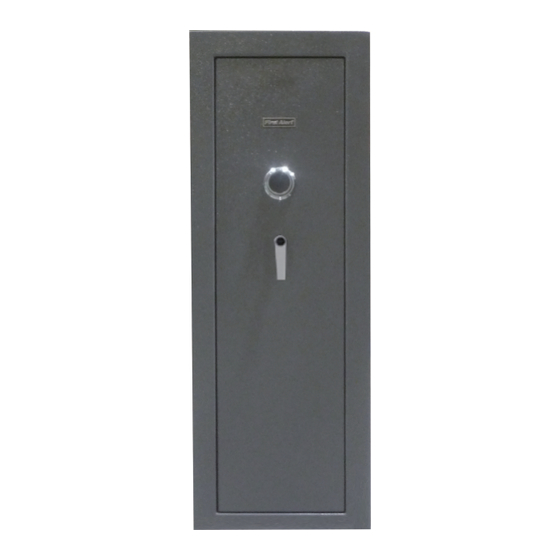
Summary of Contents for First Alert LW-592117
- Page 1 Operation & Installation Guide LW-592117 MANUAL # M08-0480-005 www.FirstAlert.com MANUAL # M08-0480-005...
- Page 2 All First Alert® safes are designed and built using the highest manufacturing standards to ensure maximum user satisfaction under a variety of conditions. With proper care, your First Alert® safe will provide peace of mind for many years to come.
- Page 3 DIAGRAM EXTERIOR OPENING SAFE FOR THE FIRST TIME IMPORTANT Safe Body Lock EXTENDING BOLTS BEFORE VERIFYING COMBINATION It is preferred to verify your safe combination with the door open. If there are Handle Single Lever problems, it is easier to service the lock or mechanism with the door open. Before verifying your combination, you will need to extend the door bolts while the door is open.
- Page 4 OPENING SAFE WITH COMBINATION DIAL SHELF INSTALLATION The lock requires accurate alignment with the index mark (located at twelve o'clock position on the dial ring). Always turn the dial slowly and steadily when entering your combination to avoid NOTE: Determine desired height and layout of shelves before you begin installation. dialing past your numbers.
- Page 5 BOLTING YOUR SAFE TO THE FLOOR TROUBLE SHOOTING GUIDE Locate the four (4) Concrete Bolts inside the safe. Remove interior shelving and the four (4) Bolt Down Hole Caps. PROBLEM SOLUTION Position the safe before marking the floor through the holes in the bottom of the safe.
- Page 6 USE, CARE AND MAINTENANCE CONSUMER AFFAIRS When properly maintained, your safe will continue to operate and accurately read YOUR SAFE'S UNIQUE IDENTIFICATION NUMBERS the authorized combination for many years. In order to ensure optimal performance of When contacting Consumer Services, you should be prepared to supply some important your safe, please follow these simple precautions: information that specifically identifies your safe.
- Page 7 HOW TO OBTAIN WARRANTY SERVICE SAFE IDENTIFICATION RECORD If you have any questions that cannot be answered by reading this manual, call Consumer A airs at 1-800-323-9005. Please have the model number, serial number and date of purchase available when calling. If service is required, Consumer A airs Item Number will advise where the product should be returned.
- Page 8 LIMITED WARRANTY BRK Brands, Inc., ("BRK") guaranteed that for a period of two (2) years from the date of purchase, this product will be free from defects in material and workmanship. BRK, at its sole option, will repair or replace this product or any component of the product found to be defective during the warranty period.


Need help?
Do you have a question about the LW-592117 and is the answer not in the manual?
Questions and answers
Trying to open my safe seems to not be the right sequence
If the combination sequence for the First Alert safe (LW-592117) seems incorrect, follow these steps:
1. Verify the Combination – Ensure you are using the correct combination provided with the safe.
2. Try with the Door Open – If possible, test the combination with the door open to confirm it works.
3. Follow Proper Dialing Procedure – Carefully follow the dialing instructions:
- Turn the dial clockwise (right) past the first number at least three times, then stop on it.
- Turn counterclockwise (left) past the second number once, then stop on it the second time.
- Turn clockwise (right) directly to the third number.
4. Turn the Handle – After entering the combination correctly, turn the safe handle clockwise to open.
5. Repeat the Process – If unsuccessful, try dialing the combination again slowly and precisely.
6. Check for Issues – If the safe still does not open, check for obstructions or mechanical problems.
If the issue continues, servicing or professional assistance may be needed.
This answer is automatically generated