Table of Contents
Advertisement
Quick Links
Advertisement
Table of Contents

Summary of Contents for SOUNDMASTER UR-145
- Page 1 DEUTSCH NEDERLANDS ENGLISH ESPAÑOL FRANÇAIS UR-145...
- Page 2 ENVIRONMENTAL PROTECTION Do not dispose of this product with the normal household waste at the end of its life cycle. Return it to a collection point for the recycling of electrical and electronic devices. This is indicated by the symbol on the product, user manual or packaging.
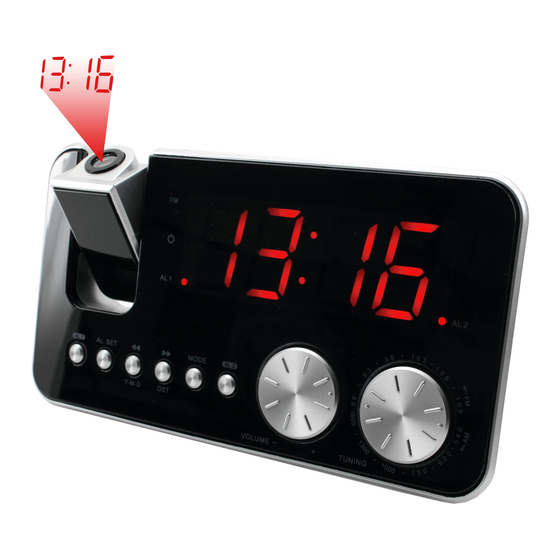
- Page 3 ENGLISH 1. ALARM 1 ON / OFF BUTTON 15. PROJECTION ON/OFF 2. ALARM SET BUTTON BUTTON 3. << / YEAR – MONTH – DAY BUTTON 16. ALARM RADIO / BUZZER 4. >> / DST BUTTON SWITCH 5. MODE BUTTON 17. PROJECTION UNIT 6.
- Page 4 ENGLISH POWER CONNECTION Plug the AC power cord to a household outlet AC source. This unit is equipped with a battery back up system, it requires a 3V CR2032 flat lithium battery (not included). Insert the battery in the battery compartment, making certain that the positive and negative (+ and -) battery terminals are attached to the corresponding terminals on the plate in the battery compartment.
- Page 5 ENGLISH 2. SETTING ALARM OUTPUT AND ALARM ON/OFF A. Change the alarm output Using the Alarm radio / buzzer switch (16) select to radio ♫ position to select wake up by radio, select to buzzer position to select wake up by buzzer. Select the Display light auto off / high / low dimmer (21) to the auto off mode, alarm wake up the display is auto turn on.
- Page 6 ENGLISH 5. SLEEP FUNCTION During radio on mode, press Snooze / Sleep / Nap button (13) to turn on sleep mode, the sleep time will keep flashing by 10 seconds, within 10 seconds and press sleep button can change the duration from 90 min – 15 min. Press on/off button (12) to cancel sleep function.
- Page 7 ENGLISH PROJECTION UNIT Focus setting : adjust the projection clock brightness / focus by turning the ‐ brightness / focus adjustment wheel (18) until the projected time is clearly shown on the ceiling or wall. To flip projected image by 180°, press 180° flip button (14). ‐...
- Page 8 ENGLISH WARNING 1. No naked flame sources, such as lighted candles, should be placed on the apparatus. 2. Do not place the product in closed bookcases or racks without proper ventilation. 3. The mains plug is used as the disconnect device, the disconnect device shall remain readily operable.


Need help?
Do you have a question about the UR-145 and is the answer not in the manual?
Questions and answers