Advertisement
Available languages
Available languages
Quick Links
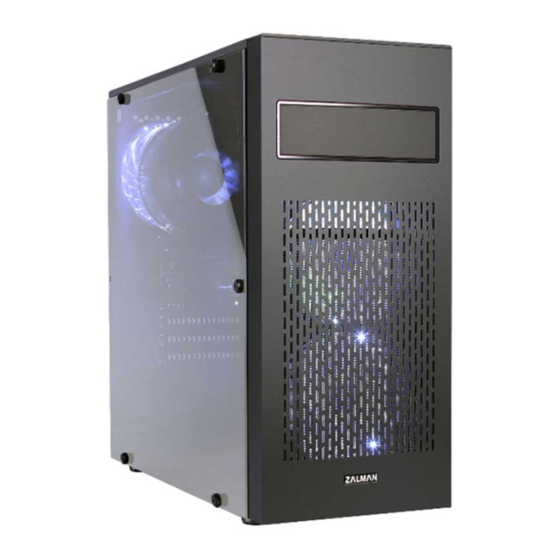
ATX MID TOWER COMPUTER CASE
N2
User's Manual
русский
※ To ensure safe and easy installation, please read the following precaution.
Product design and specifications may be revised to improve quality and performance.
Ver.170615
Advertisement

Related Manuals for ZALMAN N2


Summary of Contents for ZALMAN N2
- Page 1 ATX MID TOWER COMPUTER CASE User's Manual русский ※ To ensure safe and easy installation, please read the following precaution. Product design and specifications may be revised to improve quality and performance. Ver.170615...
- Page 3 ■ Product design and specifications may be revised to improve quality and performance. Disclaimer) Zalman Tech Co., Ltd. is not responsible for any damage due to external causes, including but not limited to, improper use, problems with electrical power, accident, neglect, alteration, repair, improper installation, or improper testing.
- Page 4 Top I/O Ports / 상면 I/O 포트 Part Part ① USB 3.0 Port ④ Power Button ② USB 2.0 Port ⑤ Mic & Headphones ③ Reset Button ⑥ Power LED& HDD LED Installation / 설치방법 Side Panel Removal ② 좌/우 측면 덮개 제거 ③...
- Page 5 Graphic Card Installation 그래픽 카드 설치 Unfasten the Screw Remove the PCI Slot Cover Install the VGA Card and holding the PCI Cover and fasten with a fixing screw. disassemble the cover. PCI커버를 고정하는 스크류 PCI 커버를 제거합니다 그래픽 카드를 설치하고 고정 를...
- Page 6 ※ When transporting an assembled system, please secure the HDD with Bolt. ※ 조립 후 시스템을 이동할 때는 나사로 HDD를 고정해 주시기 바랍니다. Cable Connection 케이블 연결 I/O Port Power Button Power LED Reset Power HDD LED HD Audio USB 2.0 USB 3.0 2.5”...
- Page 7 GVM Series Power Supply Units ■ 7 Year Warranty ARX,EBT series Power Supply Units Zalman USA has the right to change availability of limited warranty at its own discretion and any changes will not be retroactive. ■ The limited warranty does not cover…...
- Page 9 ■ Конструкция и технические характеристики могут быть изменены с целью повышения качества и э ксплуатационных характеристик устройства. Отказ от ответственности: компания Zalman Tech Co., Ltd. не несет ответстве нности за какие-либо убытки или ущерб, понесенные по независящим от нее причинам, включая в...
- Page 10 Порты ввода/вывода передней панели / 上位I / Oポート ① USB 3.0 Port ④ Power Button ② USB 2.0 Port ⑤ Mic & Headphones ③ Reset Button ⑥ Power LED& HDD LED Установка / 取り付け方法 Демонтаж боковой панели ② Side Panel削除 ③...
- Page 11 Установка видеокарты 그래픽 카드 설치 Отверните установочный ви Демонтируйте заглушку раз Установите видеокарту и за нт, крепящий заглушку шин ъем а PCI кре пите ее с помощью креп ы PCI, и снимите заглушку. ежного винта. PCIカバーを固定するスクリ PCIカバーを取り外します。 グラフィックカードを取り ューを緩めてカバーを取り 付けて固定ネジで固定しま 外します。...
- Page 12 ※ Во время транспортировки системы в сборе жестк ий дис к необходимо закрепить с помощью болта, как показано на рисунке выше ※組み立て済みのシステムを輸送する場合は、 上記のようにHDDをボルトで固定してください。 Подключение кабелей ケーブル接続 I/O Port Power Button Power LED Reset Power HDD LED HD Audio USB 2.0 USB 3.0 Дополнительный...
- Page 13 Порядок установки вентилятора Как показано на рисунке, вентилятор корпуса м ожет быть установлен в верхней части крышки блока питания. ケースファンの取り付け方法 図に示すように、ケースファンをPSUカバーの 上部に取り付けることができます。...
Need help?
Do you have a question about the N2 and is the answer not in the manual?
Questions and answers