Advertisement
Available languages
Available languages
Quick Links
TrackerPro
www.ablenetinc.com
(800) 322-0956
Getting Started:
1.
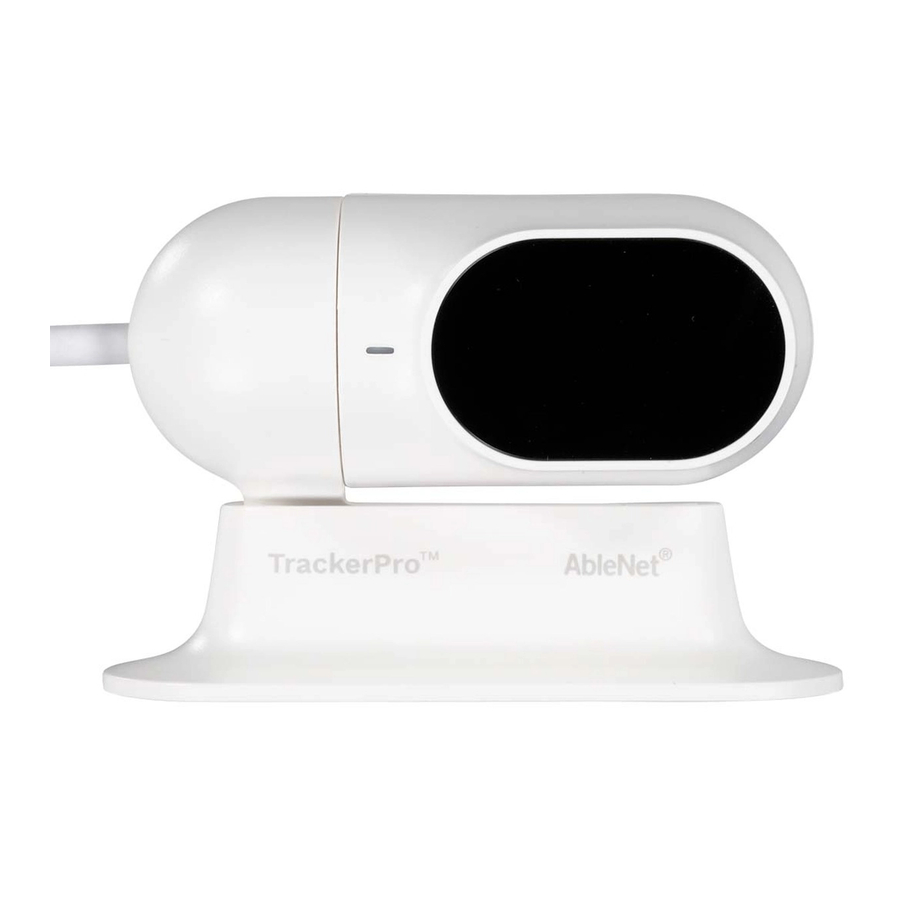
Place TrackerPro 2 directly in front of the user.
TrackerPro 2 can be attached to a monitor using the
included dual lock or placed on a flat surface using
the included desktop stand.
2.
Plug TrackerPro 2 into available USB Type A port on
computer. The Power/Status LED on TrackerPro 2 will
turn red.
3.
Place a TrackerPro 2 reflective dot on forehead of user.
4.
Position the mouse cursor in the center of the device
screen before the user starts.
5.
Position user 12-in to 36-in (30-cm to 91-cm) away
from TrackerPro 2.
6.
The Power/Status LED on TrackerPro 2 will turn green
once it detects the reflective dot on the user.
7.
Small head movements will move the mouse cursor
on the computer. If the user is unable to move the
mouse cursor across the entire screen, try adjusting
the mouse cursor speed.
Cursor Positioning:
When a user first starts or after using TrackerPro 2 for a
2
™
USB Type A
Connection
Right Mouse Click
Left Mouse Click
period of time, the user may find that the mouse cursor
does not reach the far edges of the device screen. To re-
orient the mouse cursor:
1.
The user should move their head as far up and then as
far down as it can go. The mouse cursor may stop and
push up against the edge of the screen on the up or
down movement of the head. Repeat the up and down
motion multiple times. This movement will re-orient
the mouse cursor in the vertical direction.
2.
The user should move their head as far left and then
as far right as it can go. The mouse cursor may stop
and push up against the edge of the screen on the left
or right movement of the head. Repeat the left and
right movement multiple times. This movement will
re-orient the mouse cursor in the horizontal direction.
3.
If neither of the above steps works to reach the edges
of the screen with the mouse cursor:
a.
On the back of TrackerPro 2, turn the small toggle
switch to I
b.
On the device, go into the setting for the mouse
tracking speed and turn it up
Power/Status LED
Mouse Click Options:
•
Plug one or two switches into TrackerPro 2. The white
switch jack is for left mouse click and the black switch
jack is for right mouse click.
•
For use without switches, use a dwell selection
software.
•
Windows: Dwell Clicker 2 (purchased separate)
•
macOS Mojave or newer: Dwell selection is part
of the accessibility settings for the keyboard
•
Google Chrome OS: Dwell selection is part of the
accessibility settings
Mouse Cursor Speed Adjustment:
•
On the back of TrackerPro 2, move the speed selector
switch to change mouse cursor speed.
•
I = fast
•
II = slow
•
For more control, find the mouse cursor speed
adjustment within the computer operating system
Speed Select
(On Back)
Dual Lock
Desktop Stand
Updated March 4, 2020 4:40 PM
Advertisement

Summary of Contents for AbleNet TrackerPro 2
- Page 1 On the device, go into the setting for the mouse adjustment within the computer operating system tracking speed and turn it up Cursor Positioning: When a user first starts or after using TrackerPro 2 for a Updated March 4, 2020 4:40 PM...
- Page 2 TrackerPro 2, l’utilisateur peut se rendre compte que Mise à jour mars 4, 2020 4:40 PM...
-
Page 3: Erste Schritte
Platzieren Sie TrackerPro 2 direkt vor dem Nutzer. Der • Stecken Sie einen oder zwei Schalter in den TrackerPro 2. TrackerPro 2 kann mit dem mitgelieferten Dual Lock an einen Der weiße Schaltstecker ist für das Klicken mit der linken Der Benutzer sollte seinen Kopf so weit wie möglich nach... - Page 4 Si el usuario no puede mover el cursor En la parte posterior de TrackerPro 2, gire el interruptor • En la parte posterior del Tracker Pro 2, mueva el interruptor del ratón por toda la pantalla, intente ajustar la velocidad del...
-
Page 5: Primeiros Passos
Este movimento irá reorientar o Conecte o TrackerPro 2 a uma porta USB Tipo A disponível no • Para uso sem interruptores, use um software de seleção de cursor do rato na direção vertical. - Page 6 は同梱のデュアルロックを利用してモニターに装着するか、同梱 • 白色のスイッチジャックは左マウスクリック用であり、黒色のス 停止し、画面の端に押し上げることができます。この上下運動を のデスクトップ・スタンドを利用して平らな面に設置することが イッチジャックは右マウスクリック用です。 数回繰り返します。この動作によりマウスのカーソルを垂直方向 できます。 • スイッチなしでの操作の場合、ドウェル選択ソフトウェアを利用 に再調整します。 TrackerPro 2 をコンピューターにおいて利用可能な USB Type A してください。 ユーザーは自らの頭をできるだけ左に、そしてできるだけ右に動 ポートに接続します。 TrackerPro 2 の電源/ステータス LED が • Windows: Dwell Clicker 2(別売) かす必要があります。頭の左右の運動によりマウスのカーソルを 赤色に点灯します。 • macOS Mojave またはそれ以降のバージョン: ドウェル選 停止し、画面の端に押し上げることができます。この左右運動を TrackerPro 2 反射シールをユーザーの額に設置します。...
- Page 7 Garantie et contact Garantie und Kontaktinformationen AbleNet manufactured products include a two-year limited Les produits fabriqués par AbleNet sont fournis avec une Für alle von AbleNet hergestellten Produkte gilt eine warranty. This warranty is against defects in materials and garantie limitée de deux ans. Cette garantie est applicable zweijährige beschränkte Garantie.
- Page 8 FCC Title 47 Part 15c Réglementation FCC, titre 47, chapitre 15c FCC-Titel 47 Abschnitt 15c Instructions for Use Information Mode d’emploi Informationen zur Gebrauchsanweisung This device complies with part 15 of the FCC Rules. Operation is subject to the Cet appareil est conforme au chapitre 15 de la réglementation FCC. Son Dieses Gerät hält die Bestimmungen des Abschnitts 15 der FCC-Regeln ein.
- Page 9 For private households: Pour les foyers particuliers : Für private Haushalte: Information on Disposal of Users of WEEE Renseignements quant à l’élimination des déchets d’équipements électriques et Informationen zum fachgerechten Entsorgen von Elektro- und Elektronik- électroniques (DEEE) Altgeräten This symbol on the product and/or accompanying documents means that used electrical and electronic equipment (WEEE) should not be mixed with Ce symbole...


Need help?
Do you have a question about the TrackerPro 2 and is the answer not in the manual?
Questions and answers