Table of Contents
Advertisement
Quick Links
Advertisement
Table of Contents

Related Manuals for Tutti Bambini KOJI

Summary of Contents for Tutti Bambini KOJI
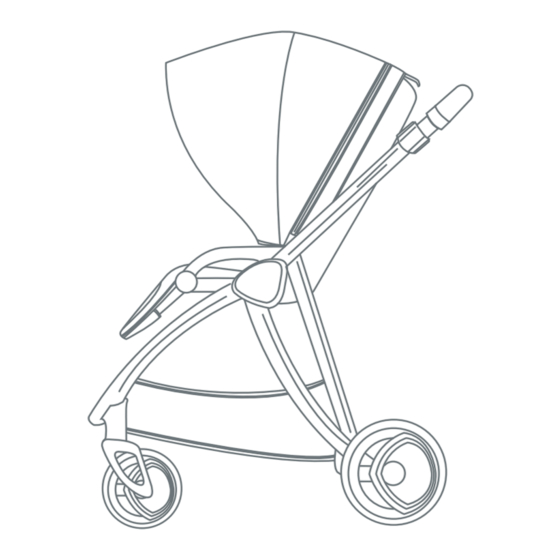
- Page 1 ® Assembly Instructions...
- Page 2 Your child’s safety may be affected if you do not follow these for your baby. instructions. This stroller is intended to carry child from birth up to a maximum Please take a few moments to read this guide on how to use the KOJI ® weight of 15kgs.
-
Page 3: Table Of Contents
Parts List Contents Chassis Fitting/removing the front wheels Fitting/removing the rear wheels Opening the chassis Operating the parking brake Chassis Operating the front swivel wheel • 2 x Front swivel wheels Adjusting the handle height • 2 x Rear wheels Folding the chassis •... -
Page 4: Chassis
Chassis Chassis 1. Fitting/removing the front wheels From the handle, pull upwards and the front of the chassis will spring forwards. Note: the handle will Press the metal pins of the front wheels into the extend as you open the chassis. designated holes at the front of the chassis until they click into place. -
Page 5: Operating The Parking Brake
Chassis Chassis In rear facing mode: Lay the chassis flat on the floor Adjust the seat back rest to the desired hieght, with the handle facing upwards. by lifting the adjustment handle at the back of the seat unit. 4. Operating the parking brake From the handle, pull upwards and the front of the chassis will spring forwards. -
Page 6: Adjusting The Handle Height
Chassis Chassis 4. Adjusting the handle height In forward facing mode: Fold the seat in half by pulling the adjustment handle at the back of the Unclip the two handle locks on either side of the seat, and pushing the backrest all the way forwards. chassis frame by pulling them inwards. - Page 7 Chassis Chassis Using your thumb, slide the lock on the handle bar Fold the calf support inwards to reduce the inwards. folded size. Pull the handle towards the ground, holding In rear facing mode: Fold the seat in half by pulling the chassis by the central bar, so that it stands the adjustment handle at the back of the seat, and upright by itself.
-
Page 8: Seat Unit
Chassis Seat Unit 1. Fitting the seat unit to the chassis Push the handle downwards to the lowest height. Insert the seat unit connectors into the main housing on the chassis, until it clicks into place. Note: the seat can be used in forward or parent facing mode. -
Page 9: Using The 5 Point Safety Harness
Seat Unit Seat Unit 4. Using the 5 point safety harness 6. Fitting the seat unit hood (sold separately) To release the 5 point safety harness, press the central button on the buckle housing. The top buckles pull Align the back of the pushchair hood to the back of apart as shown in the image. -
Page 10: Fitting The Shoulder And Crotch Pads (Sold Separately)
Seat Unit Carrycot (Sold Separately) 1. Assembling the carrycot Secure the seat liner to the seat unit by fastening the press studs at the top of the seat liner, and to the Remove the mattress and lining to gain access to the back rest and seat (via the gap between the two). -
Page 11: Fitting The Carrycot Apron (Sold Separately)
Carrycot (Sold Separately) Carrycot (Sold Separately) 3. Fitting the carrycot apron 5. Removing the carrycot from the chassis (sold separately) Press the two buttons on the carrycot Zip the carrycot apron onto the zip on the carrycot adapters inwards and pull all the way around. 4. -
Page 12: Car Seat (Sold Separately)
Car Seat (Sold Separately) Car Seat (Sold Separately) 1. Fitting the car seat to the chassis Lift the car seat upwards from the handle. First place the car seat adapters (supplied with the car seat) onto the chassis, with the arrows facing the direction that you want to place the car seat. -
Page 13: Care And Maintenance
Care and Maintenance Notes • For cleaning, use only a mild detergent and warm water. • DO NOT USE BLEACH. • DO NOT USE any abrasive substances. • From time to time, check your pushchair for loose screws, worn parts, torn material or stitching. •... - Page 14 Notes Notes www.tuttibambini.com www.tuttibambini.com...
-
Page 15: Www.tuttibambini.com
Join Us Follow us on Facebook TuttiBambiniUK Follow us on Twitter TuttiBambiniUK Follow us on Instagram TuttiBambiniUK www.tuttibambini.com...
Need help?
Do you have a question about the KOJI and is the answer not in the manual?
Questions and answers