Table of Contents

Related Manuals for Mimosa CAYMEN


Summary of Contents for Mimosa CAYMEN
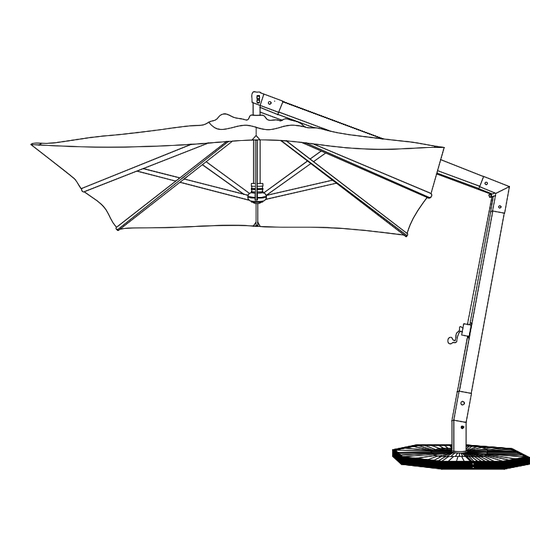
- Page 1 CAYMEN 3x3M WOODEN CANTILEVER UMBRELLA ® 100% FSC Certified Timber 3x3 metre diameter canopy FSC Eucalyptus wood frame - 8 ribs: teak matt finish 210g Olefin fabric - grey wind up crank operation 360 degree rotation system with cross base...
- Page 2 IMPORTANT: Please read these instructions before using the product and retain for future use. Note: 1 Please carefully read all instructions before assembly and use 2.PIease separate and identify all parts, ensuring that you have all parts listed 3.To avoid damaging your umbrella, it is recommended that you assemble it on a clean, protected surface 4.Washers must be used when indicated during the assembly process 5.Loosely tighten the nuts and then securely tighten when all are in position.
- Page 3 ASSEMBLY INSTRUCTION Step 1 Step 2 Put cross base (D) onto the cross base (E). Unscrew the screws in the side of base frames (D&E). Use these screws to connect the L-shaped base (F) to the cross bases (D&E). Tighten securely using spanner (bb). Step 3 Step 4 Take off the bolts &...
- Page 4 ASSEMBLY INSTRUCTION Step 6 Step 7 Secure the pole (C) to the base support (G), Secure the connecting elbow (H) to the using bolts and nuts (aa) and spanner (bb). pole (C), using bolts and nuts (aa) and spanner (bb). Step 8 Step 9 Secure the connecting elbow (H) to upper...
- Page 5 ASSEMBLY INSTRUCTION Step 10 Step 11 Connect the crank wire together as illustrated. Insert the frame and canopy (A) into the Once securely tightened, screw together the square tube hook (I) and secure by tightening protection box (K). This will conceal the wire the pre installed nuts.
- Page 6 OPERATING INSTRUCTION Step 1 Step 2 Rotate the crank handle (Part cc) Rotate the crank handle (Part cc) clockwise to open the umbrella. counter clockwise to close umbrella. Step 3 To rotate your umbrella, loosen the stop bolt (refer to image) and then insert the crank handle.
Need help?
Do you have a question about the CAYMEN and is the answer not in the manual?
Questions and answers