Table of Contents
Advertisement
Quick Links
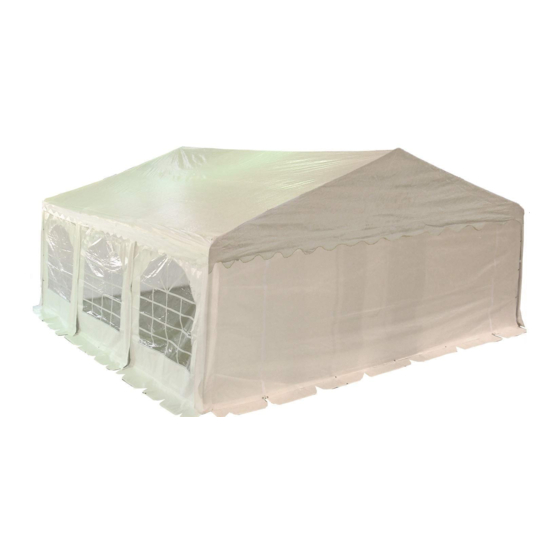
PARTY TENT
Please read instructions COMPLETELY before
Assembly. This party MUST be securely anchored.
THIS IS A TEMPORARY STRUCTURE AND NOT
RECOMMENDED AS A PERMANENT
STRUCTURE
Warning!
1. Prior to installation, consult with all local municipal codes regarding installation of temporary
shelters. The owner of the tent has the sole responsibility to make sure that these local rules are
followed and that the mounting is correct.
2. We are not responsible for damage to the unit or the contents from acts of nature.
3. It is always recommended that you secure your tent properly with storm straps and ground
pegs when you put up the structure. Proper Anchoring system selection is your responsibility.
20'x20' PE
Advertisement
Table of Contents

Summary of Contents for Delta PARTY TENT 20’x20’ PE
- Page 1 PARTY TENT 20’x20’ PE Please read instructions COMPLETELY before assembly. This party MUST be securely anchored. THIS IS A TEMPORARY STRUCTURE AND NOT RECOMMENDED AS A PERMANENT STRUCTURE Warning! 1. Prior to installation, consult with all local municipal codes regarding installation of temporary shelters.
- Page 2 Heavy duty Anchor are sold separately and are not included in this products. 4. Periodically check the anchors to ensure stability of shelter. 5. In case of extreme weather conditions the tent cover must be removed. 6. Any shelter that is not anchored securely has the potential to fly away causing damage. We are not responsible for any shelter that blows away.
- Page 3 4-way-corner 140°( roof connectors) 4-way-corner ( roof connectors) 3-way-corner ( roof connectors) HARDWARE AND CLOTH PART LIST Eyelet Screw Wing Nut Bolts Short Bungee Balls Long Bungee Ballls Guy Line Spiral Peg Long Peg Short Peg Hook Roof Side Panel End Panel...
- Page 4 3+ individual recommended for assembly, approximate time 2 to 3 hours Choose a calm day to set up your tent. Before putting up Please use gloves when assembling the metal frame portion of this unit. The metal components of this product have been treated with a rust preventive coating that may feel oily to the touch.
- Page 5 Step 2. Connect the roof poles and connectors from middle and out. Tips: Make sure all the poles are pushed all the way into the connectors and all screws are tightened. IF the poles are not pushed all the way to the connectors, the frame that you build will be bigger than the top size.
- Page 6 Step 5: Insert leg poles ( #3) into one side as shown below Step 6: Put the roof cover on the frame the opposite site of the frame and insert remaining leg poles (#3) to finish the tent framework. Step 7: Lift And tie down with bungee balls as shown.
- Page 7 Step 8: Attach the side panels and end panels as picture show below Step 9: Use the long pegs to secure the legs to the ground. Use the hooks to secure the leg cover to the leg poles. Warning: You must use stakes to secure your tent to the ground. If you set up your tent on concrete, you need to buy sand bags, water bucket, or bolts to secure your tent.
- Page 8 Step 10. The guy lines clasp to each corner of tent and another end of line secure to the ground by spiral pegs. Use short pegs to secure the side and end panels to the ground This is a temporary spike anchor. Not intended for permanent use. All images used are for illustration purposes only and may not represent an individual product.
Need help?
Do you have a question about the PARTY TENT 20’x20’ PE and is the answer not in the manual?
Questions and answers