Table of Contents
Advertisement
Quick Links
Advertisement
Table of Contents

Summary of Contents for Deen brothers KJ-213
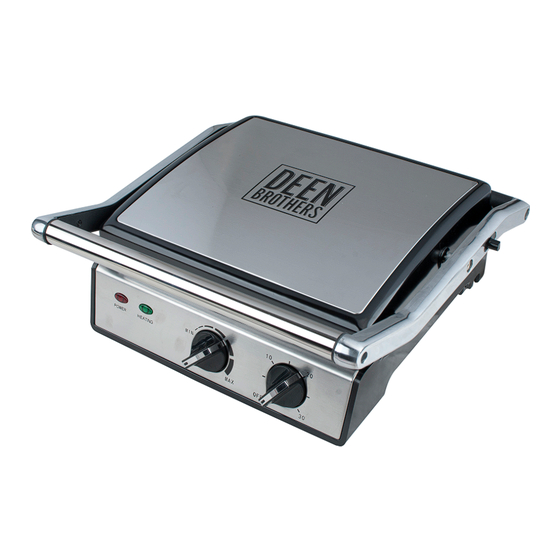
- Page 1 CONTACT GRILL INSTRUCTIONS MODEL KJ-213...
-
Page 2: Parts Identification
PARTS IDENTIFICATION... - Page 3 HOW TO ASSEMBLE THE PLATES How to assemble the plate 1. Put the plate with an angle like photo to the lock on end correctly like red arrow 2. Push the plate to lock enough like yellow arrow Put the plate in at an angle. Then lock into the slots on both sides.
-
Page 4: Important Safeguards
IMPORTANT SAFEGUARDS When using electrical appliances, basic safety precautions should be followed: • Read all the instructions. • Do not use the unit for anything other than intended use. • Never immerse the unit fully into water or other liquid to avoid damage to the unit. - Page 5 • To prevent electrical shock do not immerse the cord in water or other liquid. • Do not operate unit with a damaged cord or plug or after the unit malfunctions or has been damaged in any manner. Do not place the cord underneath the unit at any time.
-
Page 6: Before First Use
BEFORE FIRST USE Remove all packaging materials. Locate all included parts before discarding the box. Clean the grill and griddle plates with hot water, dishwashing liquid, and a non-abrasive sponge. Wipe the inside and outside of the unit with a soft cloth. CONTACT GRILL POSITIONS The grill has three positions open and flat, open, and closed depending on the type of cooking taking place. -
Page 7: Using The Appliance
USING THE APPLIANCE Place unit on a level surface and insert desired plates. Make sure that the drip tray on the back side of the unit is installed before use. Insert the plug into an electrical outlet. The power light will turn on. The unit will need to preheat for 3-8 minutes, in the closed position on the MAX temperature. - Page 8 CLEANING Clean after every use. 1. Unplug the unit and allow to cool completely. Before cleaning the unit, disassemble all parts. CAUTION: To prevent injury or electric shock, always remove the cord before cleaning. Do not immerse cord or heating element in water or other liquid to avoid damage.
- Page 9 RECIPE NOTES ______________________________________ ______________________________________ ______________________________________ ______________________________________ ______________________________________ ______________________________________ ______________________________________ ______________________________________ ______________________________________ ______________________________________ ______________________________________ ______________________________________ ______________________________________ ______________________________________ ______________________________________ ______________________________________ ______________________________________ ______________________________________ ______________________________________ ______________________________________ ______________________________________ ______________________________________ ______________________________________ ______________________________________ ______________________________________...
- Page 10 RECIPE NOTES ______________________________________ ______________________________________ ______________________________________ ______________________________________ ______________________________________ ______________________________________ ______________________________________ ______________________________________ ______________________________________ ______________________________________ ______________________________________ ______________________________________ ______________________________________ ______________________________________ ______________________________________ ______________________________________ ______________________________________ ______________________________________ ______________________________________ ______________________________________ ______________________________________ ______________________________________ ______________________________________ ______________________________________...
- Page 11 RECIPE NOTES ______________________________________ ______________________________________ ______________________________________ ______________________________________ ______________________________________ ______________________________________ ______________________________________ ______________________________________ ______________________________________ ______________________________________ ______________________________________ ______________________________________ ______________________________________ ______________________________________ ______________________________________ ______________________________________ ______________________________________ ______________________________________ ______________________________________ ______________________________________ ______________________________________ ______________________________________ ______________________________________ ______________________________________...
-
Page 12: Limited One-Year Warranty
Also include a brief description of the problem you are experiencing and a copy of your sales receipt or other proof of purchase in order to validate warranty status. MODEL KJ-213...
Need help?
Do you have a question about the KJ-213 and is the answer not in the manual?
Questions and answers