Advertisement
Quick Links
Advertisement

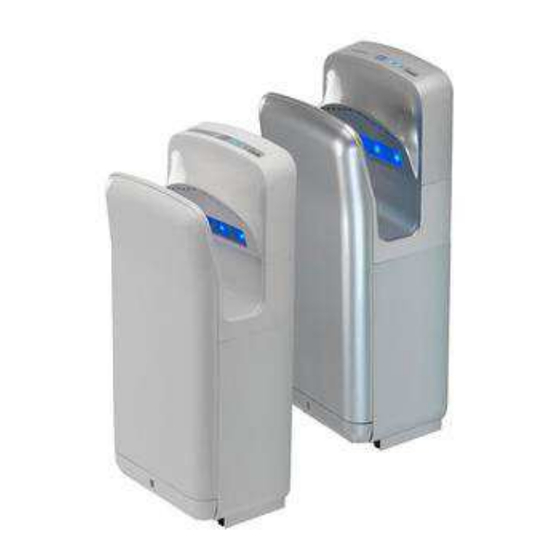
Summary of Contents for Handy Dryers Gorillo
- Page 1 Gorillo Hand Dryer User Manual...
- Page 2 Contents Warning ........2 Features........3 Part names......4 Specification......4 Installation procedures....5 Routine cleaning ....9 Using the unit......10 Troubleshooting......10 This product should only be used as instructed and fitted by a professional electrician to avoid injury or machine failure. Warning : Don’t open the front panel whilst electric is turned on. This may result in the user being at risk of an electric shock.
- Page 3 Use a single-phase AC 220~240V/50/60Hz power supply Use within the required voltage, as voltage exceeding 220V +10% will fail the unit Important! Always Using an incorrect power supply may cause fire, electric shock and malfunction. follow instructions closely Use separate line Using any other electric appliance with the same line, may cause the branch socket to become very hot and cause fire.
- Page 4 To prevent overusing the unit, the built-in timer will stop the unit after 30 seconds. To continue use, draw back your hands and put them in again. Before starting to operate the Gorillo hand dryer: Turn on the power switch (located in the lower part of the side switch)
- Page 5 The power indicator light on the top of the hand dryer should light up The LED lights in U-shaped sink light up. PTC heater control There are 2 switches in upper part of the switch. On the right, choose to turn on “Hot” and the heater will heat the air. On the right, choose to turn on “Cool”, and the heater will be turned off for economical use.
- Page 9 Cleaning your Gorillo hand dryer You can clean the Gorillo hand dryer with a soft cloth. If the unit gets very dirty we recommend you clean with a soft cloth dampened with neutral agent, then clean with a dry soft cloth.
- Page 10 3. Close the water tank cover and re-attach it to the unit. Confirm the two locations are firmly inserted. Add 200cc (around 1 cup) of water through the drain hole. (to prevent it from getting clogged) Use the unit after confirming that the water tank is in place.
- Page 11 Troubleshooting If the following problems occur, please perform checks to see if problem is fixed. Error Check Action No air blows Do the display indicators lights Turn the ground-fault circuit breaker on. even if hands Turn the power switch on are inserted.


Need help?
Do you have a question about the Gorillo and is the answer not in the manual?
Questions and answers