Table of Contents
Advertisement
Quick Links
2.3 MHz System Installation Instructions
Step 1 - Contents
1
2
3
4
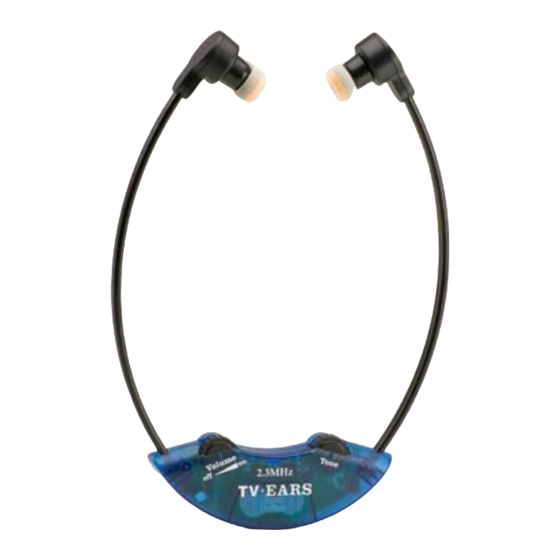
Remove items from box (1) Headset, (2) Transmitter, (3) A/C
Adapter, (4) Audio Cord.
Step 2 – PLUG IN A/C ADAPTER
Plug the A/C Adapter (3) into standard 110 volt electrical
outlet and plug the other end into the"12v" jack located on
the back of the transmitter (2). NOTE: System will not work
if unplugged from electrical outlet.
Advertisement
Table of Contents

Summary of Contents for TV Ears Headset System
- Page 1 2.3 MHz System Installation Instructions Step 1 - Contents Remove items from box (1) Headset, (2) Transmitter, (3) A/C Adapter, (4) Audio Cord. Step 2 – PLUG IN A/C ADAPTER Plug the A/C Adapter (3) into standard 110 volt electrical outlet and plug the other end into the“12v”...
- Page 2 Tip 1 If you chose to plug the Audio Cord (4) into the back of your TV, satellite box or cable box and you want TV Ears to also work with your DVD or VCR, then plug the RED wire of the Audio Cord (4) into the "Audio Out" of your satellite or cable box and BLACK wire of the Audio Cord (4) into the "Audio Out"...
-
Page 3: Step 4 - Placing The Transmitter
Audio Out port anywhere, then purchase the "Alternative Installation Kit". (See accessories). This accessory is also helpful when traveling with TV Ears. Step 4 – PLACING THE TRANSMITTER... -
Page 4: Step 5 - Using The Headset
The headset is worn The headset is worn hanging under the chin with the ear tips placed comfortably in your ears and the “TV Ears” logo facing outward toward the transmitter. Turn the volume knob to your left until it clicks the headset “on”... -
Page 5: Step 6 - Charging The Headset
Step 7 – REPLACING THE EAR TIPS The Headset (1) comes with a set of “TV Ears Tips” installed on the headset. When the tips become dirty or frayed they should be replaced. -
Page 6: Optional Accessories
Optional Accessories ADDITIONAL 2nd HEADSET MSRP $69.95 ITEM #10321 TV Ears 2.3 MHz Additional Headset. SEAT SIDE CHARGER MSRP $49.95 ITEM #10020 Conveniently charges Two Headsets (Not a Transmitter) TV EARS TIPS (5 Pair) MSRP $19.95 ITEM #10111 TV Ears Tips 5 Pair TV EARS BATTERY MSRP $19.95... -
Page 7: Frequently Asked Questions
Where can we buy Optional Accessories and TV Ears Tips? Ears Tips can be purchased on our website, www.TVEars.com, or through our customer service line at (888) 883-3277 or at an authorized TV Ears Dealer. How long will the batteries last on a full charge? - Page 8 Q11: Will the lights ever change colors once the headset is charged? No. The charging light should remain a constant color as long as the headset is placed in the charging slot.


Need help?
Do you have a question about the Headset System and is the answer not in the manual?
Questions and answers