Table of Contents
Advertisement
Quick Links
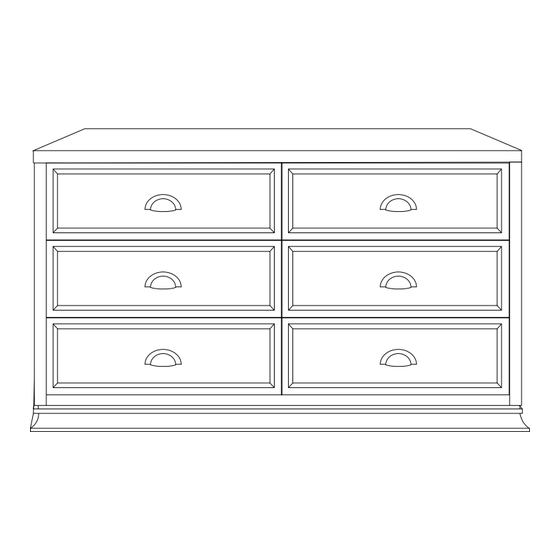
Mason Double Dresser (5616) - Assembly and Operation Manual
Congratulations on purchasing a MDB Family product. This product will provide many years of service if
you adhere to the following guidelines for assembly, maintenance, and operation. This product is for resi-
dential use only. Any institutional use is strictly prohibited.
Please be sure to follow the instructions for proper assembly. Use a Phillips head screwdriver for assem-
bling the product in addition to the Allen wrench included in the hardware box. Do not use power screw-
drivers. All of our products are made from natural woods. Please understand that natural woods have
color variations which are the result of nature and not defects in workmanship.
DO NOT SUBSTITUTE PARTS. ALL MODELS HAVE THE SAME QUANTITY OF PARTS AND HARD-
WARE. YOUR MODEL MAY LOOK DIFFERENT FROM THE ONE ILLUSTRATED DUE TO STYLISTIC
VARIATIONS.
!!PLEASE READ!
Assembly of this furniture is easier with two people. Assemble furniture on debris free carpets or on
the enclosed foam sheets to prevent scratching of finish. Using any power tools to assemble this furni-
ture may potentially strip the wood. DO NOT OVERTIGHTEN SCREWS. DO NOT USE THE
DRESSER IF IT IS DAMAGED OR BROKEN.
page 1
revised 07MAR2012
Advertisement
Table of Contents

Related Manuals for Franklin & Ben Mason Double Dresser 5616


Summary of Contents for Franklin & Ben Mason Double Dresser 5616
- Page 1 Mason Double Dresser (5616) - Assembly and Operation Manual Congratulations on purchasing a MDB Family product. This product will provide many years of service if you adhere to the following guidelines for assembly, maintenance, and operation. This product is for resi- dential use only.
- Page 2 PARTS J. Left bearing glide (6) K. Right bearing glide (6) A. Left side panel B. Right side panel C. Center panel L. Left drawer panel (6) D. Base panel M. Right drawer panel (6) N. Drawer back (6) E. Base support rail P.
- Page 3 S. Drawer front panel (6) Tools Needed T. Back panel (2) (not included) Phillips Glue screwdriver HARDWARE H1. 3/4” Phillips head screw (24) H2. 1-1/2” Phillips head screw (24) H3. 1-1/4” Phillips head screw (8) H4. 2” Phillips head screw (4) H5.
- Page 4 STEP 2. Attach the left bearing glide (J) to the right side of certer panel (C) and right bearing glide (K) to the left side of certer panel (C) using 1/2” Phil- lips head screws (H10). Insert cam locks (H7) to the right side of certer panel (C) as shown.
- Page 5 A. Left side panel B. Right side panel STEP 5. Attach the left and right side panels (A & B) and center panel (C) to the base panel (D) as shown. C. Center panel Right side Left side D. Base panel Rotate Cam Lock (H7) to fasten.
- Page 6 STEP 8. Attach four back support blocks (G-1) to the to the four corners of back side using 1-1/4” Phillips head screws (H3) as shown. STEP 9. Attach six top support blocks (H) to the top of left and right side panels (A & B) and center panel (C) (right side only) using 1-1/2”...
- Page 7 STEP 10. Attach the back panels (T) to the back of dresser using 1/2” Phillips head 1/2” wood screws (H10) and three screws with washer head (H11) as shown. T. Back T. Back panel panel STEP 11. N. Drawer back Assemble the left drawer panel (L), right drawer panel (M) and drawer back (N) by matching teeth at each edges.
- Page 8 STEP 13. Turn the drawer upside down. Stick the back support blocks (G-2) and bottom support rail (R) to bottom board (Q) using glue as shown. * Support blocks/rail edges should be stained some glue as well. STEP 14. Attach the drawer front panel (S) to the drawer S.
Need help?
Do you have a question about the Mason Double Dresser 5616 and is the answer not in the manual?
Questions and answers