Advertisement
Quick Links
Advertisement

Related Manuals for Babymore Aston Cot/Bed


Summary of Contents for Babymore Aston Cot/Bed
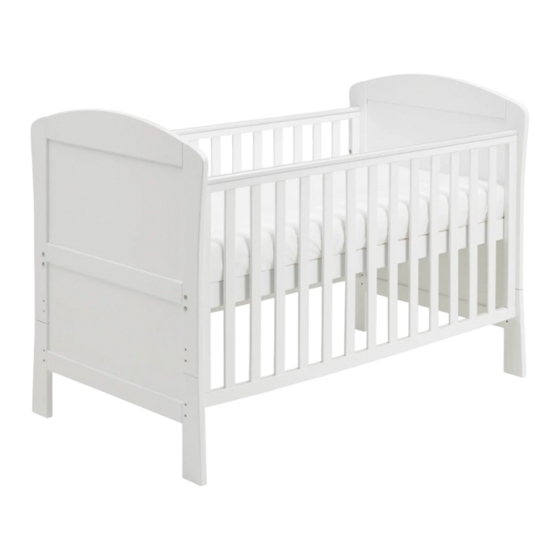
- Page 1 INSTRUCTIONS ASTON COT/BED Babymore Babymore ASD: V1/15 Babymore Babymore Babymore Ltd Thank you for purchasing Babymore If you need assistance, spare parts or you are unhappy with the goods Call: 020 3475 5588 or email: customerservices@babymore.co.uk |P a g e...
-
Page 2: Instructions For Safe Use
• WARNING: Do not use the cot/bed if any part is broken, torn or missing and use only spare parts approved by Babymore. • WARNING: Do not leave anything in the cot or place the cot close to another product which could provide a foothold or present a danger of suffoca on or strangula on, e.g. -
Page 3: Before Assembly
Thank you for purchasing Babymore If you need assistance, spare parts or you are unhappy with the goods Call: 020 3475 5588 or email: customerservices@babymore.co.uk Improper assembly can result in damage to your furniture or cause harm to your child. Proper assembly is cri cal to ensure a safe and comfortable end result. - Page 4 COMPONENTS Description Item Item Description Fixed Side Cot End Drop Side Base Support Bar Base Slats P a g e...
- Page 5 F / Bolts 20mm x 8 Step 1 Align and install base slats onto base support bars. Use bolts F to secure slat onto the support bar, as diagram show. B x2 A / Bolts 55mm x 8 A x2 B / Barrel Nuts x 8 Step 2 A x2...
- Page 6 A / Bolts 55mm x 4 Step 3 A x4 Install fixed side to ends by pass (A) bolts through predrilled hole onto cot ends. Leave bolts connection loosen un l step 6 C / Bottom Pin x 2 D / Top Pin x 2 Step 4 Refer to the magnified diagram,...
- Page 7 Step 5 Ensure correct way (Outside/Inside) of dropside panel for assembly. “Push” label face outside. Align and insert top pin into top recess of dropside panel, push cot end panels outward to allow extra space where required. INSIDE OUTSIDE Maximum ma ress height mark: Top of ma ress should be below this mark in al l posi ons.
- Page 8 Step 7 To lower the dropside , Li up the dropside from Step 1 centre, hold while using your leg to push at centre of bo om bar inward, then allow panel to slide down to lower posi on. To raise the dropside, Li up the dropside from centre, hold while using your leg to push at centre...
- Page 9 CONVERT TO DAY BED / BED E / Allen Key Step 1 Remove the dropside , insert (C) Allen key through the holes of the dropside, push down top of bo om pins, to remove the dropside. Disassemble the cot by reverse the assembly step 6 to Step 1.
- Page 10 A / Bolts 55mm x 8 B x2 A x2 B / Barrel Nuts x 8 S tep 3 A x2 Use the above fi ng a ach base panel (3) onto the cot end tops. Ensure base label side upward.
-
Page 11: Care And Maintenance
This in no way affects your statutory rights Each Babymore item is a unique piece, made of high quality wood and material. Due to the handcrafted nature of our products and our use of solid woods, each piece is unique and may contain irregular qualities, there will occasionally be natural markings, miniscule burrs, or slight discolorations.
Need help?
Do you have a question about the Aston Cot/Bed and is the answer not in the manual?
Questions and answers