Advertisement
Table of Contents
slip
connector
vertical
slot
rectangle
hole
Detail A
slip
connector
Detail C
Figure 1
tab
slide rail
Detail D - Configuration Examples
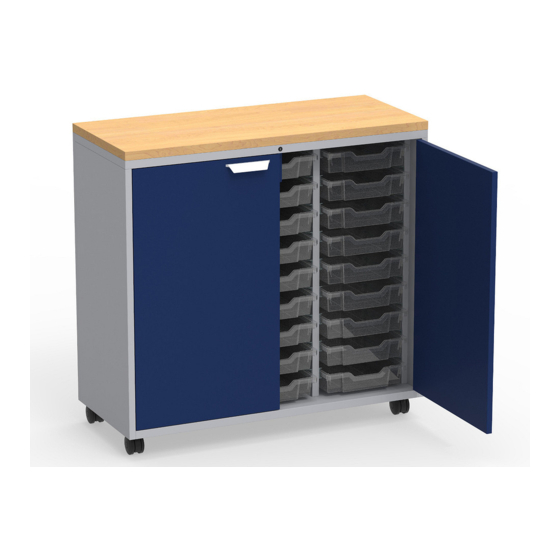
Assembly Instructions
Ruckus
Tote Storage
®
Build Your Own
July 2019
vertical
slot
rectangle
hole
tab
Detail B
tote
Assemble units as described herein only. To do otherwise
may result in instability. All screws, nuts and bolts must be
tightened securely and must be checked periodically after
assembly. Failure to assemble properly, or to secure parts
may result in assembly failure and personal injury.
Slide Rail Assembly
Note: Totes are available in
nominal heights of 3", 6", 9", and
12". Several tote configurations are
possible, depending on the height of
the storage case and heights of totes
used. A pair of slide rails support
each tote. The height of each tote
determines the mounting location
of slide rails within the Ruckus Tote
Storage case. Beginning at the top
of a tote storage case, every three
inches of height added to a tote
(i.e. 3" to 6" height) requires an
additional number of open mounting
holes and slots left in the case below
an installed pair of slide rails. This
is to account for tote depth when
installing the next set of slide rails
below.
1. Determine the tote configuration
desired and the locations to install
slide rail pairs in the case (Detail D).
Note: Each slide rail has a front
and a rear "slip connector" which
is designed to insert through front
and rear "rectangle holes" inside the
case. The front rail slip connector
has a "locking tab" on the end to
engage a "vertical slot" behind
the "rectangle hole" in the front
mounting location.
2. At the location required for a
slide rail, position the slide rail as
illustrated in Detail A and engage
the rail's slip connectors into both
rectangular mounting holes, pushing
rearward to snap the tab into the
vertical slot in the case, locking the
slide rail in place. Repeat to install
the other side slide rail at the same
level as the first (Figure 1 & Details
A, B & C).
3. Repeat step 2 above for all tote
locations, per the tote configuration
desired.
4. Install totes to installed slide rails of
the storage unit by engaging the top
rim of each tote into the appropriate
pair of installed slide rails (Figure 1).
Advertisement
Table of Contents

Related Manuals for KI Ruckus Tote Storage


Summary of Contents for KI Ruckus Tote Storage
- Page 1 Assembly Instructions Ruckus Tote Storage ® Build Your Own July 2019 Slide Rail Assembly Note: Totes are available in nominal heights of 3”, 6”, 9”, and slip vertical connector slot 12“. Several tote configurations are possible, depending on the height of the storage case and heights of totes rectangle used.
- Page 2 Detail E Detail F slide rails tote Figure 2 1330 Bellevue Street • P .O. Box 8100 • Green Bay, WI 54308-8100 • Tel 1-800-424-2432 • www.ki.com Part# 2.80710 © 2019 Krueger International, Inc. All Rights Reserved • Code KI-AI-000046/KI/PDF/0719...
Need help?
Do you have a question about the Ruckus Tote Storage and is the answer not in the manual?
Questions and answers