Advertisement
Quick Links
Advertisement

Subscribe to Our Youtube Channel
Related Manuals for MFB MFB-301 Pro


Summary of Contents for MFB MFB-301 Pro
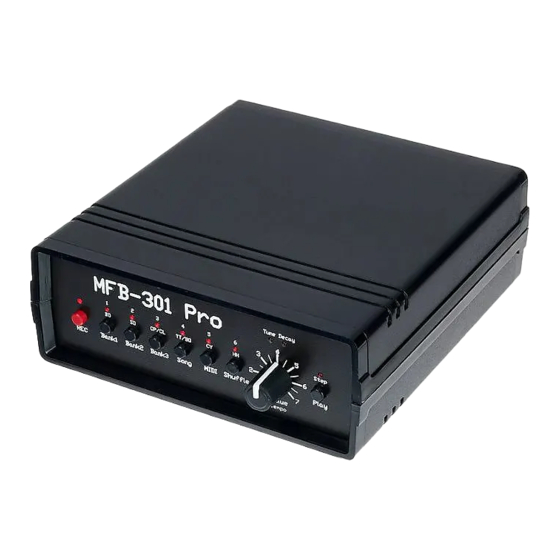
- Page 1 Operating Manual Drum Computer MFB-301 Pro...
- Page 2 Value control serves to adjust values for the sound parameters. Loading, saving and deleting patterns The MFB-301 Pro offers three banks with 36 patterns each. A pattern is loaded by pressing Bank 1/2/3 (LED above lit). Release the button and subsequently press two buttons 1-6 to select the memory location (11-66).
- Page 3 Hint: It is only possible to load and save patterns with both LEDS above the Value control turned off. In addition, patterns can only be stored with the sequencer being stopped. Programming Patterns Step Record Mode In this mode, a pattern is programmed by sequentially entering up to 16 steps using the buttons REC and Play.
- Page 4 Continue programming by pressing Play (Pause) or REC to add a second hi-hat. Now, turn the Value control again to create a closed hi-hat by setting a short value for the note length (example). Subsequently, program the rest of the pattern. ...
- Page 5 Sound Parameters It is possible to adjust the pitch, the note length and the extra parameters upfront. This way, you can create a default setting that applies, e.g. when deleting a pattern. To do so, press the button of the Value control once (left LED lit). Next, press REC and e.g.
- Page 6 (LED 2 lit) or not (LED 2 off). MIDI Clock/External Sync With the MFB-301 Pro’s sequencer set to internal (LEDs above buttons 3 and 4 turned off), an incoming MIDI-clock or an analog sync-signal will be ignored. To activate an external synchronization, press MIDI and button 3 for MIDI-clock or button 4 for an external analog clock (LED 3 respectively 4 lit).
- Page 7 Loading and saving patterns using USB, USB-Firmware-Update Given the appropriate driver has been installed and the MFB-301 Pro has been connected to a Windows computer using the USB connection, a terminal software can be used to save and load patterns from and to the unit. To do so, press Bank 1, release the button and press Play to initiate the transfer to the computer.
- Page 8 HH + CC short Noise Note # 72 (C) HH + CC long Noise Hint: The MFB-301 Pro’s MIDI-implementation is compatible to the models MFB Tanzmaus and MFB Tanzbär Lite. You may use both units’ control elements to remote-control the MFB-301 Pro.
- Page 9 Driver Installation The MFB-301 Pro uses the CY7C65213 chip by Cypress to convert USB to serial data and vice versa. To setup a connection to your computer, a driver needs to be installed.
- Page 10 Displaying the Firmware-Version To request the firmware-version of your MFB-301 Pro, make sure HTerm has recognized the unit. On the MFB-301 Pro, press and release Shuffle, then press Play. The software will now display the firmware-version under Received Data, e.g.
- Page 11 Transferring Patterns to a computer To transfer a single pattern from your MFB-301 Pro’s RAM to the computer, carry out the following steps: Make sure, the MFB-301 Pro has successfully been connected to the computer via USB and has been detected by HTerm.
- Page 12 Transferring Patterns to the MFB-301 Pro To transfer a single pattern to your MFB-301 Pro’s RAM, carry out the following steps: Make sure, the MFB-301 Pro has successfully been connected to the computer via USB and has been detected by HTerm.
- Page 13 Carrying out a Firmware-Update The MFB-301 Pro offers a built-in update function. To carry out a firmware-update, you will need a corresponding .bin file, which will be supplied to you sporadically from MFB’s website or (whenever needed) by MFB’s support.
Need help?
Do you have a question about the MFB-301 Pro and is the answer not in the manual?
Questions and answers