Table of Contents
Advertisement
Quick Links
Advertisement
Table of Contents

Related Manuals for Living & Co BC-8830


Summary of Contents for Living & Co BC-8830
- Page 1 Instruction Manual BC-8830...
-
Page 3: Table Of Contents
Contents Page Safety Instructions 2 - 3 Battery Safety Do's and Don'ts Care and Maintenance Getting Started Description of Parts 7 - 10 Instructions for Use Troubleshooting Specifications Warranty 1300 886 649 1300 886 649... -
Page 4: Safety Instructions
Please read all of the instructions carefully and retain for future reference. Safety Instructions en using electrical appliances, basic safety precautions should always be followed. Check that the voltage indicated on the rating plate corresponds with that of the local network before connecting the appliance to the mains power supply. - Page 5 Do not use the appliance if it has been dropped or if there are visible signs of damage. Do not use the appliance for anything other than its intended use. Do not use any parts/accessories or adaptors other than those supplied with this appliance, as this may cause damage.
-
Page 6: Battery Safety
Battery Safety In th e event of the battery pack leaking, do not allow any liquid to come into contact with the skin or eyes. If contact has been made, wash th e affected area with copious amounts of water and seek medical advice. Keep th e battery pack out of the reach of children. -
Page 7: Care And Maintenance
Don't: Use the vacuum cleaner without the HEPA filter or dust container in position. Use the vacuum cleaner to pick up flammable liquid, matches, cigarette ends, hot ashes or any hot, burning or smoking objects. Use the vacuum cleaner to pick up water or any other liquid, as this poses risk of an electric shock. -
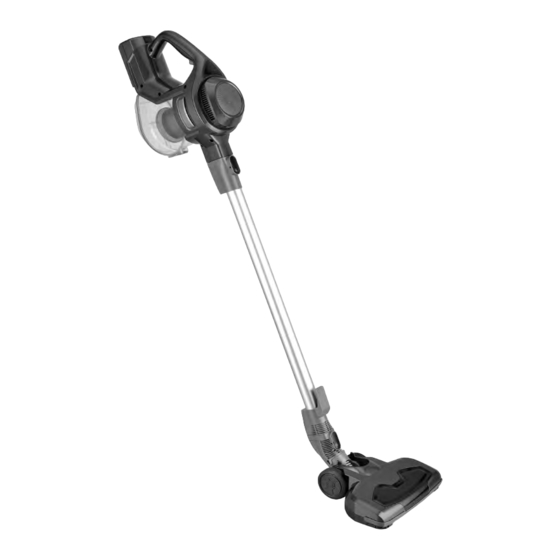
Page 8: Description Of Parts
Description of Parts __________ 11. Dust container 1. Cordless main unit 2. Air inlet 12. Dust container base release latch 3. Extension tube 13. Filter cone 4. Extension tube release button 14. HEPA filter 5. Floor brush 15. Battery pack 6. -
Page 9: Instructions For Use
Instructions for Use Before First Use Before using the vacuum cleaner for the first time, clean the exterior surface with a soft, damp cloth and dry thoroughly. Do not immerse the vacuum cleaner in water or any other liquid. Charging Before first use, the vacuum cleaner must be charged for approx. - Page 10 Using the Extension Tube and Floor Brush The extension tube can be fitted onto the air inlet to extend reach, ideal for floor-to-ceiling cleaning. STEP 1: Fit the extension tube onto the air inlet by aligning the pins and carefully pushing the extension tube towards the main unit until it clicks into position.
- Page 11 Cleaning the filter HEPA The HEPA filter can only be accessed when the dust container is open. STEP 1: Open and empty the dust container following the instructions in the section entitled 'Emptying the Dust Container'. STEP 2: Once the dust container is empty, remove the filter cone by rotating it in an anticlockwise direction and lifting it out of the vacuum cleaner main unit.
- Page 12 Cleaning the Floor Brush The floor brush has a removable brush bar for easy cleaning. STEP 1: Switch off the vacuum cleaner and remove the floor brush by pressing the floor brush release button and pulling it away from the extension tube. STEP 2: Slide the brush bar release tab to release the brush bar and lift it out of the floor brush.
-
Page 13: Troubleshooting
Troubleshooting Possible Cause Solution Symptom Th e vacuum c I eaner mains power Connect the mains power will not charge. adaptor is not securely adaptor to the charging port connected. on the main unit, following the instructions in the section entitled 'Charging'. Check that the battery pack is secured onto the unit. -
Page 14: Specifications
Other Useful Information (Cont.) echnical specifications Battery: 22.2 V 2200 mAh Li-ion 100-240 V - 50/60 Hz Adaptor Input: Adaptor Output: 26 V 400 mA Dust tank capacity: 1.2 L Compliance This appliance has been fully tested and meets all requirements as set out by the relevant safety standards. -
Page 15: Warranty
SEPTEMBER 2019...
Need help?
Do you have a question about the BC-8830 and is the answer not in the manual?
Questions and answers