Table of Contents
Advertisement
Advertisement
Table of Contents

Subscribe to Our Youtube Channel
Related Manuals for CHEF IQ SMART COOKER

Summary of Contents for CHEF IQ SMART COOKER
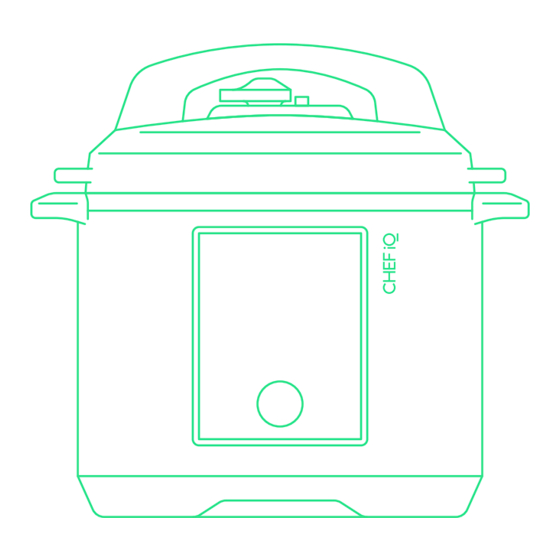
- Page 1 USER GUIDE SMART COOKER™ chefiqlo...
- Page 2 TABLE OF CONTENTS Ferment Keep Warm Sanitize Pressure Cook Sear/Sauté Steam Slow Cook...
- Page 3 Cooker™ including helpful cooking tips, important safety and warranty information, and much more. Read through this guide to discover all that your Smart Cooker™ can do. And while we know you’re excited to get cooking, please read through all safety information as well.
- Page 4 NEAR THE PRESSURE REGULATOR KNOB. STEAM IS HOT AND MAY CAUSE BURNS. 1. COOKING POT Your Smart Cooker™ must be used with a 6-quart pot insert. The 6. POWER CORD nonstick one that comes with it includes handy measurements inscribed inside. Use nonstick-safe utensils when cooking and The power cord is detachable.
- Page 5 The large single handle on top of the lid makes the lid easy to ACCESSORIES maneuver. To close the lid, turn the handle clockwise. When the Smart Cooker™ is pressurized, the lid will be locked. Once pressure is released, turn the handle counterclockwise to open. 9. CONDENSATION CUP The removable condensation cup collects liquids that collect in the grooved rim (the condensation ring) of the Smart Cooker™...
- Page 6 Remove all packaging materials, such as plastic bags and 11. Do NOT place your Smart Cooker™ on or near a hot gas or electric burner. Do NOT place pulp inserts. your Smart Cooker™ in a heated oven.
- Page 7 SHORT CORD INSTRUCTIONS: POWER CORD SAFETY TIPS: 1. Never pull or yank on cord or the appliance. 2. To insert plug, grasp it firmly and guide it into outlet. 3. To disconnect appliance, grasp plug and remove it from outlet. 4.
- Page 8 COOKING FUNCTIONS The Smart Cooker™ offers myriad ways to cook your favorite foods. Most are displayed on, and selected from, the control panel; look for others by pressing More on the control panel:...
- Page 9 “Food is Ready,” but you’ll not be able to unlock the • When the correct pressure is reached, the lid of the Smart Cooker™ will lock in place. The lid lid until all the red pressure valve has dropped level with the lid.
- Page 10 Cook Time will begin to count down. 1. Ensure the cooking pot is clean and dry. Insert it into the Smart Cooker™. NOTE: YOU CAN CANCEL OUT OF COOKING AT ANY TIME BY PRESSING THE...
- Page 11 (Sauté in French means to jump.) When sautéing, the Smart Cooker™ allows you to adjust the temperature to low, medium, and high. NOTE: FOR BOTH SAUTÉING AND SEARING, YOU’LL GET THE BEST BROWNING...
- Page 12 Time Remaining 30 min Temperature High Sear Smart Cooker 234 1. Ensure the cooking pot is clean and dry. Insert it into the Smart Cooker™. Manual Onion Beef Sausage 2. Press Sear/Sauté on the control panel; the Sear/Sauté menu will display Seafood on the screen.
- Page 13 Steaming usually involves placing foods above simmering water; the vaporizing liquid to receive suggested cooking parameters. (If selecting a food category, conducts heat to the food to gently cook it. When steaming in the Smart Cooker™, you’ll be prompted to select specific details about the food you’re cooking the food sits on either the steam rack or in the steam basket set above the steaming in order to determine the best time for the food.)
- Page 14 Plus, foods to be slow cooked can be seared before slow cooking right in the Smart Cooker™ cooking pot, which not only boosts the flavor of the final dish, but also means one less pot to clean.
- Page 15 IMPORTANT: IF YOU’RE USING A chefiqlo GUIDED COOKING RECIPE FROM THE APP, THOSE DIRECTIONS INCLUDE COOKING PARAMETERS SENT DIRECTLY FROM THE APP TO YOUR SMART COOKER™ AND DO NOT REQUIRE ADDITIONAL INPUT ON THE UNIT. TO EXECUTE THE GUIDED COOKING RECIPES, SIMPLY FOLLOW THE STEPS DISPLAYED IN THE RECIPE ON YOUR SMART DEVICE.
- Page 16 More on the control panel. Under Weight Units, displayed on the unit’s screen, choose either ounces or grams. 2. Ensure the cooking pot is clean and dry. Insert it into the Smart Cooker™. Add steam rack, basket, or other cooking vessel if using.
- Page 17 You can control panel. then relay them from the app to the Smart Cooker™; to use these customized pre-sets, press Favorites on the control panel. NOTE: YOU CAN ALSO TWEAK THE PARAMETERS AS YOU LIKE BEFORE SAVING THEM AS FAVORITES.
- Page 18 Smart Cooker™ for other functions, it can also be set manually from this menu, and can even keep food not cooked in the Smart Cooker™...
- Page 19 WIFI RESET 7. Clean the outside of the Smart Cooker™ with a damp soft cloth or sponge. Resets wireless connection. If reset, the Smart Cooker™ will 8. Never use harsh chemical detergents, scouring pads, or powders on any of the parts or no longer be paired.
- Page 20 1-year + 3 months warranty will activate. This For more information about the Smart Cooker™ and chefiqlo, connection will serve as a proof of purchase. In such cases where there is no connection, chefiqlo...
- Page 21 FCC STATEMENT EXTENDED WARRANTY: chefiqlo chefiqlo Once your appliance is connected and paired to the app, the extended warranty be will be enacted. Want to know more? Please visit us at Chefiq.com for additional information. OTHER LIMITATIONS: All warranties of any kind whatsoever, express, implied and statutory, are hereby disclaimed.
Need help?
Do you have a question about the SMART COOKER and is the answer not in the manual?
Questions and answers
How to set the clock