
Summary of Contents for Liberty Safe Safe Power Outlet Kit
- Page 1 INSTALLATION AND OPERATION MANUAL USB 2.0 Ca t- 5 A N T E N N A www.LibertySafe.com (800) 247-5625 ©2014 Liberty Safe & Security Products, Inc. PN 11015-001...
- Page 2 POWER OUTLET KIT PARTS HUB A HOLE SAW CENTERING GUIDE COVER PLATE & COVER PLATE SCREWS (¾") SCREW AND SPACER SETS FOR 1 TO 4 FIREBOARD LAYERS 4 LAYERS: 2 SCREWS (3 ") & 2 BLUE SPACERS (1 ") AND 1 SAFE ALERT SPACER (2 ") HUB B Spacer...
-
Page 3: Getting Started
1.25" to the depth of the safe and may require repositioning lag bolts. If you are not able to move the safe on your own, contact your local Liberty Safe dealer, locksmith or moving company to assist you. TOOLS REQUIRED BUT NOT INCLUDED: •... - Page 4 Remove drill bit from hole saw and replace From inside the safe, insert the guide rod with included guide rod. through the hole and into the hole saw centering guide. Using the hole saw as a stencil, use a mark- Use a utility knife to carefully cut the fabric er to mark the fabric around the hole saw.
- Page 5 When cutting 3 or 4 layers, it will be neces- Using a vacuum, clean up any debris sary to remove 1 or 2 fireboard disks from before continuing installation. inside saw to finish cutting through remain- ing layers. HUB A HUB B Count the number of layers of fireboard and Insert two screws of the correct length...
- Page 6 Using a screwdriver, finish tightening the From the inside of safe, push out the hole screws. Do not over-tighten. saw centering guide with a screwdriver. Insert the assembled outlet kit into hole with Hub A facing inward. Press assembled outlet kit gently into place From the back of the safe, place the cover until Hub B snaps into back-wall of safe.
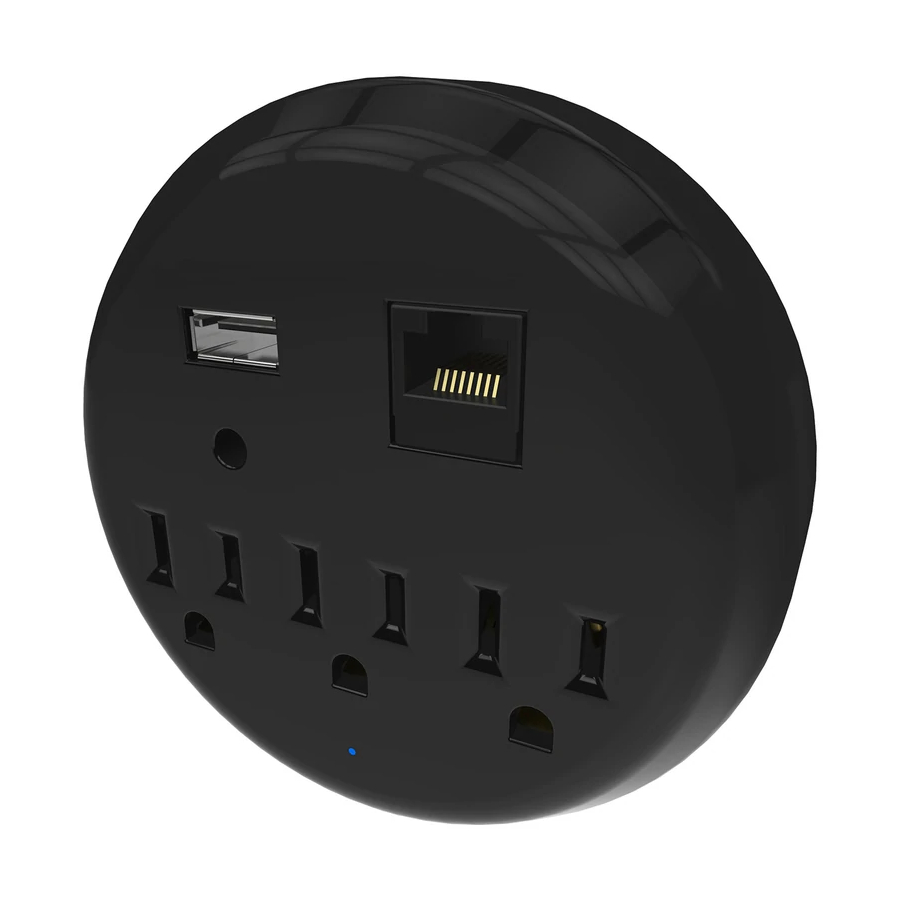
- Page 7 CAT 5 CONNECTION SPECIFICATIONS: The Liberty Safe Power Outlet RJ45 connection supports 10Mbits and 100Mbits CAT5 CAT5e CAT6 cabling with a standard RJ45 male connector.
- Page 8 If you need power for a USB device inside the safe, it is recommend that you use the charger that came with your USB device and connect it to one of the three AC power outlets on the Liberty Safe HUB. USB SUPPORTED DEVICES: Not all USB devices are created equal and each follows the USB standards at different levels.
- Page 9 INSTALLATION AND OPERATION MANUAL USB 2.0 Ca t- 5 A N T E N N A www.LibertySafe.com (800) 247-5625 ©2014 Liberty Safe & Security Products, Inc. PN 11015-001...
Need help?
Do you have a question about the Safe Power Outlet Kit and is the answer not in the manual?
Questions and answers