Advertisement
Quick Links
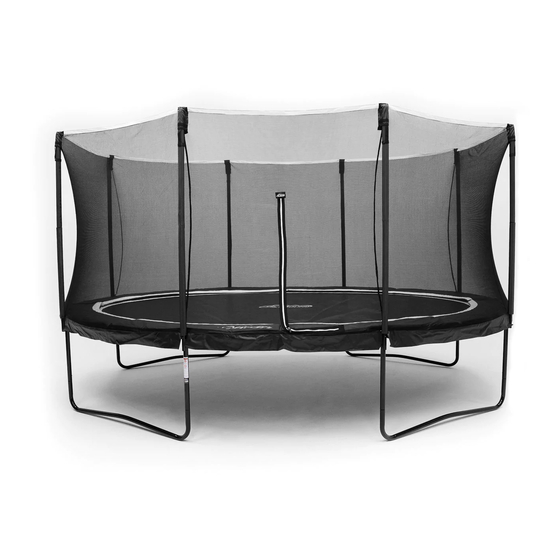
10'x14' / 11'x16' OVAL TRAMPOLINE
USER MANUAL
ASSEMBLY, INSTALLATION, CARE,
MAINTENANCE AND USER INSTRUCTIONS
www.SkyBoundUSA.com
WARNING
!
• Prior to assembling or using the trampoline, you must thoroughly read this manual.
• Keep this manual for future reference.
• This product is intended for domestic family use only.
• Adult supervision is required at all times.
• This trampoline is not intended for use by more than one person at any time.
• This product is recommended for use by children 6 years of age or older.
• Maximum weight of the user not to exceed 330 lbs ( 150 kgs).
Advertisement

Subscribe to Our Youtube Channel
Related Manuals for SkyBound ORION


Summary of Contents for SkyBound ORION
- Page 1 10’x14’ / 11’x16’ OVAL TRAMPOLINE USER MANUAL ASSEMBLY, INSTALLATION, CARE, MAINTENANCE AND USER INSTRUCTIONS www.SkyBoundUSA.com WARNING • Prior to assembling or using the trampoline, you must thoroughly read this manual. • Keep this manual for future reference. • This product is intended for domestic family use only. •...
- Page 2 This primary focus is what drives our culture at Team SkyBound. For supporting our vision, we would like to personally thank you for trusting us to deliver happiness to you and your family! -Kiki (CEO) &...
- Page 3 IMPORTANT INFORMATION Trampolines are a healthy, fun form of exercise • For additional information concerning trampoline equipment, contact SkyBound (www.SkyBoundUSA.com); when used properly. Most injuries are caused due to help@skyboundusa.com improper use, not because of their construction. • For information concerning skill training, contact a certified trampoline instructor.
- Page 4 ASSEMBLY PARTS Please reference this list of parts for assembly of the trampoline. Prior to constructing, make sure all parts listed here are accounted for. 2-Piece Trampoline Pad Trampoline Mat Top Rail Frame Top Rail Frame Top Rail Frame W-Shaped Leg Base Leg Extension Lower Enclosure Pole 9 inch Black Springs...
- Page 5 ASSEMBLY INSTRUCTIONS It is highly recommended for two people STEP 1 to assemble the trampoline. This package contains small parts which are a choking hazard and may have sharp edges and points. Keep all parts away from children until fully assembled. Top Rail Frame Top Rail Frame Top Rail Frame...
- Page 6 ASSEMBLY INSTRUCTIONS STEP 2 It is highly recommended for two people to assemble the trampoline. This package contains small parts which are a choking hazard and may have sharp edges and points. Keep all parts away from children until fully assembled. STEP 3 W-Shaped Leg Base WARNING...
- Page 7 Spring Tool Keep extra mat out of the way while placing springs. Make sure SkyBound logo is facing upwards during installation. • Use the Spring Tool (L) to help safely install your Trampoline Springs (K) • Do not install springs in a circular fashion, use figures in Steps 5 and 6 as a guide on the order in which you should install your springs.
- Page 8 ASSEMBLY INSTRUCTIONS STEP 6 9 inch Black Springs 10x14 ft: x84 springs 11x16 ft: x100 springs Spring Tool STEP 7 Lower Enclosure Pole WARNING Do not lift or move trampoline during installation! Doing so may warp the frame making the rest of the installation process difficult.
- Page 9 ASSEMBLY INSTRUCTIONS It is highly recommended for STEP 8 two people to assemble the trampoline. This package contains small parts which are a choking hazard and may have sharp edges and points. Keep all parts away from children until fully assembled. Upper Enclosure Pole...
- Page 10 ASSEMBLY INSTRUCTIONS ATTENTION: STEP 9 PAD IS INSTALLED BEFORE NET. While placing on trampoline, place top velcro flap over bottom velcro tab on each side so that they have opposite overlap. 2- Piece Trampoline Pad Hook Straps 20.5 in inside seam of pad Pad Hook straps connect to V-ring UNDER the trampoline It is highly recommended for two people to assemble the trampoline.
- Page 11 ASSEMBLY INSTRUCTIONS STEP 10 Longer Straps are installed by tying into the inner loop of the pad... Hook Straps 31.5 in tying into the white loop on the mat... And looping the hook strap around the top rail to hook onto itself WARNING Do not lift or move trampoline...
- Page 12 ASSEMBLY INSTRUCTIONS STEP 11 The top of the net is secured in a circular (clockwise or counterclockwise) fashion. Safety Net Place provided velcro pieces on ends of net webbing Net Hook straps connect to V-ring UNDER the trampoline and OVER the pad For visual clarity, the pad has been excluded from this illustration Do not lift or move trampoline during installation!
- Page 13 For additional information concerning 2. Land in a prone the trampoline equipment, contact position with arms and SkyBound (www.SkyBoundUSA.com). For information concerning skill training, hands extended on mat. contact a certified trampoline instructor. Bounce only when the surface of the 3.
- Page 14 PLEASE KEEP THIS MANUAL AS IT CONTAINS IMPORTANT INFORMATION SkyBound, a Fuloo, LLC Company. (888) 891-4689 SkyBound is a registered trademark of Fuloo, LLC SkyBound Customer Service in the U.S. and other countries. All logos, names, 3140 West Warner Ave.
Need help?
Do you have a question about the ORION and is the answer not in the manual?
Questions and answers