Advertisement
Orbit Turntable
Setup Guide
1
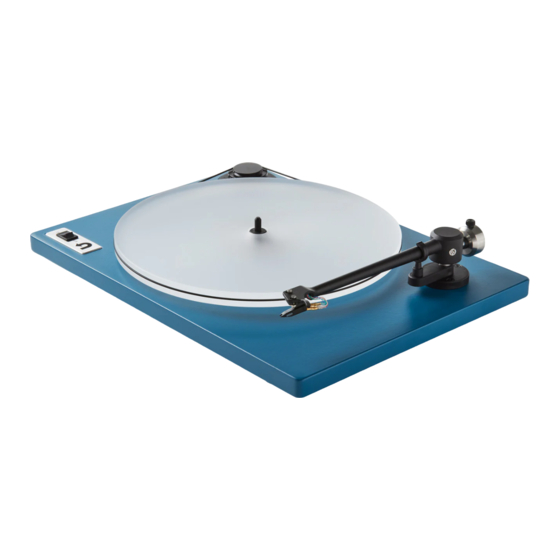
Initial setup
Place the platter on the center spindle.
A
Slide the dust cover onto the hinges.
B
Connect the power adapter to the jack on the back of your Orbit.
C
Connect to your sound system using the included RCA cables.
D
C
B
3
Removing the stylus guard
For Audio-Technica, Grado,
and Ortofon OM5E:
Pull cover forward until it slides off.
A
D
2
Belt installation and changing speeds
Wrap the belt around the pulley groove. Then hold the
A
belt along the platter's back edge with your right hand.
Keeping your right hand in place, use your left hand to
B
guide the belt around the edge of the platter.
To change speeds, move the belt to the top pulley
C
groove (33 RPM) or bottom groove (45 RPM).
The belt should be relatively loose – this helps prevent motor
vibrations from reaching the stylus and minimizes platter speed
variation. Avoid pulling on the belt or pulley during installation.
For Ortofon 2M
Red and Blue:
Pinch tab then pull
cover down.
B
A
C
Advertisement
Table of Contents

Subscribe to Our Youtube Channel
Related Manuals for U-Turn Orbit


Summary of Contents for U-Turn Orbit
- Page 1 Place the platter on the center spindle. Slide the dust cover onto the hinges. Connect the power adapter to the jack on the back of your Orbit. Connect to your sound system using the included RCA cables. Belt installation and changing speeds Wrap the belt around the pulley groove.
- Page 2 If your Orbit doesn’t have a built-in preamp, you can connect You can also connect your Orbit directly to any receiver or it to a standalone phono preamp then connect to powered amplifier that has a clearly marked “phono” input on the back.
Need help?
Do you have a question about the Orbit and is the answer not in the manual?
Questions and answers