Advertisement
Quick Links
Ffffffffffffffffffffffffffffffffffffffffffffffffffffffffffffffffffffffffffffffffffffffffffffffffffffffffffffffffffffffffffffffffffffffffffffffffffffffffffffffff
___________________________________________________________________________
Contents:
2 ½" x ⅜" Bolts x4
⅜" Locking Nut x 4
Grooved docking points x4
Compatiblity:
These bags are compatible with all Dyna models. Turn signals must be relocated off the strut to
mount these bags. They are also compatible with hard mount and detachable backrests. These bags have
been designed with a shield to protect against exhaust heat, and are compatible with most exhaust systems.
Exercise caution when mounting these bags with aftermarket exhaust systems. Hot exhaust blowing
directly at the fabric will melt it. Additional shielding may be necessary for some exhausts.
Instructions
Mounting the studs
DO NOT use any bolts but those supplied with this kit. Using other bolts with different head shapes may
cause your bags to fall off and voids your warranty.
If you are using a detachable backrest, you will be using the longer 3" bolts. If you are using a hard mount
backrest or no backrest at all, you will be using the shorter 2 ½" bolts. Pre-assemble the bolts by sliding on
a grooved docking point with the narrow end towards the bolt head, followed by a ¼" chrome spacer. If you
are using a detachable backrest, slide on the backrest docking points i nstead of the ¼" chrome spacers.
Replace the bolts in your strut with the new bolts one at a time, using blue thread locker. If there is a
narrow plate behind your fender with an unthreaded hole at the rear, remove it and use the included nuts to
attach the bolts (they are crimped jam nuts and may be difficult to start). If you have the nut plate with both
holes threaded, you can use it instead of the nuts provided. Make sure the ends of the bolts stick out no
more than ⅛" past the nut, or they may rub on the tire.
With Detachable backrest hardware
3" x ⅜" Bolts x4
¼" Chrome Spacer x4
With ¼" chrome spacer
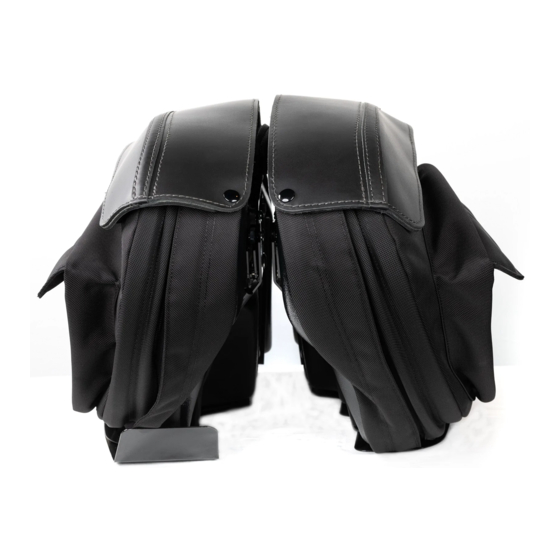
Retro Series V3 Saddlebags
For all Dyna models
CB5400V3
Advertisement

Summary of Contents for LeatherPros Retro V3 Series
- Page 1 Retro Series V3 Saddlebags For all Dyna models CB5400V3 Ffffffffffffffffffffffffffffffffffffffffffffffffffffffffffffffffffffffffffffffffffffffffffffffffffffffffffffffffffffffffffffffffffffffffffffffffffffffffffffffff ___________________________________________________________________________ Contents: 2 ½” x ⅜” Bolts x4 3” x ⅜” Bolts x4 ⅜” Locking Nut x 4 ¼” Chrome Spacer x4 Grooved docking points x4 Compatiblity: These bags are compatible with all Dyna models.
- Page 2 Mounting the bags Once all 4 bolts have been tightened, you can mount the bags. With the handle pulled up, slide the bags on to the docking points, making sure the bracket sits in the grooves on the docking points (refer to pictures below).