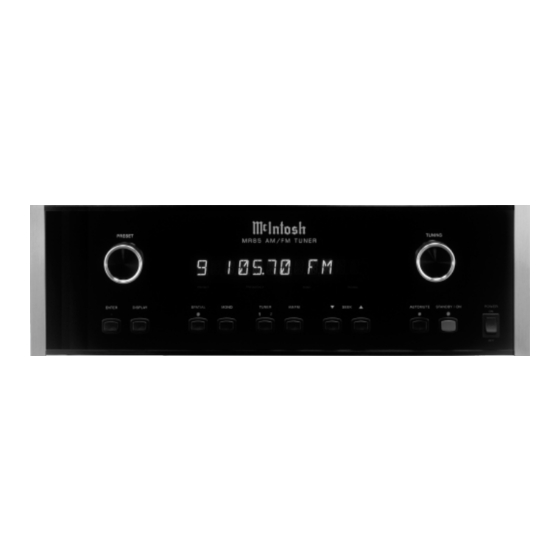
McIntosh MR85 Quick Start Manual
Led modification instructions
Hide thumbs
Also See for MR85:
- Owner's manual (20 pages) ,
- Service manual (18 pages) ,
- Specifications (2 pages)
Advertisement
!
! !
McIntosh MR85 Tuner LED Modification Instructions
!
1. Place unit upside down on a carpeted surface, with the front facing you.
!
2. Remove the three screws closest to the front panel that attach the bottom cover.
3. Turn the unit over and remove the six screws that attach the top cover. There are two on either side and two on the
!
rear. Slide the cover to the rear about ¼" and lift it straight up.
4. Remove the four screws (two on either side) that attach the front panel brackets. See fig. 1 and 2. Hold the front panel
while removing the screws to hold it steady. You may also have to cut a small nylon wire tie that secures the power leads
to the chassis. There may be a black ground wire on each side attached with these screws, if that is the case, just move
the wires to the side when the screws are removed. When all four screws are removed from the front panel, guide the
ribbon cables connecting it to the main chassis, and gently pull it toward you about 2 inches, and lay it down. .
Remember to replace them when re-assembling your MR85.
Advertisement
Table of Contents

Subscribe to Our Youtube Channel
Summary of Contents for McIntosh MR85
- Page 1 When all four screws are removed from the front panel, guide the ribbon cables connecting it to the main chassis, and gently pull it toward you about 2 inches, and lay it down. . Remember to replace them when re-assembling your MR85.
- Page 3 5. There are eight lamps that illuminate the front panel and these must be removed at this time. To do so you will need a ¼” straight bladed screwdriver. Turn them about ¼ turn counterclockwise and lift them out. There are a few that are buried under the ribbon cables.
- Page 5 8. Attach the power supply to the threaded standoff, using the screw that was removed in the previous step. Use the larger hole in the power supply for attachment. See fig. 4. 9. Install the master lamp in the lamp 1 socket as shown in figure 4. To do this just place the lamp in the socket, with the flat side of the four pin connector facing you and the black indicator facing right.
- Page 6 1/8th turn. Black indicator should now face the 5 o’clock position. 10. Install the seven lamps that are attached to the power supply, in the grommets that were installed in step 6. Slide the lamps into the grommets until the blue lamp socket contacts the grommet. Firmly press down on the blue connector while you wiggle the connector in a circular motion.
- Page 7 12. Very carefully, prop the front panel up against the chassis, taking care to not to crush any of the wires, and power-up the MR85. Check to see that all LED’s are illuminating. If there are one or more that are not, remove power from the unit and check all connections.


Need help?
Do you have a question about the MR85 and is the answer not in the manual?
Questions and answers