Advertisement
Available languages
Available languages
Quick Links
Items Required
(Not Included)
Small Screw Driver
3 AA batteries
1 Year warranty on all parts and workmanship
Battery Warning - Important Battery Information
• Battery installation and removal should be performed
by an adult
• Use only recommended batteries
• Be careful to install the batteries with the correct
polarity as indicated
• Do not mix old and new batteries
• Do not mix alkaline, standard, rechargeable, or different
types of batteries
• Remove all batteries when replacing
• Different types of batteries or new and used batteries
should not be mixed
• Rechargeable batteries are to be removed from the toy
before being charged.
• Rechargeable batteries are only to be charged under
adult supervision
• Only batteries of the same equivalent type as
recommended are to be used
• The supply terminals are not to be short-circuited
• Remove exhausted batteries
b4 Adventure • Denver Colorado 80216 • 1-844-834-4334 • Info@b4Adventure.com
Contents:
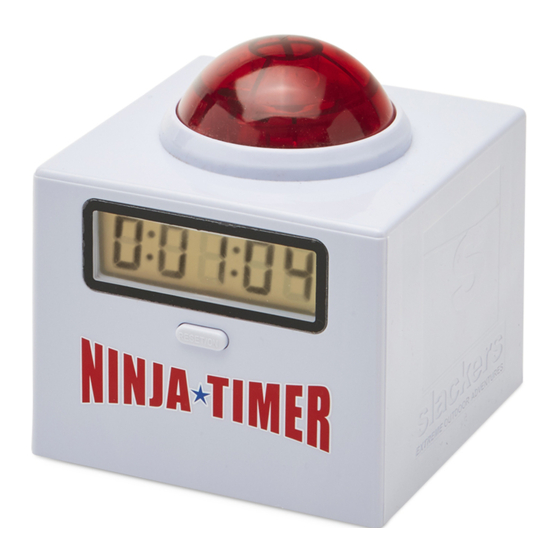
(1) Timer
(1) Wood Screw
www.b4adventure.com - DC:091019
SLA.819 - Timer
WARNING!
Timer is weather resistant,
but not waterproof. Do not
leave outdoors for extended
periods of time.
WARNING!
CHOKING HAZARD -
Small parts - not for
children under 3 years.
WARNING!
FUNCTIONAL SHARP
POINT - Product has
functional sharp points.
Contact may result in injury.
Handle with care. Use with
adult supervision.
1
Advertisement

Subscribe to Our Youtube Channel
Summary of Contents for Slackers Ninja Timer
- Page 1 SLA.819 - Timer Items Required Contents: (Not Included) (1) Timer Small Screw Driver (1) Wood Screw 3 AA batteries 1 Year warranty on all parts and workmanship Battery Warning - Important Battery Information • Battery installation and removal should be performed WARNING! by an adult Timer is weather resistant,...
- Page 2 Step 1. Install Batteries • Open the back compartment with a small screwdriver • Insert batteries as shown below Step 2: Determine where you want to install the timer Option 1 - set it on a flat surface and go Option 2 - Purchase a standard 4 x 4 from your local hardware store and create a stand for the timer (see below for ideas on building the stand) Option 3 - Attach to the side of a tree...
- Page 3 SLA.819 - Minuteur Articles requis Contenu : (Non inclus) (1) minuteur Petit tournevis (1) vis à bois 3 piles de type AA Garantie d'un an sur toutes les pièces et défauts de fabrication Avertissement relatif aux piles - Informations importantes sur les piles ATTENTION ! •...
- Page 4 Étape 1 : Installation des piles • Ouvrez le compartiment arrière avec un petit tournevis • Insérez les piles comme indiqué ci-dessous Étape 2 : Déterminer où vous souhaitez installer le minuteur Option 1 - Posez-le sur une surface plane et le produit sera prêt à être utilisé Option 2 - Achetez un support de 4 par 4 standard auprès de votre quincaillerie locale et créez un support pour le minuteur (voir ci-dessous pour prendre connaissance des idées sur comment construire le support)

Need help?
Do you have a question about the Ninja Timer and is the answer not in the manual?
Questions and answers