Advertisement
Table of Contents
- 1 Installation Instruction
- 2 Installation Steps of the 3D Printer
- 3 Some Details During the Installation Process
- 4 The Location of Hot Bed
- 5 Other Installation Pictures
- 6 Synchronous Belt Fixed by Nylon Cable
- 7 Other Pictures for Installation Reference
- 8 Second.flyingbear P902 Wiring Diagram
- Download this manual
Installation Instruction
一 .Installation Steps of the 3D printer
1.Check the installation video in the folder of " installation video " , then follow the
steps to install it.
You should pay attention to the details in the installation
☆
Video,you should watch the video carefully and follow the steps to install the machine.
If you do not watch the installation video carefully,install it on your own mind and cause the machine
☆
can not be used or even damage, we are not responsible for.
1.Some details during the installation process
Z-axis 安装尺寸 the size of Z-axis
☆
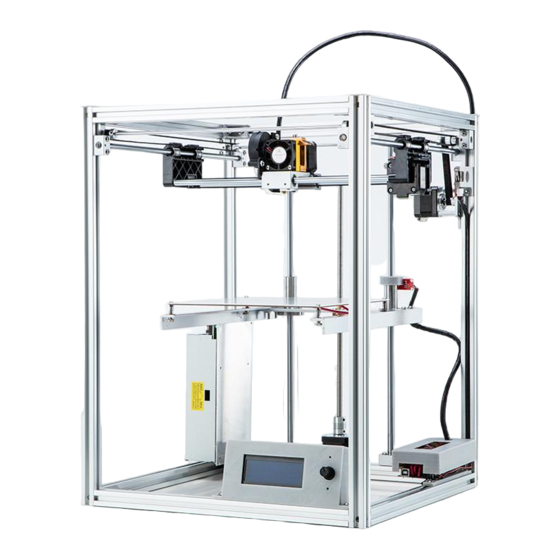
FlyingBear P902 3D Printer
process,there are hints in the Installation
Advertisement
Table of Contents

Related Manuals for Flyingbear P902


Summary of Contents for Flyingbear P902
- Page 1 Installation Instruction FlyingBear P902 3D Printer 一 .Installation Steps of the 3D printer 1.Check the installation video in the folder of “ installation video ” , then follow the steps to install it. You should pay attention to the details in the installation process,there are hints in the Installation ☆...
- Page 2 the location of hot bed ☆ the size of couplings,and the distance between the couplings and stepper motor is 2mm ☆...
- Page 3 3.Other installation pictures Synchronous belt fixed by Nylon cable ties(Synchronous belt can not be installed too tight,otherwise the machine will running poorly.) ☆ Upgraded mainboard box is more conducive to dissipate the heat. ☆...
- Page 4 Other pictures for installation reference ☆...
- Page 6 Second.FlyingBear P902 Wiring Diagram Please connect the wire as following,pay particular attention to adjust the power supply’s voltage to the voltage of your own country.We are not responsible for the power burn down if you forget to adjust ☆...
- Page 7 Third. Confirm that the above installation is correct,then connect the power and start the printer.If the installation is successful, after switching on the power supply ① the cooler fan will start to spin. ② Extruder Temperature and Bed Temperature will show the room temperature.
Need help?
Do you have a question about the P902 and is the answer not in the manual?
Questions and answers