Table of Contents
Advertisement
5041 Tempo Baths:Layout 1
10/09/2013
10:24
Page 1
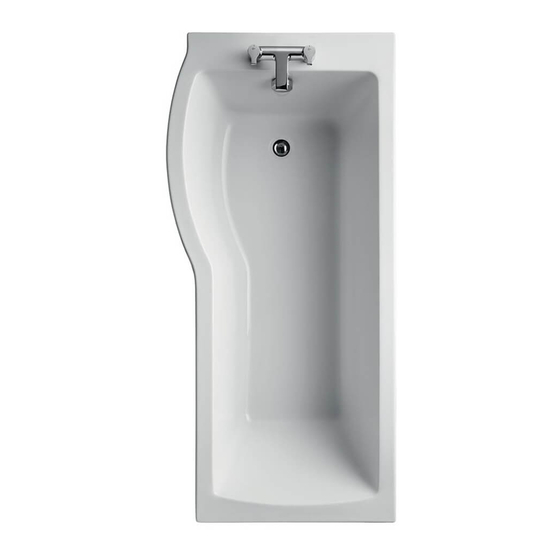
TEMPO
IDEALFORM PLUS+
SHOWER BATH
Installation Instructions
Please pass on to user
5041 09/13
EE75408967
Advertisement
Table of Contents

Related Manuals for Ideal-Standard TEMPO IDEALFORM PLUS+


Summary of Contents for Ideal-Standard TEMPO IDEALFORM PLUS+
- Page 1 5041 Tempo Baths:Layout 1 10/09/2013 10:24 Page 1 TEMPO IDEALFORM PLUS+ SHOWER BATH Installation Instructions Please pass on to user 5041 09/13 EE75408967...
- Page 2 5041 Tempo Baths:Layout 1 10/09/2013 10:24 Page 2 TECHNICAL INFORMATION 1695 1695 (±5) Centres of leg adjusters Tempo Arc Tempo Cube All dimensions shown in millimeters. Dimensions shown may vary within permitted tolerances. Figure 1 BEFORE YOU START ● Before commencing installation, carefully remove packaging/protective film and check for damage.
- Page 3 5041 Tempo Baths:Layout 1 10/09/2013 10:24 Page 3 BATH COMPONENTS Description Bath Leg Support Beam Foot 140mm Long Foot 120mm Long Plastic Leg Adjuster...
- Page 4 5041 Tempo Baths:Layout 1 10/09/2013 10:24 Page 4 BATH COMPONENTS - FIXING PACK Description No.8 X 16 Pan Head No.8 X 16 Pan Head (Pre attached to Ref G) Wall Plugs Small Wall Plug Screw Small Wall Plug Large Wall Plug Screw Large Side Wall Bracket Screw Corner Wall Bracket Wall Support Bracket...
- Page 5 5041 Tempo Baths:Layout 1 10/09/2013 10:24 Page 5 FRONT PANEL (Sold & supplied separately) Description Front Panel Plastic Panel Clip Metal Panel Clip No.8 x 19 Pan Head Self Tapping Screw Screw and Cover Caps END PANEL (Sold & supplied separately) End Panel Panel Clip No.6 x 12 Pan Head Self Tapping Screw...
- Page 6 5041 Tempo Baths:Layout 1 10/09/2013 10:24 Page 6 BATH ASSEMBLY Ref. F Ref. F Ref. D Ref. O Ref. C Encapsulated baseboard Ref. E Ref. P Ref. E Ref. B Ref. P Ref. O Ref. A Ref. H1 Ref. L Ref.
- Page 7 5041 Tempo Baths:Layout 1 10/09/2013 10:24 Page 7 (Left hand shown) Ref. L Cranked leg Figure 3 (Left hand shown) Cranked leg Figure 4...
- Page 8 5041 Tempo Baths:Layout 1 10/09/2013 10:24 Page 8 Ref. I Ref. H3 Ref. H4 Ref. J Ref. J Space Figure 5 pre-drilled hole bath rim Ref. H5 Ref. J Ref. H5 Ref. H1 Ref. K Ref. K Ref. H6 Ref. H6 Ref.
- Page 9 5041 Tempo Baths:Layout 1 10/09/2013 10:24 Page 9 INSTALLATION 1. Lay bath face down onto a protective surface so as not to damage the bath. Fix leg adjusters, (Ref. G) onto bath into predrilled holes using screws (Ref H1). Assemble legs as shown in Fig 2.
- Page 10 5041 Tempo Baths:Layout 1 10/09/2013 10:24 Page 10 13. Fix bath to floor, ensuring that all nuts are tight and that the bath is level. Re-adjust if necessary. Trail fit the panel(s) to verify height is correct. Note: Untrimmed panel fitment requires the height of 560mm (510 to trimmed edge of bath).
- Page 11 5041 Tempo Baths:Layout 1 10/09/2013 10:24 Page 11 CARE OF BATH This bath left our works in first class condition and the following points should be noted; TO AVOID DISAPPOINTMENT, PLEASE REMOVE THE PROTECTIVE FILM AND INSPECT BEFORE INSTALLATION. Responsibility will not be accepted for the installation of faulty baths. Care of bath - for the installer: Keep under cover in a clean, dry, weather-proof place.
- Page 12 This covers products in domestic use by the consumer and not commercial or business use. All Ideal Standard products must be installed, used and cared for in line with our fixing instructions, local water byelaws and current water regulations. Access should always be left for installation, service and repair.
Need help?
Do you have a question about the TEMPO IDEALFORM PLUS+ and is the answer not in the manual?
Questions and answers