
Related Manuals for Bricon X-treme


Summary of Contents for Bricon X-treme
- Page 1 X-treme User Guide: versie UK 1.50 or higher BRICON nv : Europark Oost 15C, 9100 Sint-Niklaas, Tel: +32 3 777 39 74 Fax: +32 3 778 07 35 www.bricon.be bricon@bricon.be Website: email:...
-
Page 3: Table Of Contents
Index: Page 1) Installation 1.1 Foreword. 1.2 Instructions. 1.3 The X-treme system 1.4 Assembly of the Bricon electronic timing system. 2) Preparation of the system 2.1 Before you can clock. 2.2 Exploring the menu. 2.3 Program antennas. 2.4 Antenna testing. -
Page 4: Foreword
1.1 Foreword. Thank you for your trust and confidence in BRICON. This Manual will give a detailed explanation of the functions of your X-treme clock. We are confident that you Bricon electronic timing system will bring you much enjoyment. 1.2 Instructions. - Page 5 1 = X-treme 2 = Power supply 3 = Antenna 4 = Antenna connection 5 = End plug M = Male (pins) F = Female X-treme...
-
Page 6: Preparation Of The System 2.1 Before You Can Clock
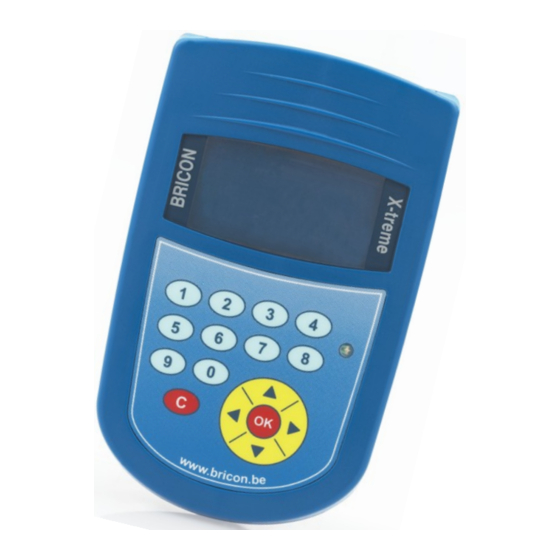
After the start-up initialisation you will see the following screen display on the X-treme. Antenna connection Box Time Serial number Version Name Fancier Fig 1 The X-treme is very easy to use having navigation buttons on the keypad which completely control the functionality of the clock <Up> <Numeric> Increment. To enter numbers. <OK>... - Page 7 The X-treme is menu driven. The complete functionality of X-treme is accessed through a menu-structure using 15 different items. All items are graphically presented by a icon, which are set up in order of frequent use. Listed below you will find each of the icons and its function.
- Page 8 Testing antennas Naam Liefhebber The X-treme indicates how many antennas are connected. With a chip you can test the pro per functioning of the antennas. Each time the chip is read, the X-treme produces a beep and you see de chip ring number on the display . If you can read the ring at a height of 5 to 6 cm, you can assume a proper operation.
-
Page 9: Installing The Antennas
The entrance hole to the loft must be at least 2 cm narrower than the width of the antenna pad. Bricon produce a range of antenna pads to meet the needs of any loft. There are four pad sizes available, the 1 field (163 mm wide), 2 field (282 mm), 4 field (482 mm) and 6 field (700 mm). - Page 10 Pigeon entrance Pigeon entrance With Bricon antenna pads a tunnel over the antenna pad is not necessary, this being because of the unique way in which the electro-magnetic fields within a Bricon antenna overlap each other. Having to place a tunnel over the pad and entrance will in most circumstances prove to be a major disadvantage, with pigeons crowding into the entrance area resulting in jams and delays in the timing of the birds.
- Page 11 Antenna You may find it more convenient to purchase a specially designed entrance. If you choose this solution we recommend the Futura (designed by Bricon and produced by the companies Demster and Haspeslagh in Belgium). Attention : It is recommended that care is taken to ensure that the positioning of the antenna complies fully with the rules and regulations of the relevant governing body.
-
Page 12: Connecting And Testing The System
You can now connect the X-treme to the antennas and the clocking starts automatic if there are pigeons coupled in the clock. If a race is basked, the X-treme starts in clocking mode. (to stop the See drawing clocking mode disconnect the X-treme from the antennas... - Page 13 3) X-treme, a quick start Please read carefully the chapters and especially installation and assembly. Once the hardware installation is complete, you only use the X-treme if there is pigeon and fancier data is present. The fancier and pigeon data is inserted into the club wit he clunb software “BRICON Club Editor “...
-
Page 14: Clocking In Training
3.3. Clocking in training Once you connect the X-treme to the antenna. You see some sec- onds the general information on the display. If there are no loft an- 10:17:59 BRXA0001 UK V01.60 tennas found, you see the following message on the display : ‘No Bricon X-treme general info Pige. -
Page 15: Basketing
3.5 Clocking Connection cable Connection X-treme After you connect the X-treme to the antennas, the X-treme starts automatically in clocking mode. You can not leave the clocking mode by pressing the “C” button.. Check carefully if the clock finds all connected antennas. -
Page 16: Read Out
The clubmaster prints the clocking list. If you at home, and you connect the X-treme to the antennas. The X-treme starts in training mode or if there is a race present the X-treme starts in clocking mode. You must always delete the clockings because you can only clock a pigeon ones. - Page 17 Start up PrintManager Press read out, Print Manager will ask to connect an ETS Connect the X-treme with the USB cable to your computer. Print Manager will read out the clock After the read out is finished you can disconnect the clock by unplugging the USB cable.
- Page 18 *After the read out is done the above message may appear requesting to upgrade your X- treme. This will only show up if a new X-treme version is available. To do the upgrade follow the insctuctions on the screen or if you don’t wish to upgrade...
- Page 19 Click on monitor in the print manager The data from the X-treme will be read automatically by the program and shown on screen If you don’t want to see live data of pigeons as they arrive you can skip this step and plug in your clock with only USB and wait till the screen says no antennas found.
-
Page 20: Set Time
After start up you see a date for service. If your clock approaches this date, you must bring in the clock for a complete check by Bricon or a Bricon distributor. We replace the internal battery and check the clock for proper function. - Page 21 Radio frequentie spectrum §3(2) Gebruikte standaards: EN 300 330-2 V1.1/7.2000 Technisch dossier is beschikbaar op de zetel van de fabrikant. BRICON nv, Europark Oost 15C, Sint-Niklaas Belgium. Plaats en datum van uitgave: Sint-Niklaas, 13-02-2012. Verantwoordelijke van de fabrikant: Ivan Baetens - gedelegeerd Bestuurder...