Advertisement
Quick Links
www.gracobaby.com
NWL0000949761A 2/19
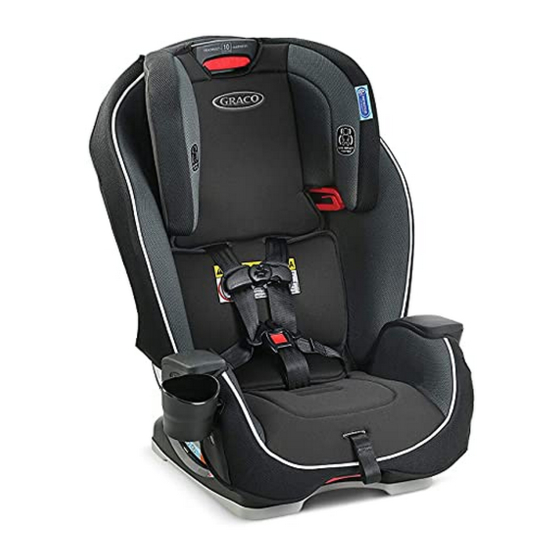
MILESTONE /LANDMARK
™
™
3-IN-1 CAR SEAT
Do not install or use this child restraint until you read and understand the instructions
in this manual.
FAILURE TO PROPERLY USE THIS CHILD RESTRAINT INCREASES THE RISK OF SERIOUS INJURY
OR DEATH IN A SUDDEN STOP OR CRASH.
1
Advertisement


Need help?
Do you have a question about the MILESTONE and is the answer not in the manual?
Questions and answers