Table of Contents
Advertisement
Quick Links
ATTACH YOUR RECEIPT HERE
Serial Number _________________________
Questions, problems, missing parts? Before returning to your retailer, call our customer
service department at 1-800-643-0067,
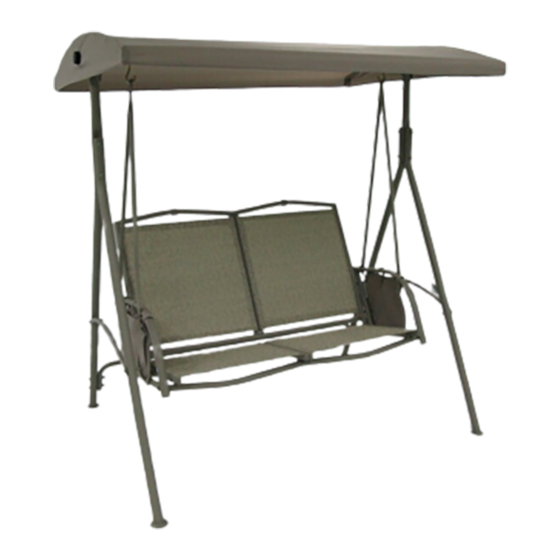
STEEL SLING SWING
Purchase Date _______________________
8 a.m. - 8 p.m.,
EST, Monday - Friday.
1
ITEM #0206016
2 PERSON
MODEL #SS-909E-1N
Français p. 10
Español p. 19
Advertisement
Table of Contents

Summary of Contents for Garden Treasures SS-909E-1N
- Page 1 ITEM #0206016 2 PERSON STEEL SLING SWING MODEL #SS-909E-1N Français p. 10 Español p. 19 ATTACH YOUR RECEIPT HERE Serial Number _________________________ Purchase Date _______________________ Questions, problems, missing parts? Before returning to your retailer, call our customer service department at 1-800-643-0067, 8 a.m.
-
Page 2: Package Contents
PACKAGE CONTENTS PART DESCRIPTION QUANTITY PART DESCRIPTION QUANTITY Top Frame Bar Sling Seat Front Leg Sling Back Back Leg Canopy Side Bar Back Crossbar Canopy Short Hanging Bar Leg Crossbar Long Hanging Bar Right Arm Magazine Bag Left Arm... -
Page 3: Safety Information
HARDWARE CONTENTS (shown actual size) M8 Nut M6 Nut Qty. 4 Qty. 12 + 1 spare Washer Qty. 16 + 1 spare M6 X 40 L M8 X 45 L M6 X 45 L Bolt Bolt Bolt M6 X 55 L Qty. -
Page 4: Frame Assembly
ASSEMBLY INSTRUCTIONS FRAME ASSEMBLY Align the two holes at the top of one front leg (B) with the two holes at one end of the top frame bar (A). Insert an M8 x 95 L bolt (FF) through an M8 washer (JJ), through a leg hole and through top frame bar (A). -
Page 5: Seat Assembly
ASSEMBLY INSTRUCTIONS Align the holes of the back crossbar (D) with the holes in the two back legs (C). For each hole, insert an M6 x 70 L bolt (DD) through a back leg (C), through the back crossbar (D), through an M6 washer (II), and into an M6 nut (GG). -
Page 6: Hanger Assembly
ASSEMBLY INSTRUCTIONS Place the sling back (I) between the right arm (F) and left arm (G), lining up the holes on the sides. For each hole, insert an M6 x 40 L bolt (AA) through an M6 washer (II), through back of the arm and into the sling back (I). -
Page 7: Canopy Assembly
ASSEMBLY INSTRUCTIONS At each end of the seat assembly, bring the holes in the free ends of the hanging bars together and thread them onto an “S” hook (MM). Hang the “S” hooks and seat assembly from the loops on the top frame bar (A). Hardware Used “S”... - Page 8 ASSEMBLY INSTRUCTIONS Place one end of the canopy (K) over one of the canopy side bars (J), fitting the corner pockets over the ends of the canopy side bar (J). Remove the black knob (LL) and reinsert it through the grommet hole in the canopy (K).
-
Page 9: Care And Maintenance
CARE AND MAINTENANCE Wash with mild soap. Rinse with water and let air dry. ONE-YEAR LIMITED WARRANTY This warranty is extended to the original purchaser and applies to defects in materials and workmanship of your patio furniture provided your furniture is maintained with care and used only for personal, residential purposes.


Need help?
Do you have a question about the SS-909E-1N and is the answer not in the manual?
Questions and answers